File list
Jump to navigation
Jump to search
This special page shows all uploaded files.
| Date | Name | Thumbnail | Size | User | Description | Versions |
|---|---|---|---|---|---|---|
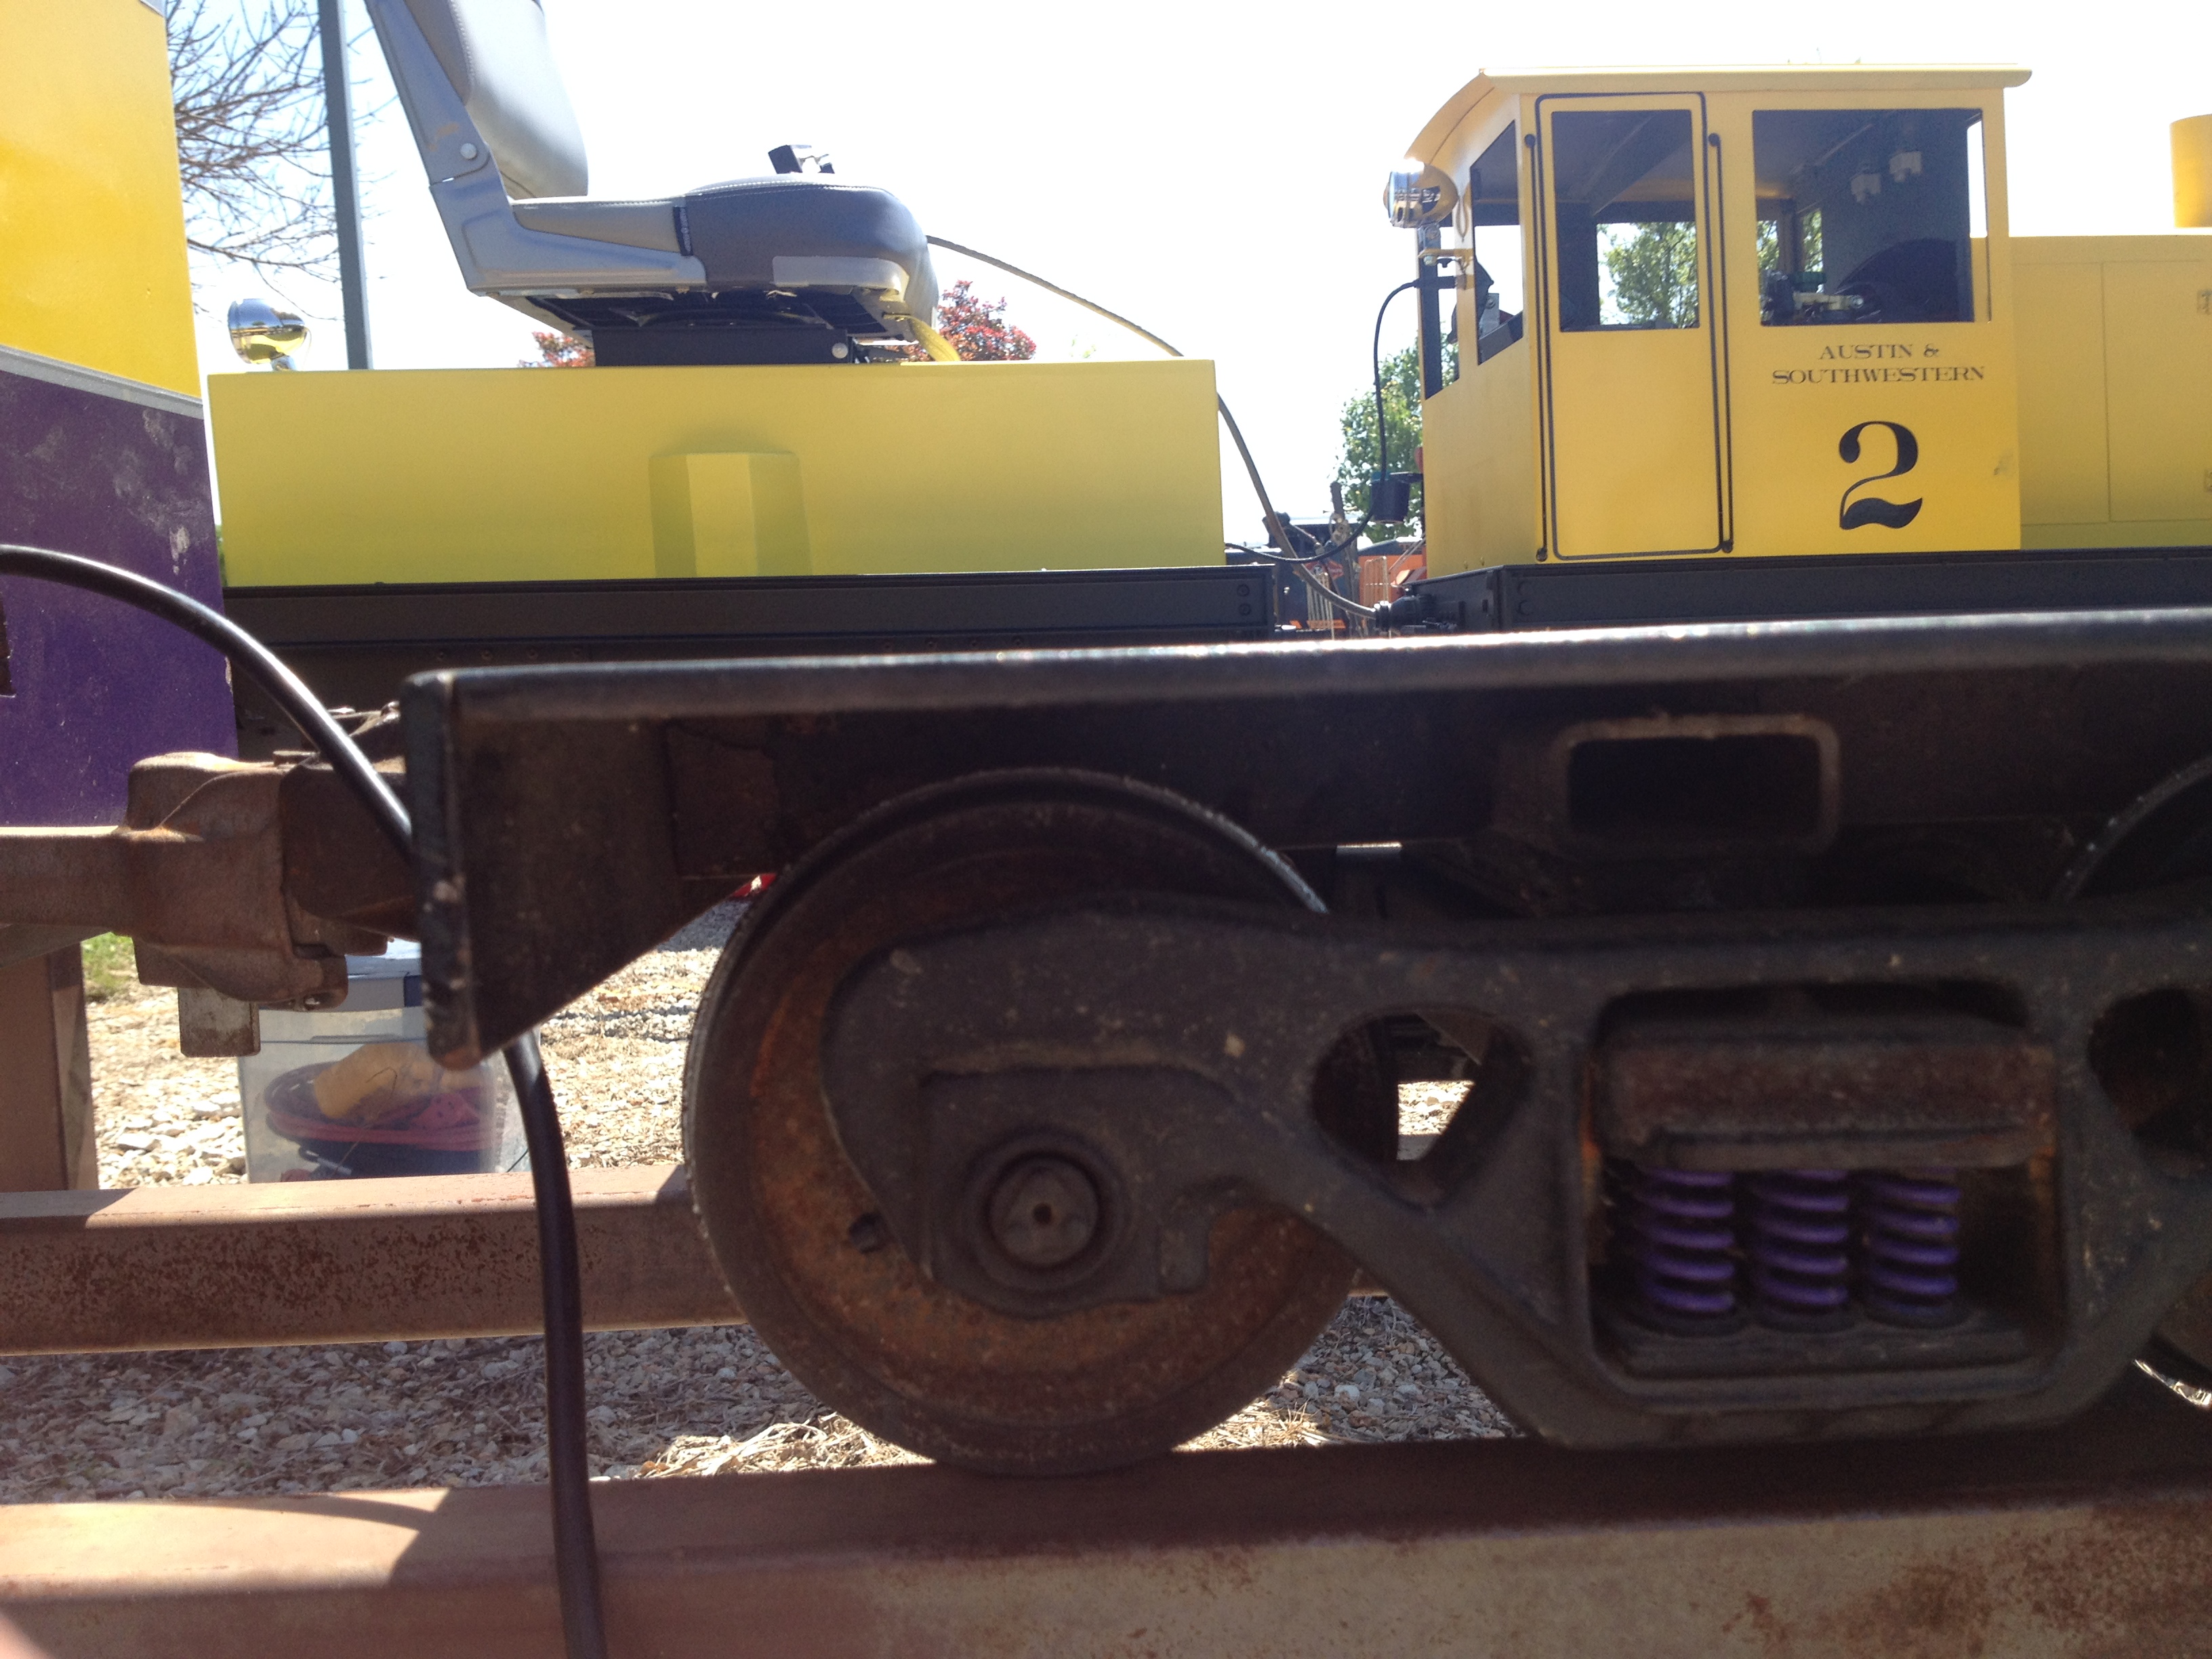
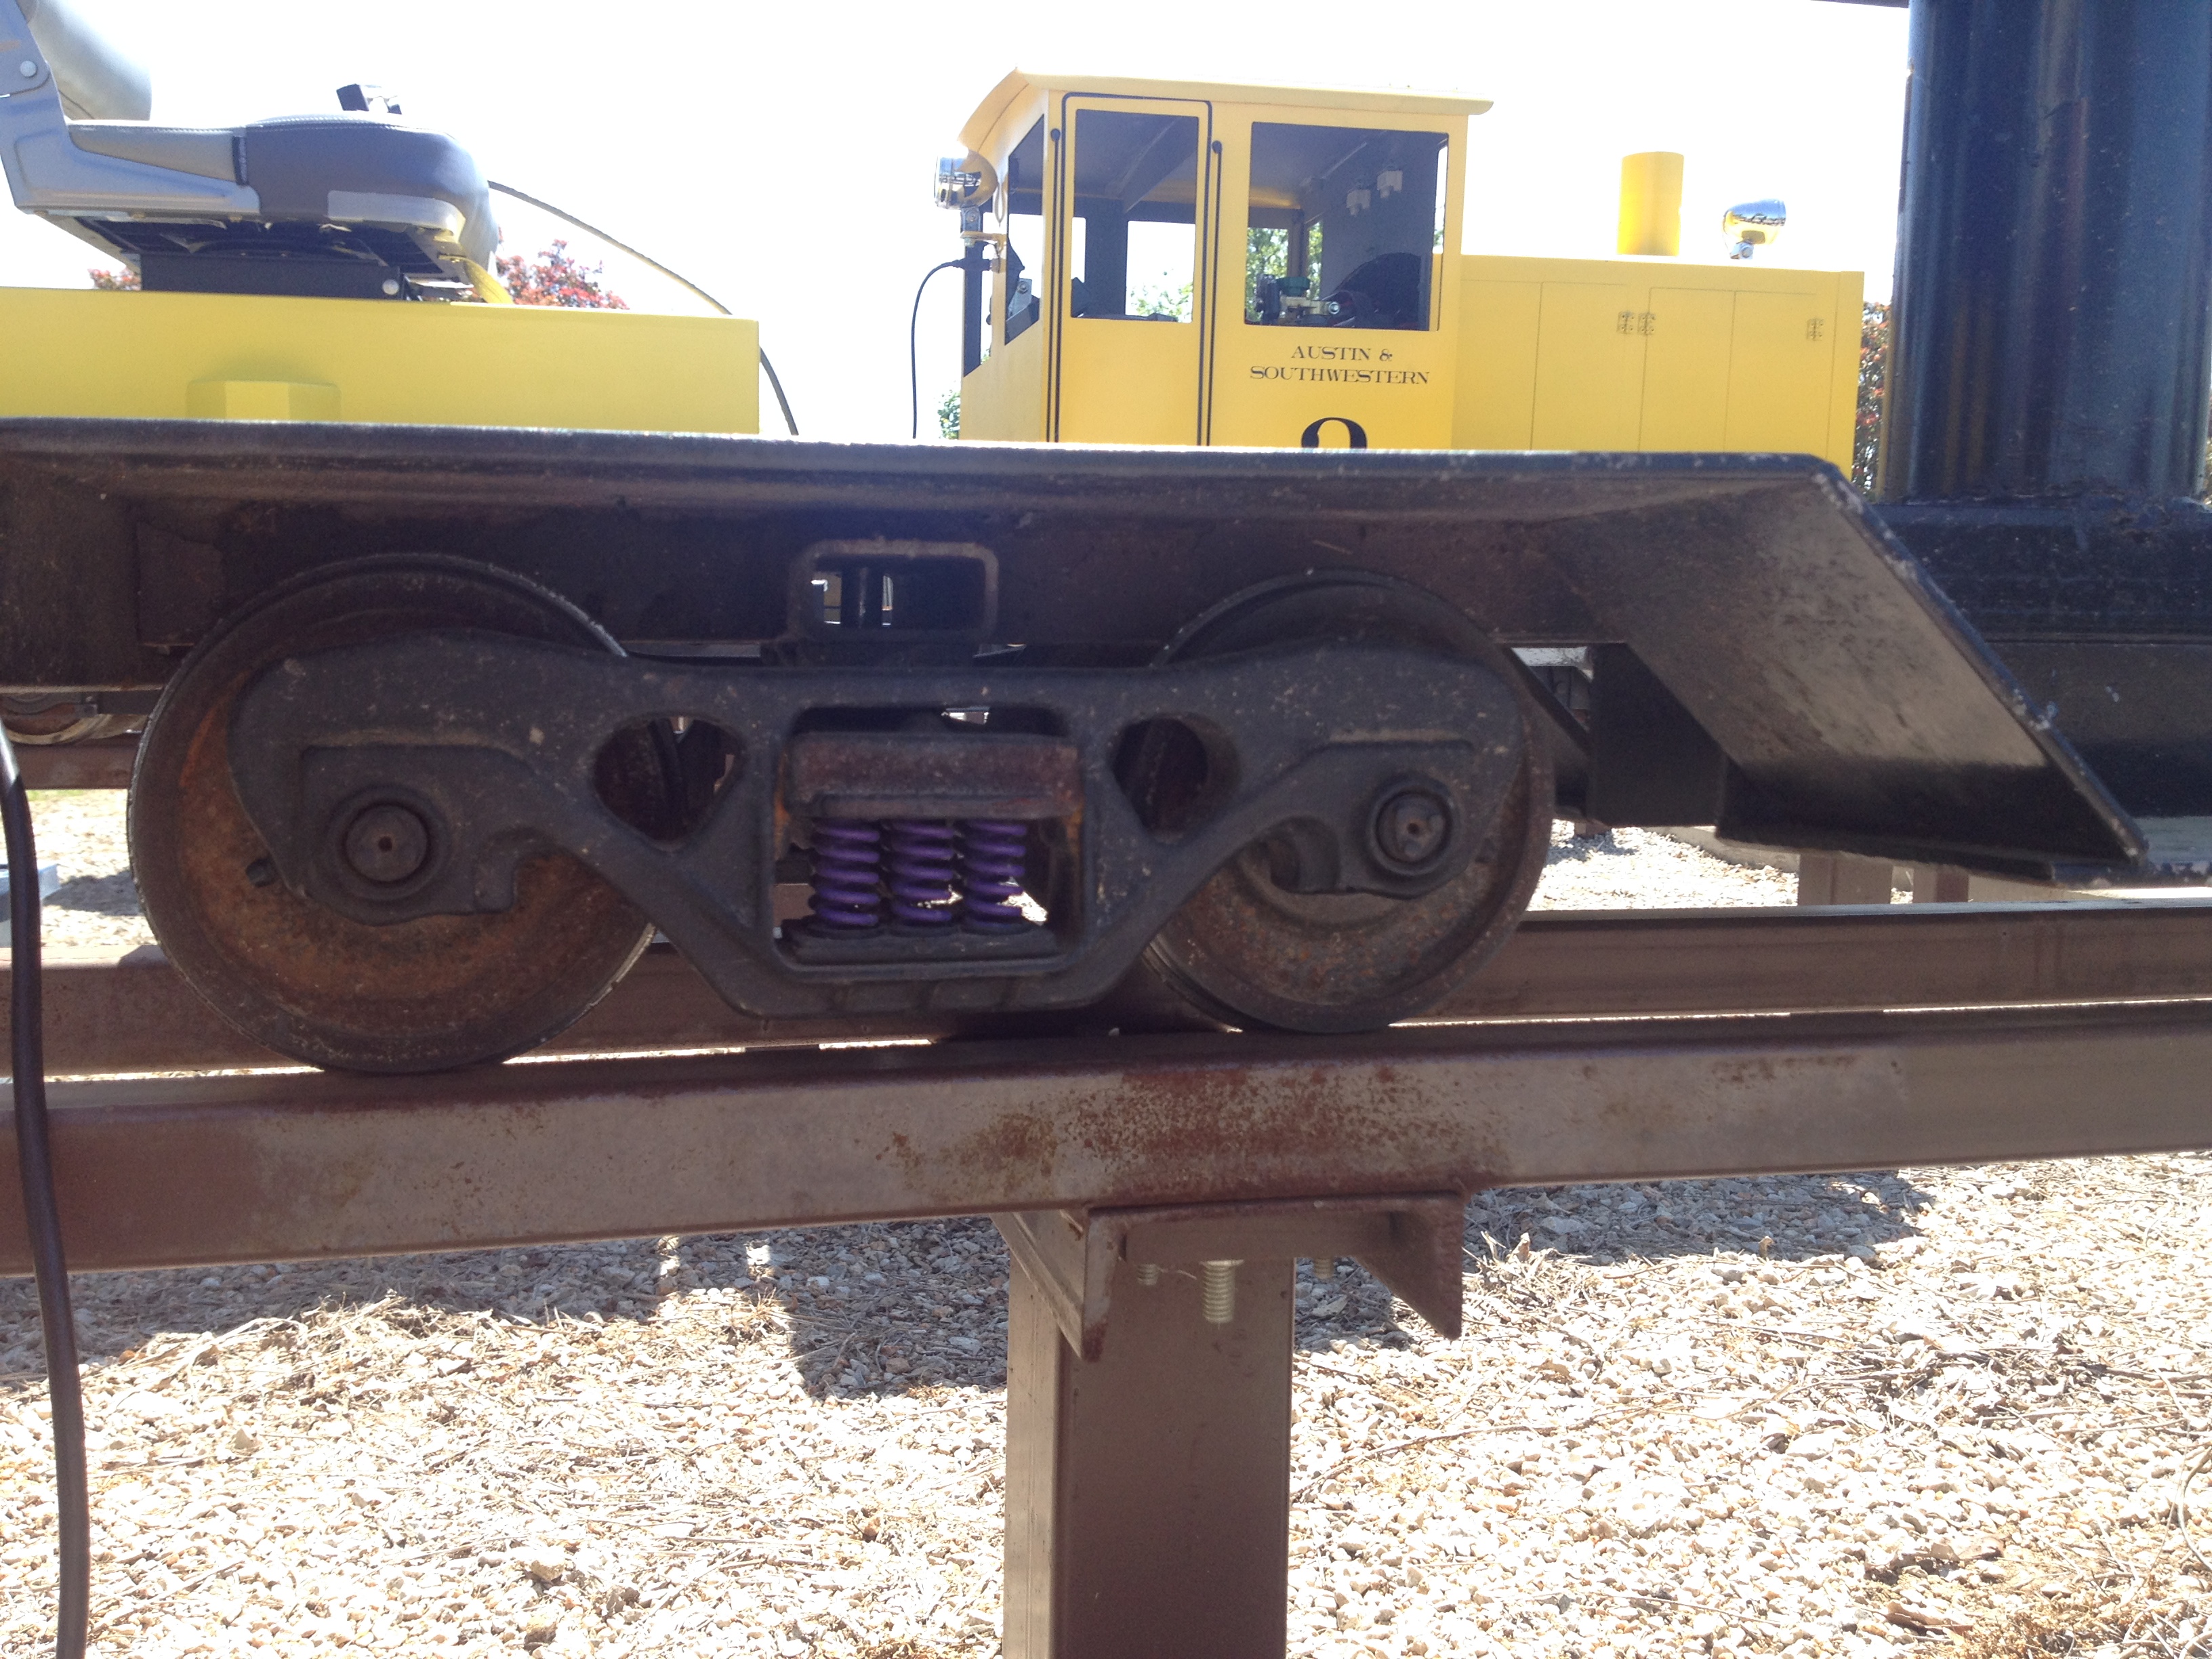
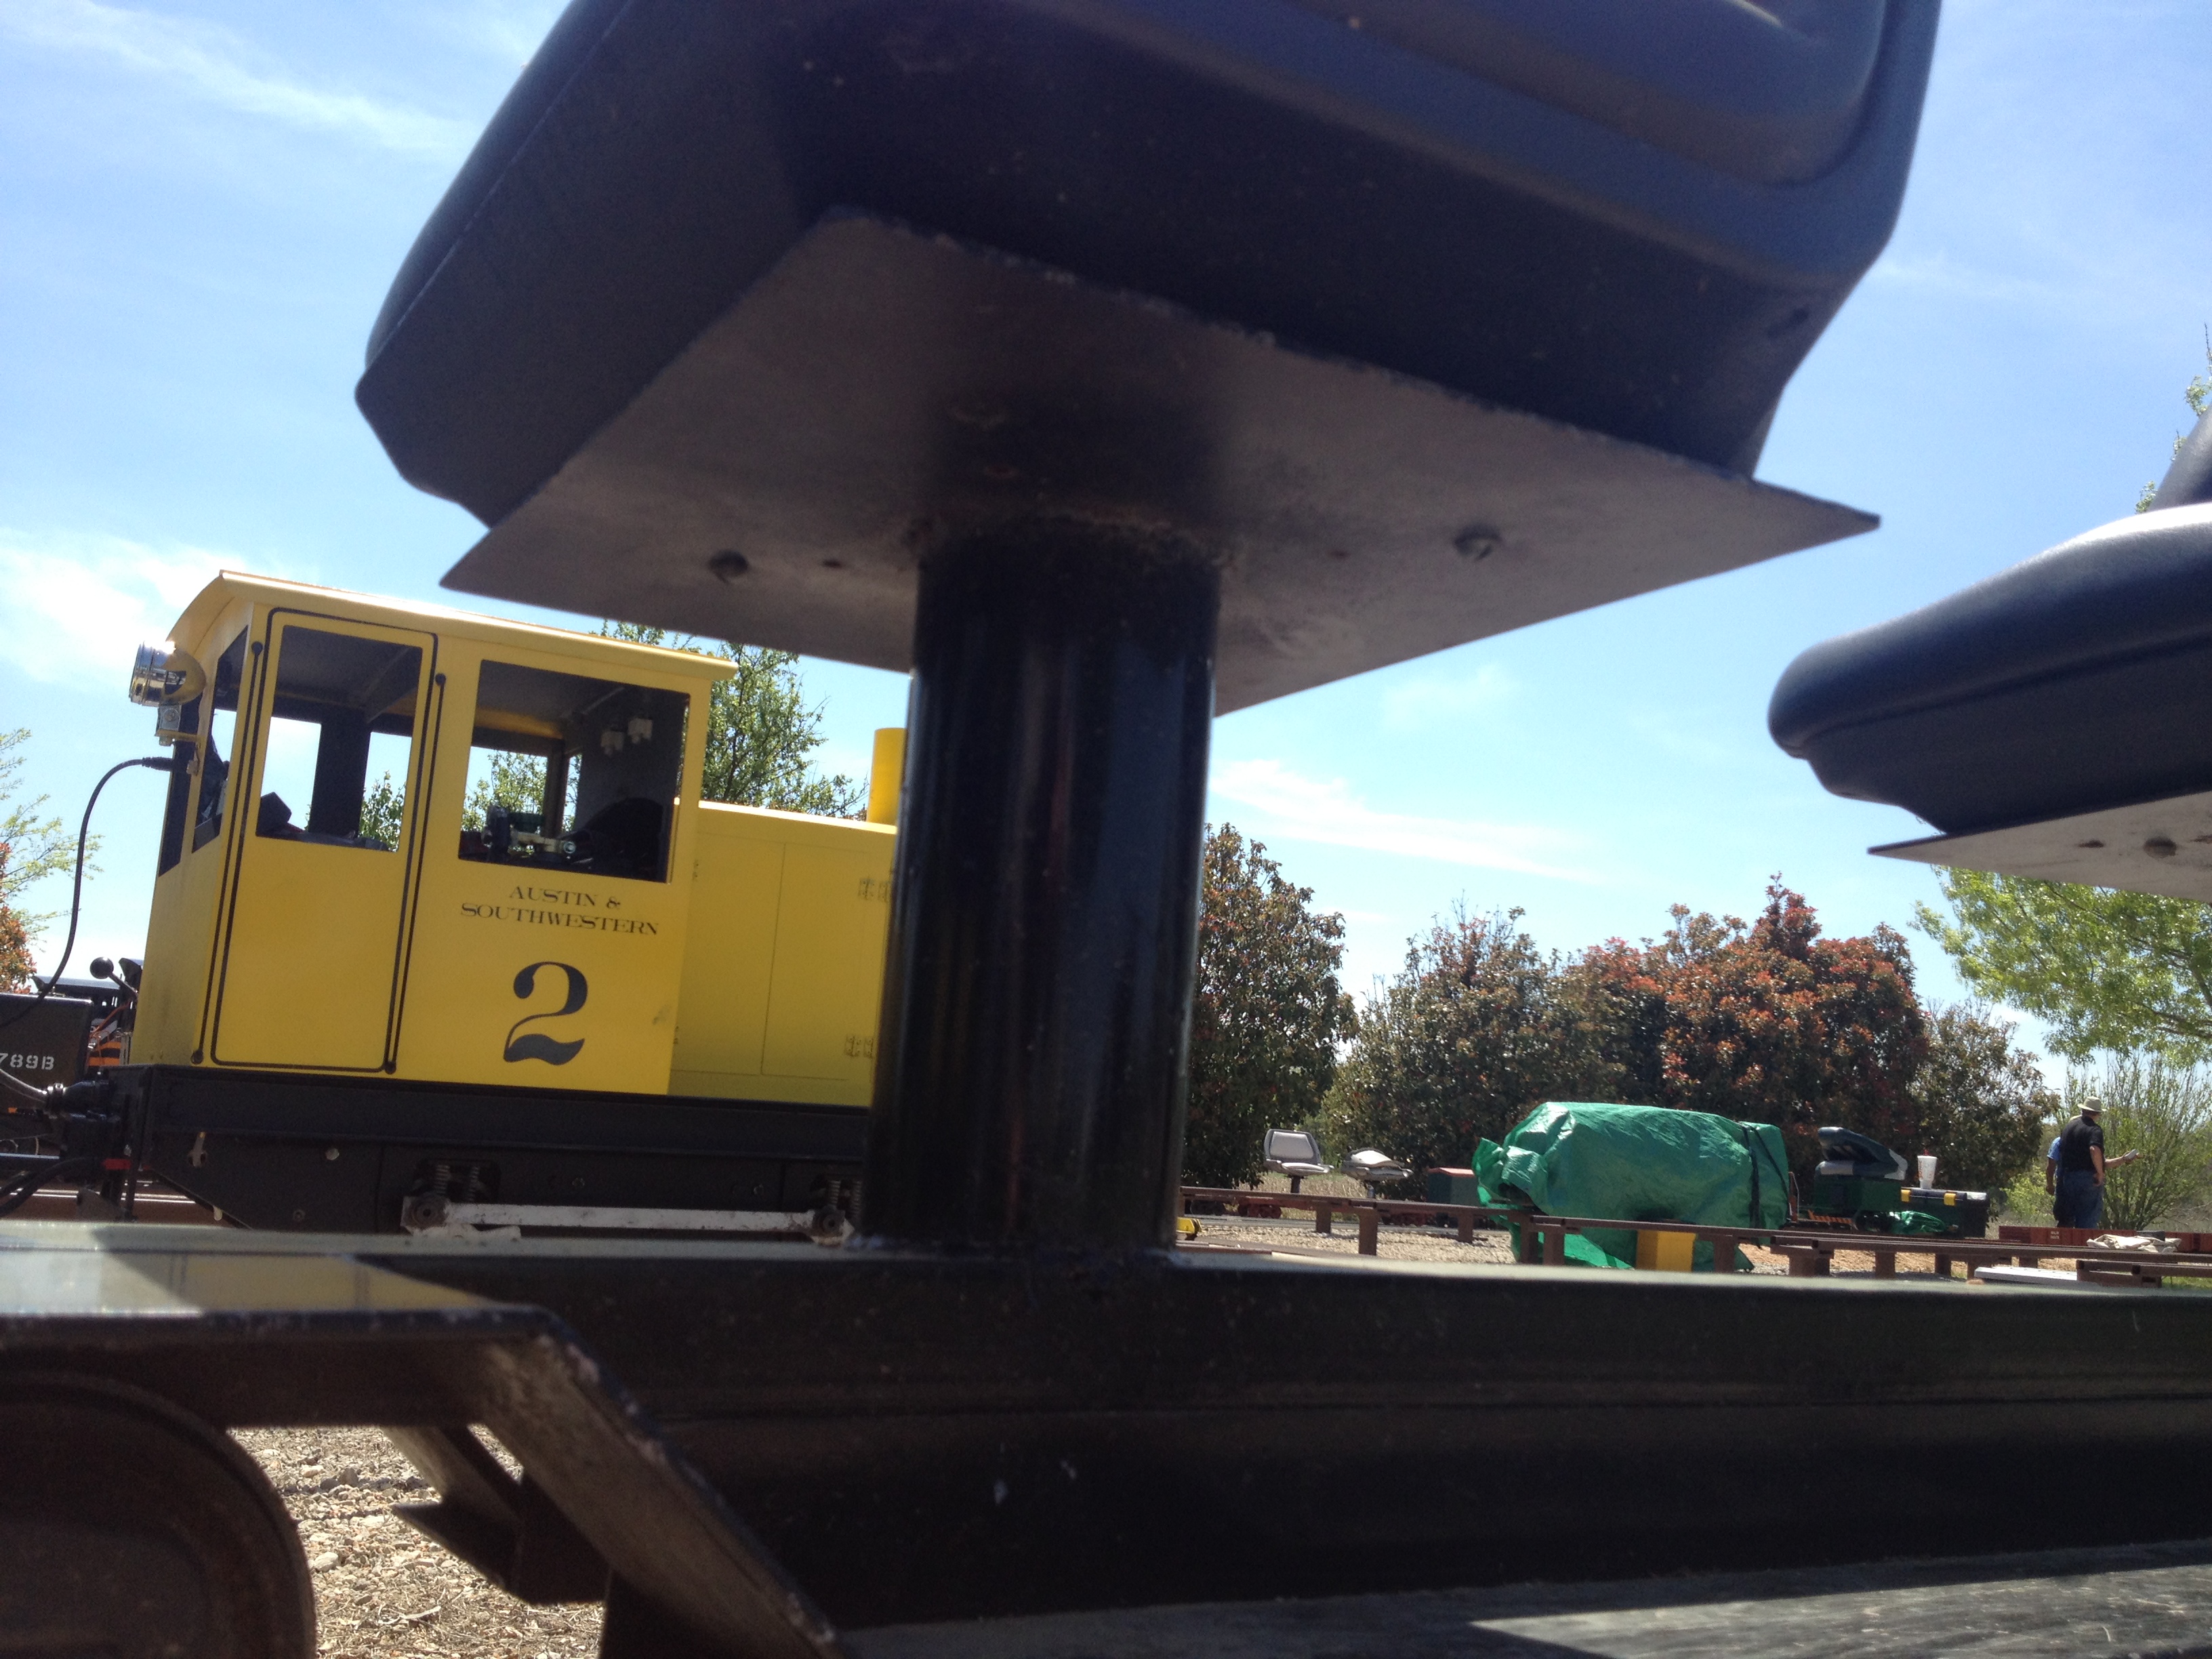
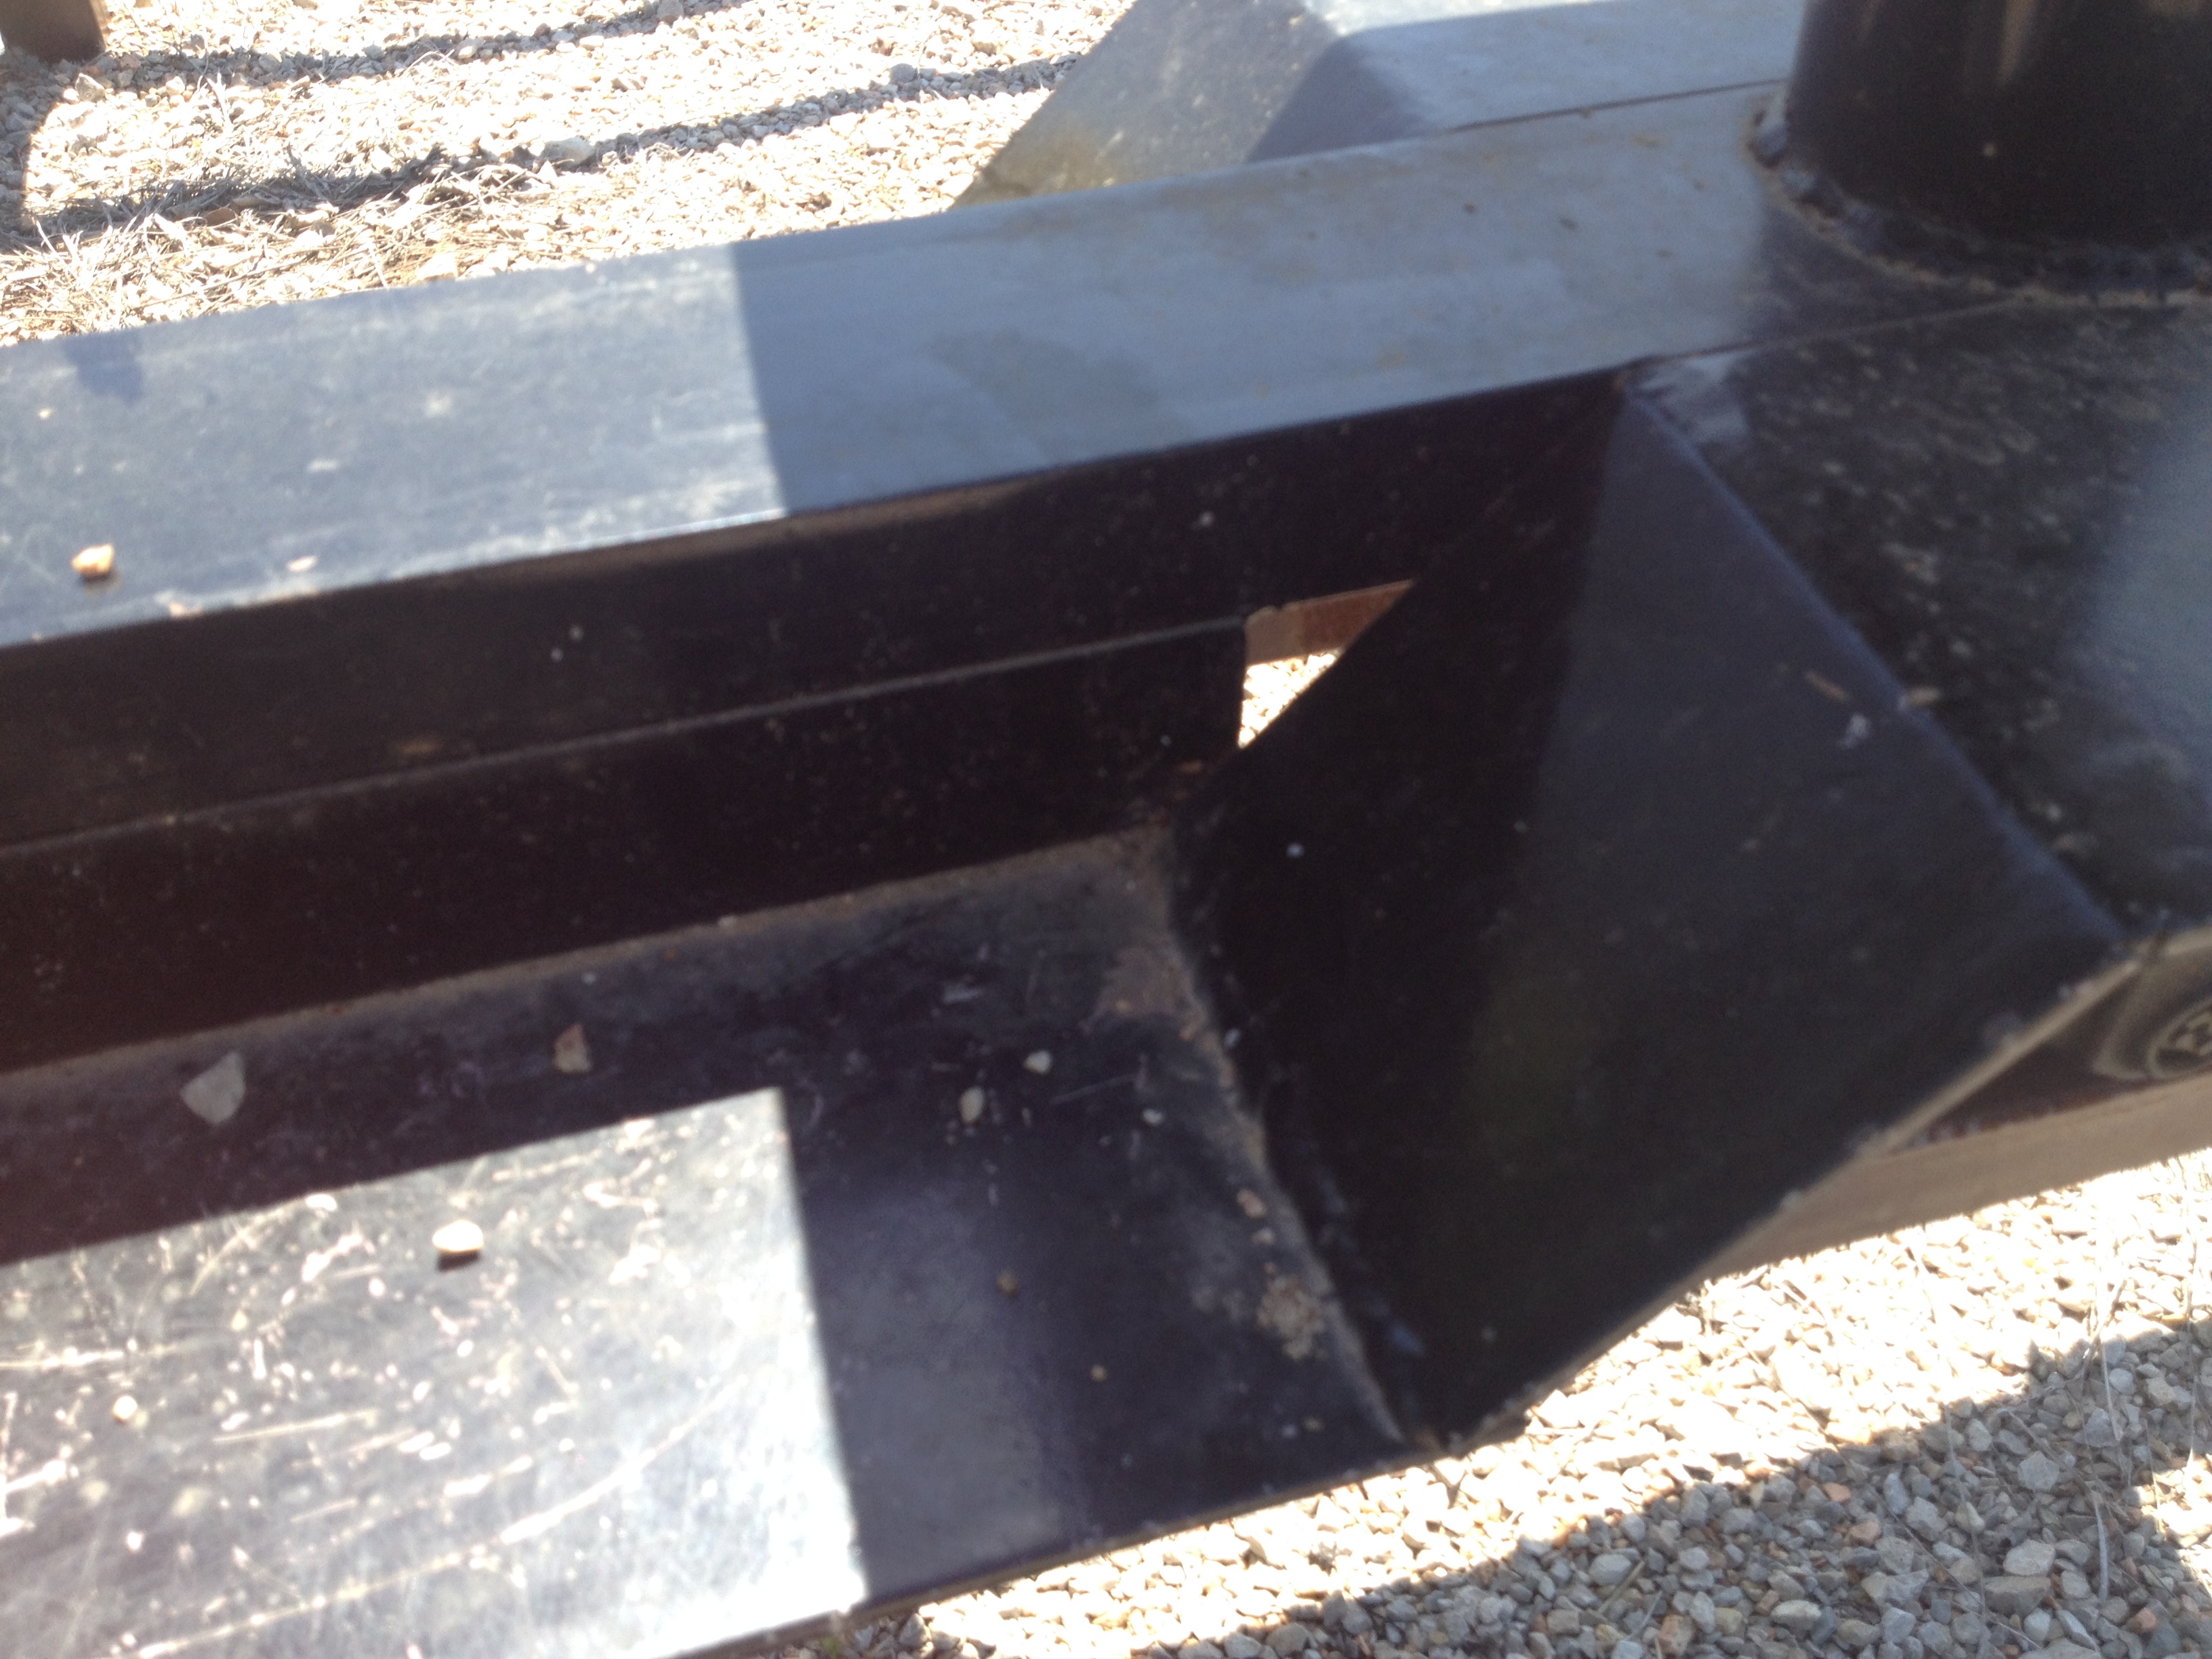
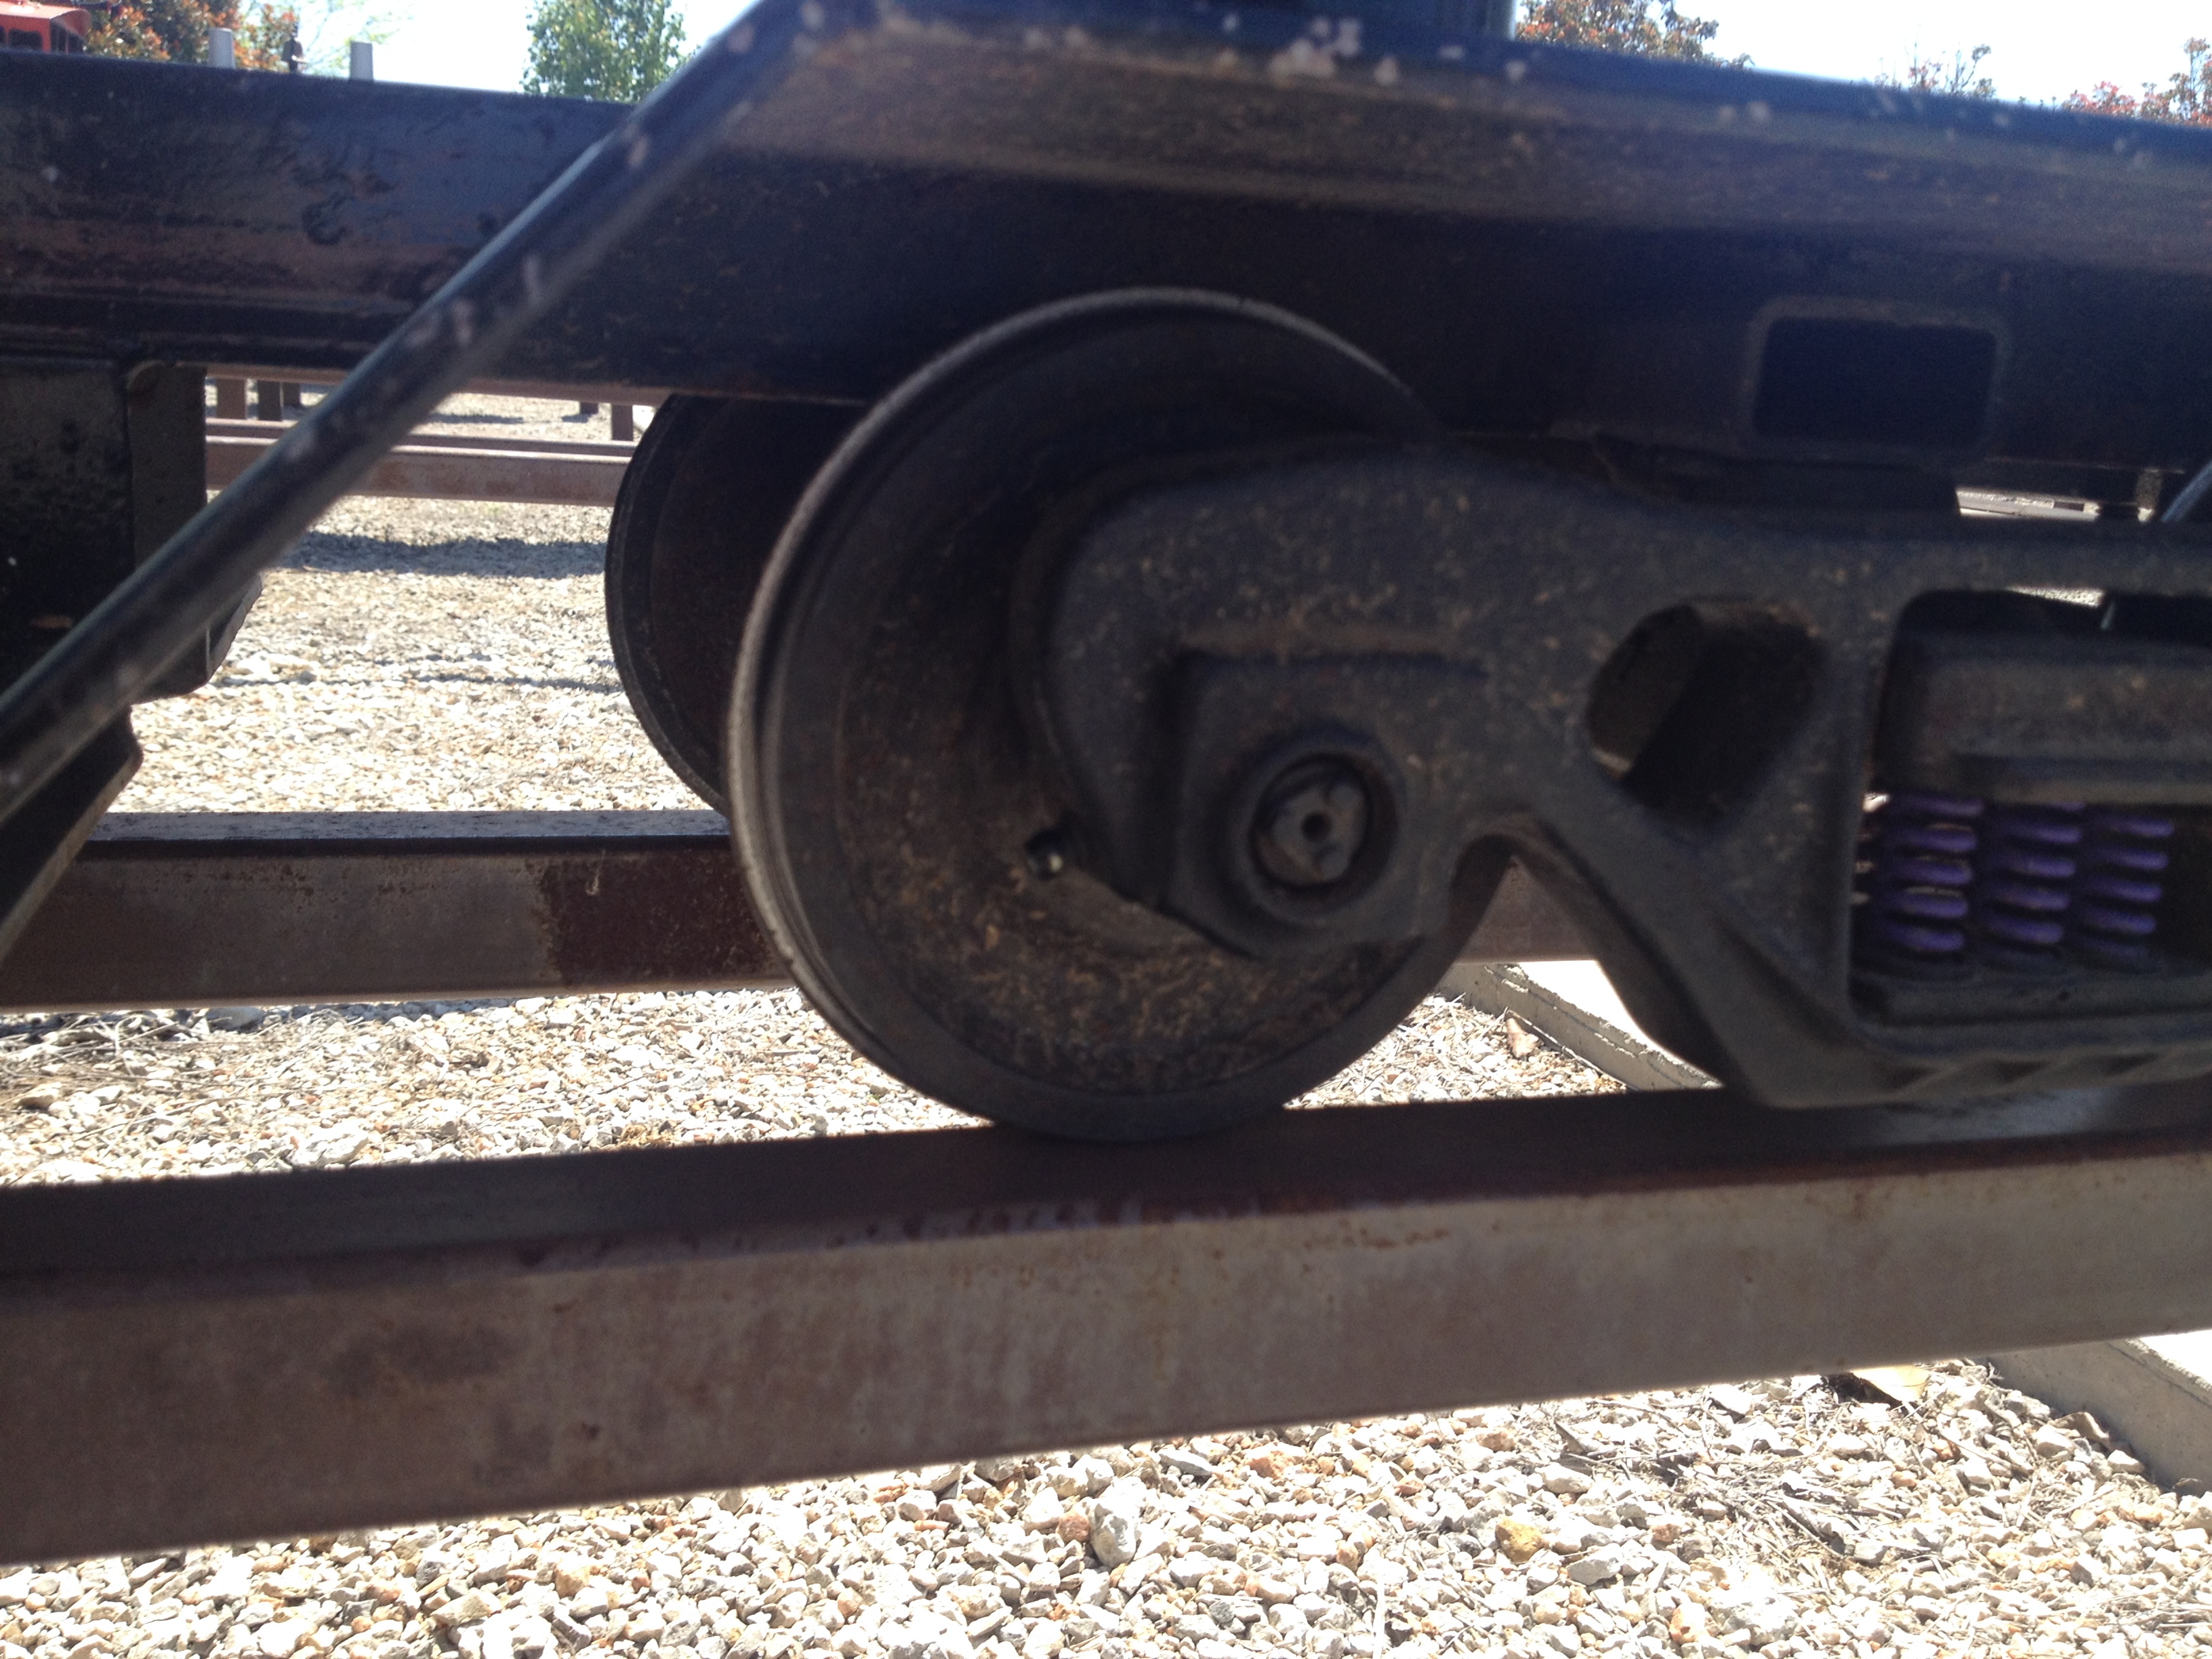
| 23:13, 17 March 2014 | 2014-02-28 09.16.12.jpg (file) |  |
2.16 MB | Dnevil | Bolster bearing on Spence Gaskin's low-cost trucks. Shown here at HALS, February 2014. Photo by Daris A Nevil. | 1 |
| 23:30, 14 March 2014 | 2014-03-01 15.21.33.jpg (file) |  |
2.14 MB | Dnevil | The flange of the wheel on Allen Mogul #486 was ground down by the bent brace. March 2014. Photo by Daris A Nevil., | 1 |
| 23:33, 14 March 2014 | 2014-03-01 15.21.37.jpg (file) |  |
2.18 MB | Dnevil | This photo shows the cattle guard bent from a derailment. This caused a brace to curve down onto the flange of the pony truck. March 2014. Photo by Daris A Nevil. | 1 |
| 23:38, 14 March 2014 | 2014-03-14 20.49.38.jpg (file) |  |
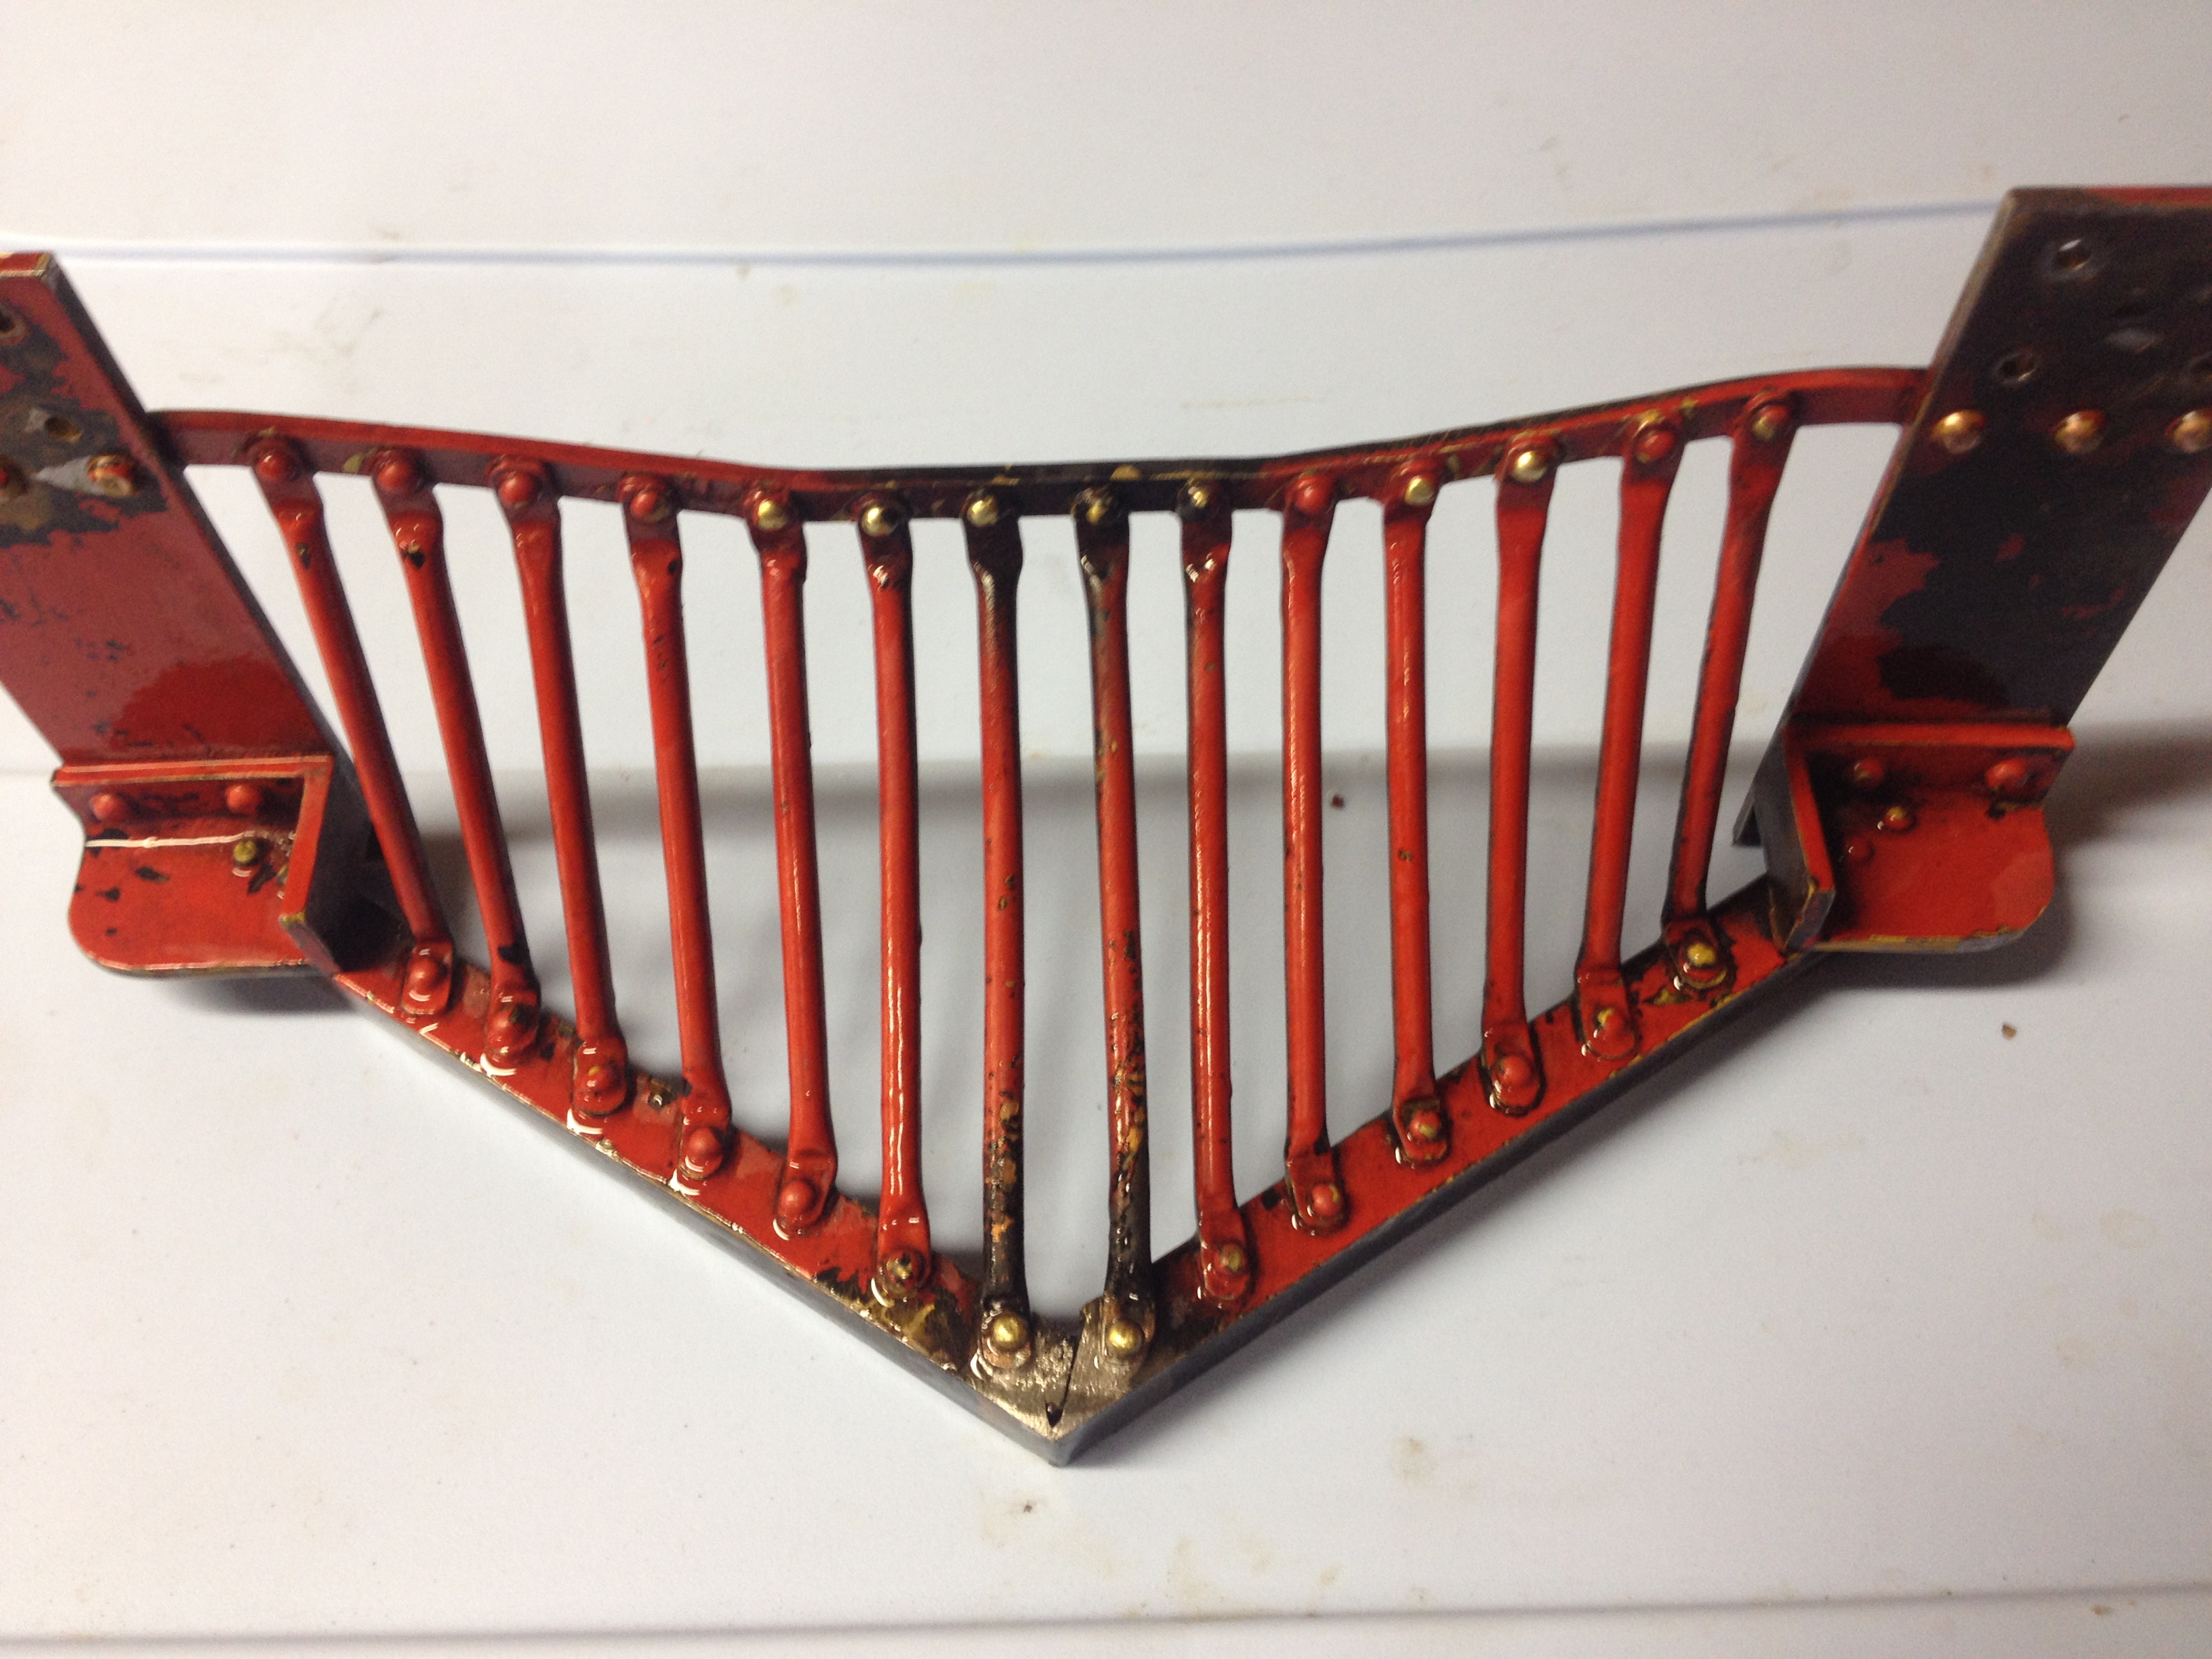
2.03 MB | Dnevil | Cattle guard for Allen Mogul #486 after straightening and welding. March 2014. Photo by Daris A Nevil. | 1 |
| 23:41, 14 March 2014 | 2014-03-14 20.49.53.jpg (file) |  |
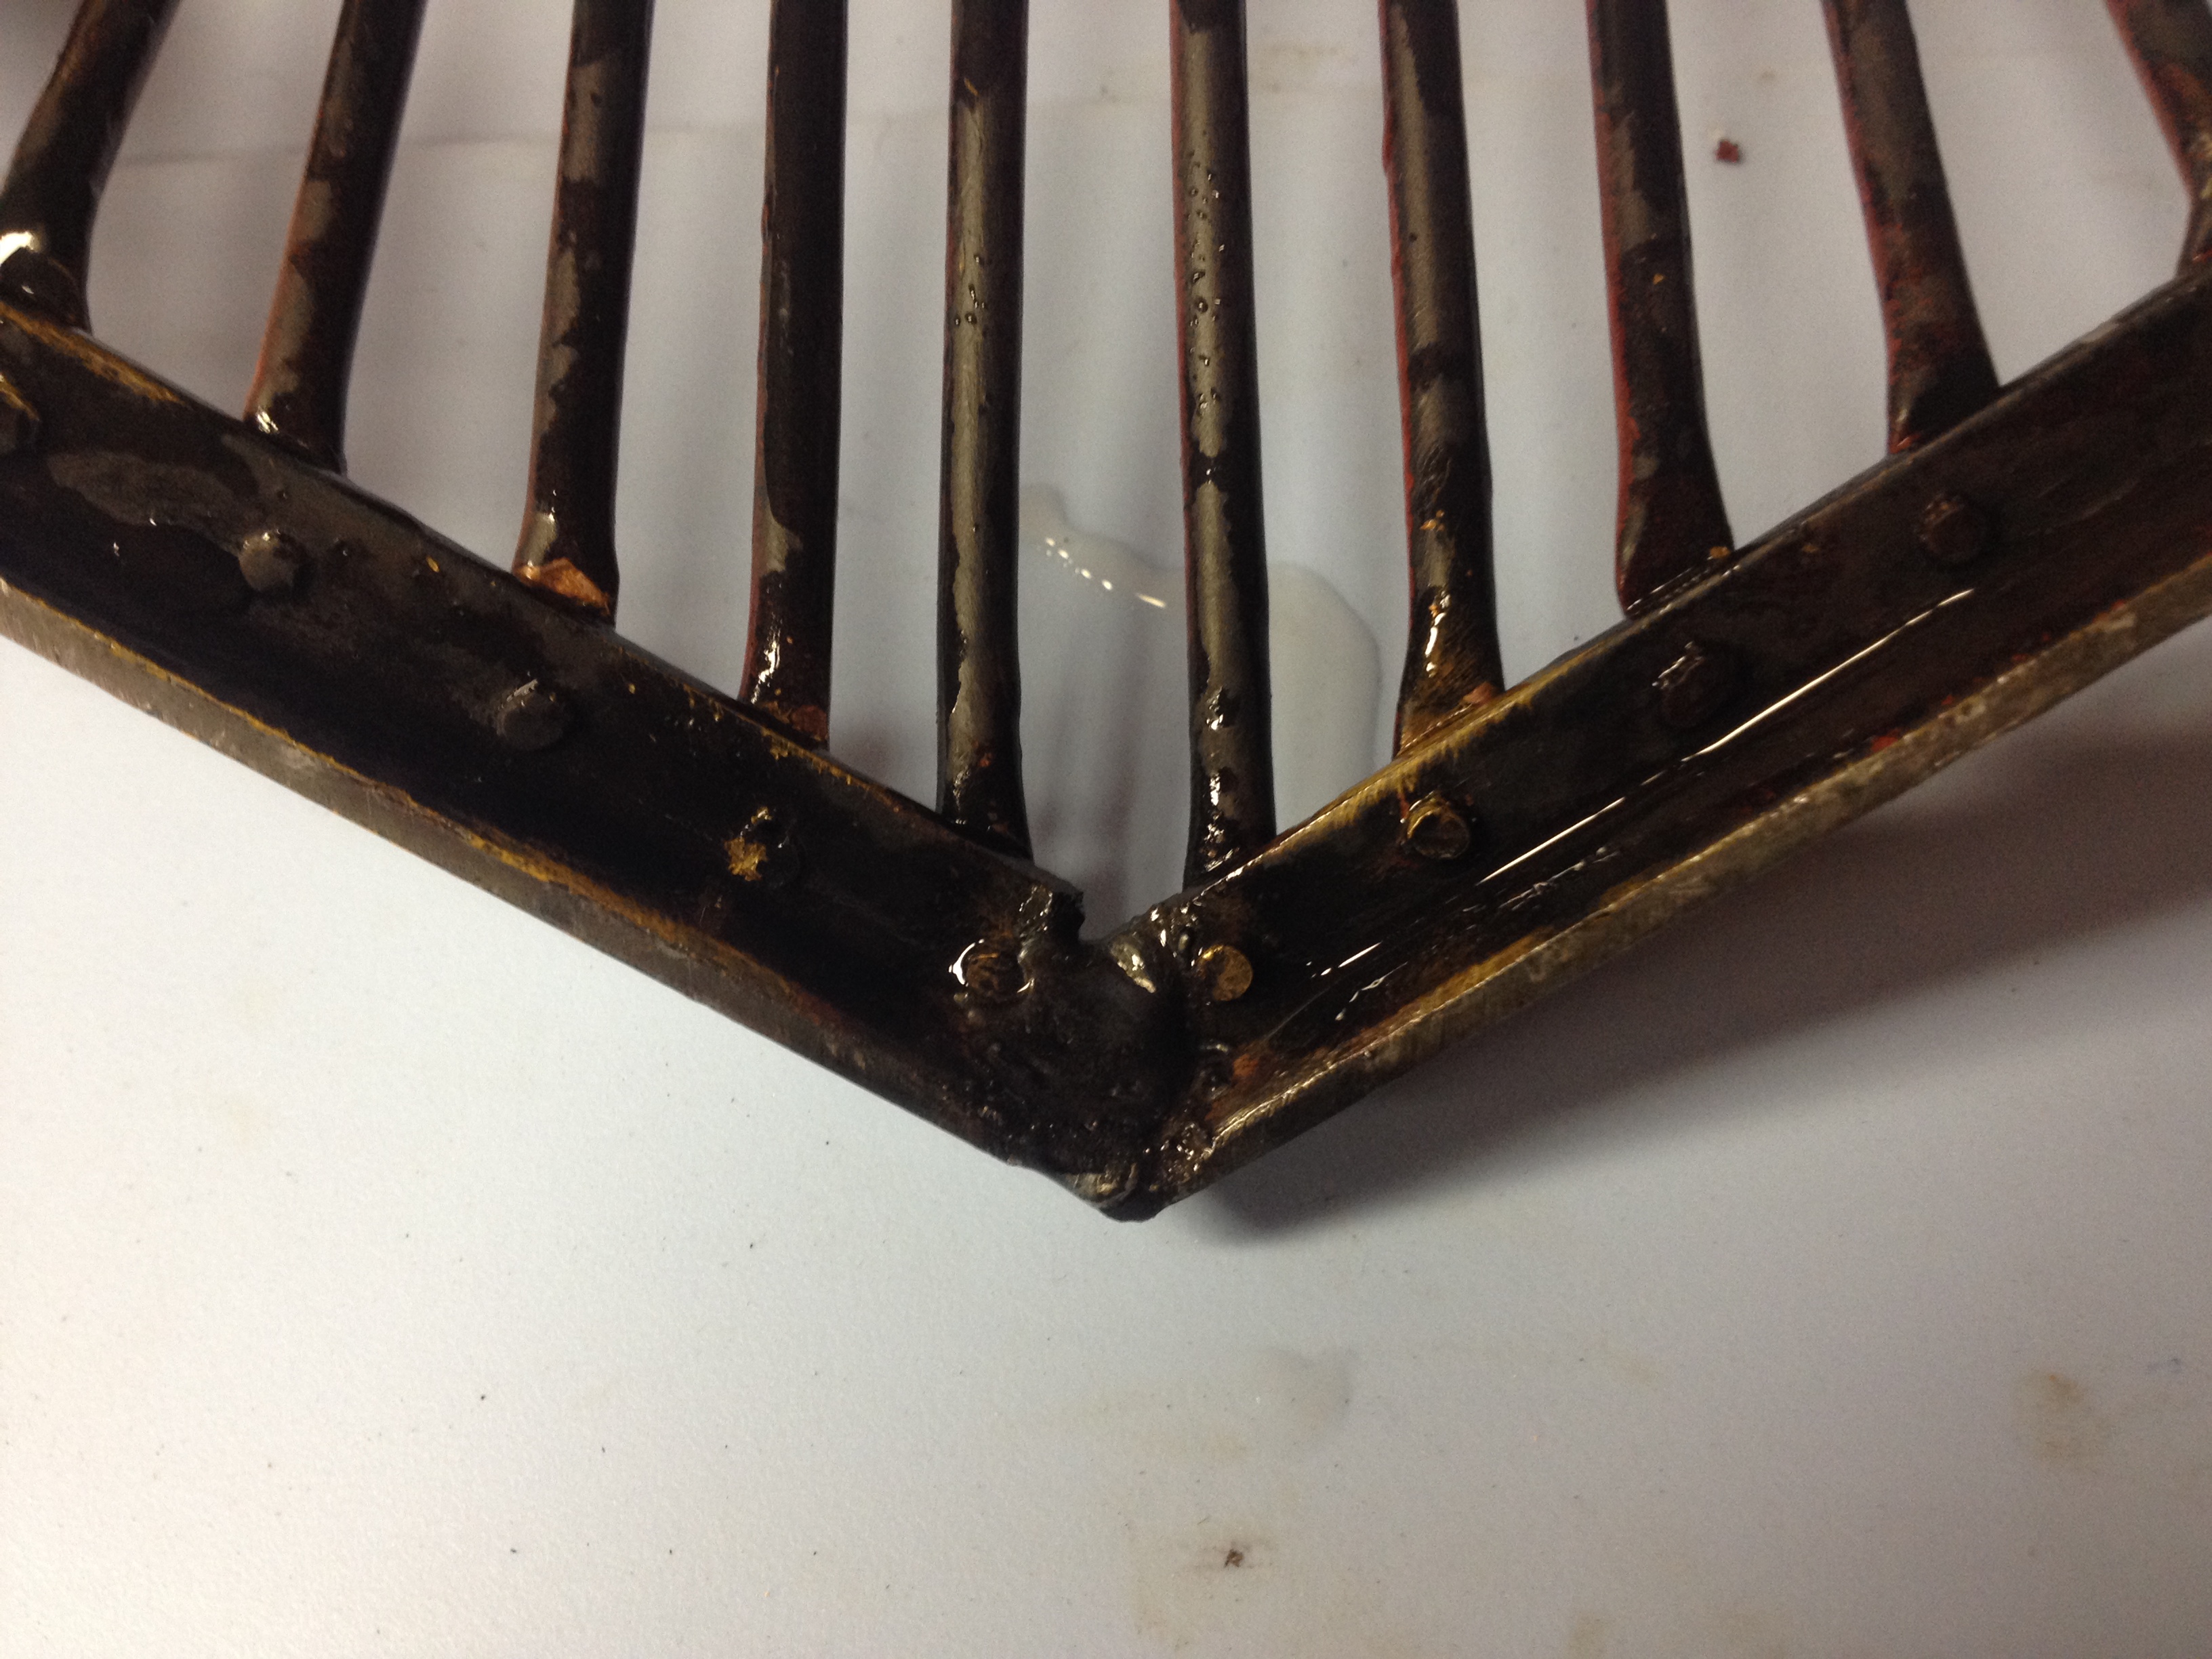
1.97 MB | Dnevil | Back side of cattle guard of Allen Mogule #486 shows weld repair at point seam. March 2014. Photo by Daris A Nevil. | 1 |
| 23:01, 30 March 2014 | 2014-03-15 20.47.06.jpg (file) |  |
2.5 MB | Dnevil | First coat of paint on the cow catcher and associated parts. Photo by Daris A Nevil, 2014. | 1 |
| 23:03, 30 March 2014 | 2014-03-17 20.29.31.jpg (file) |  |
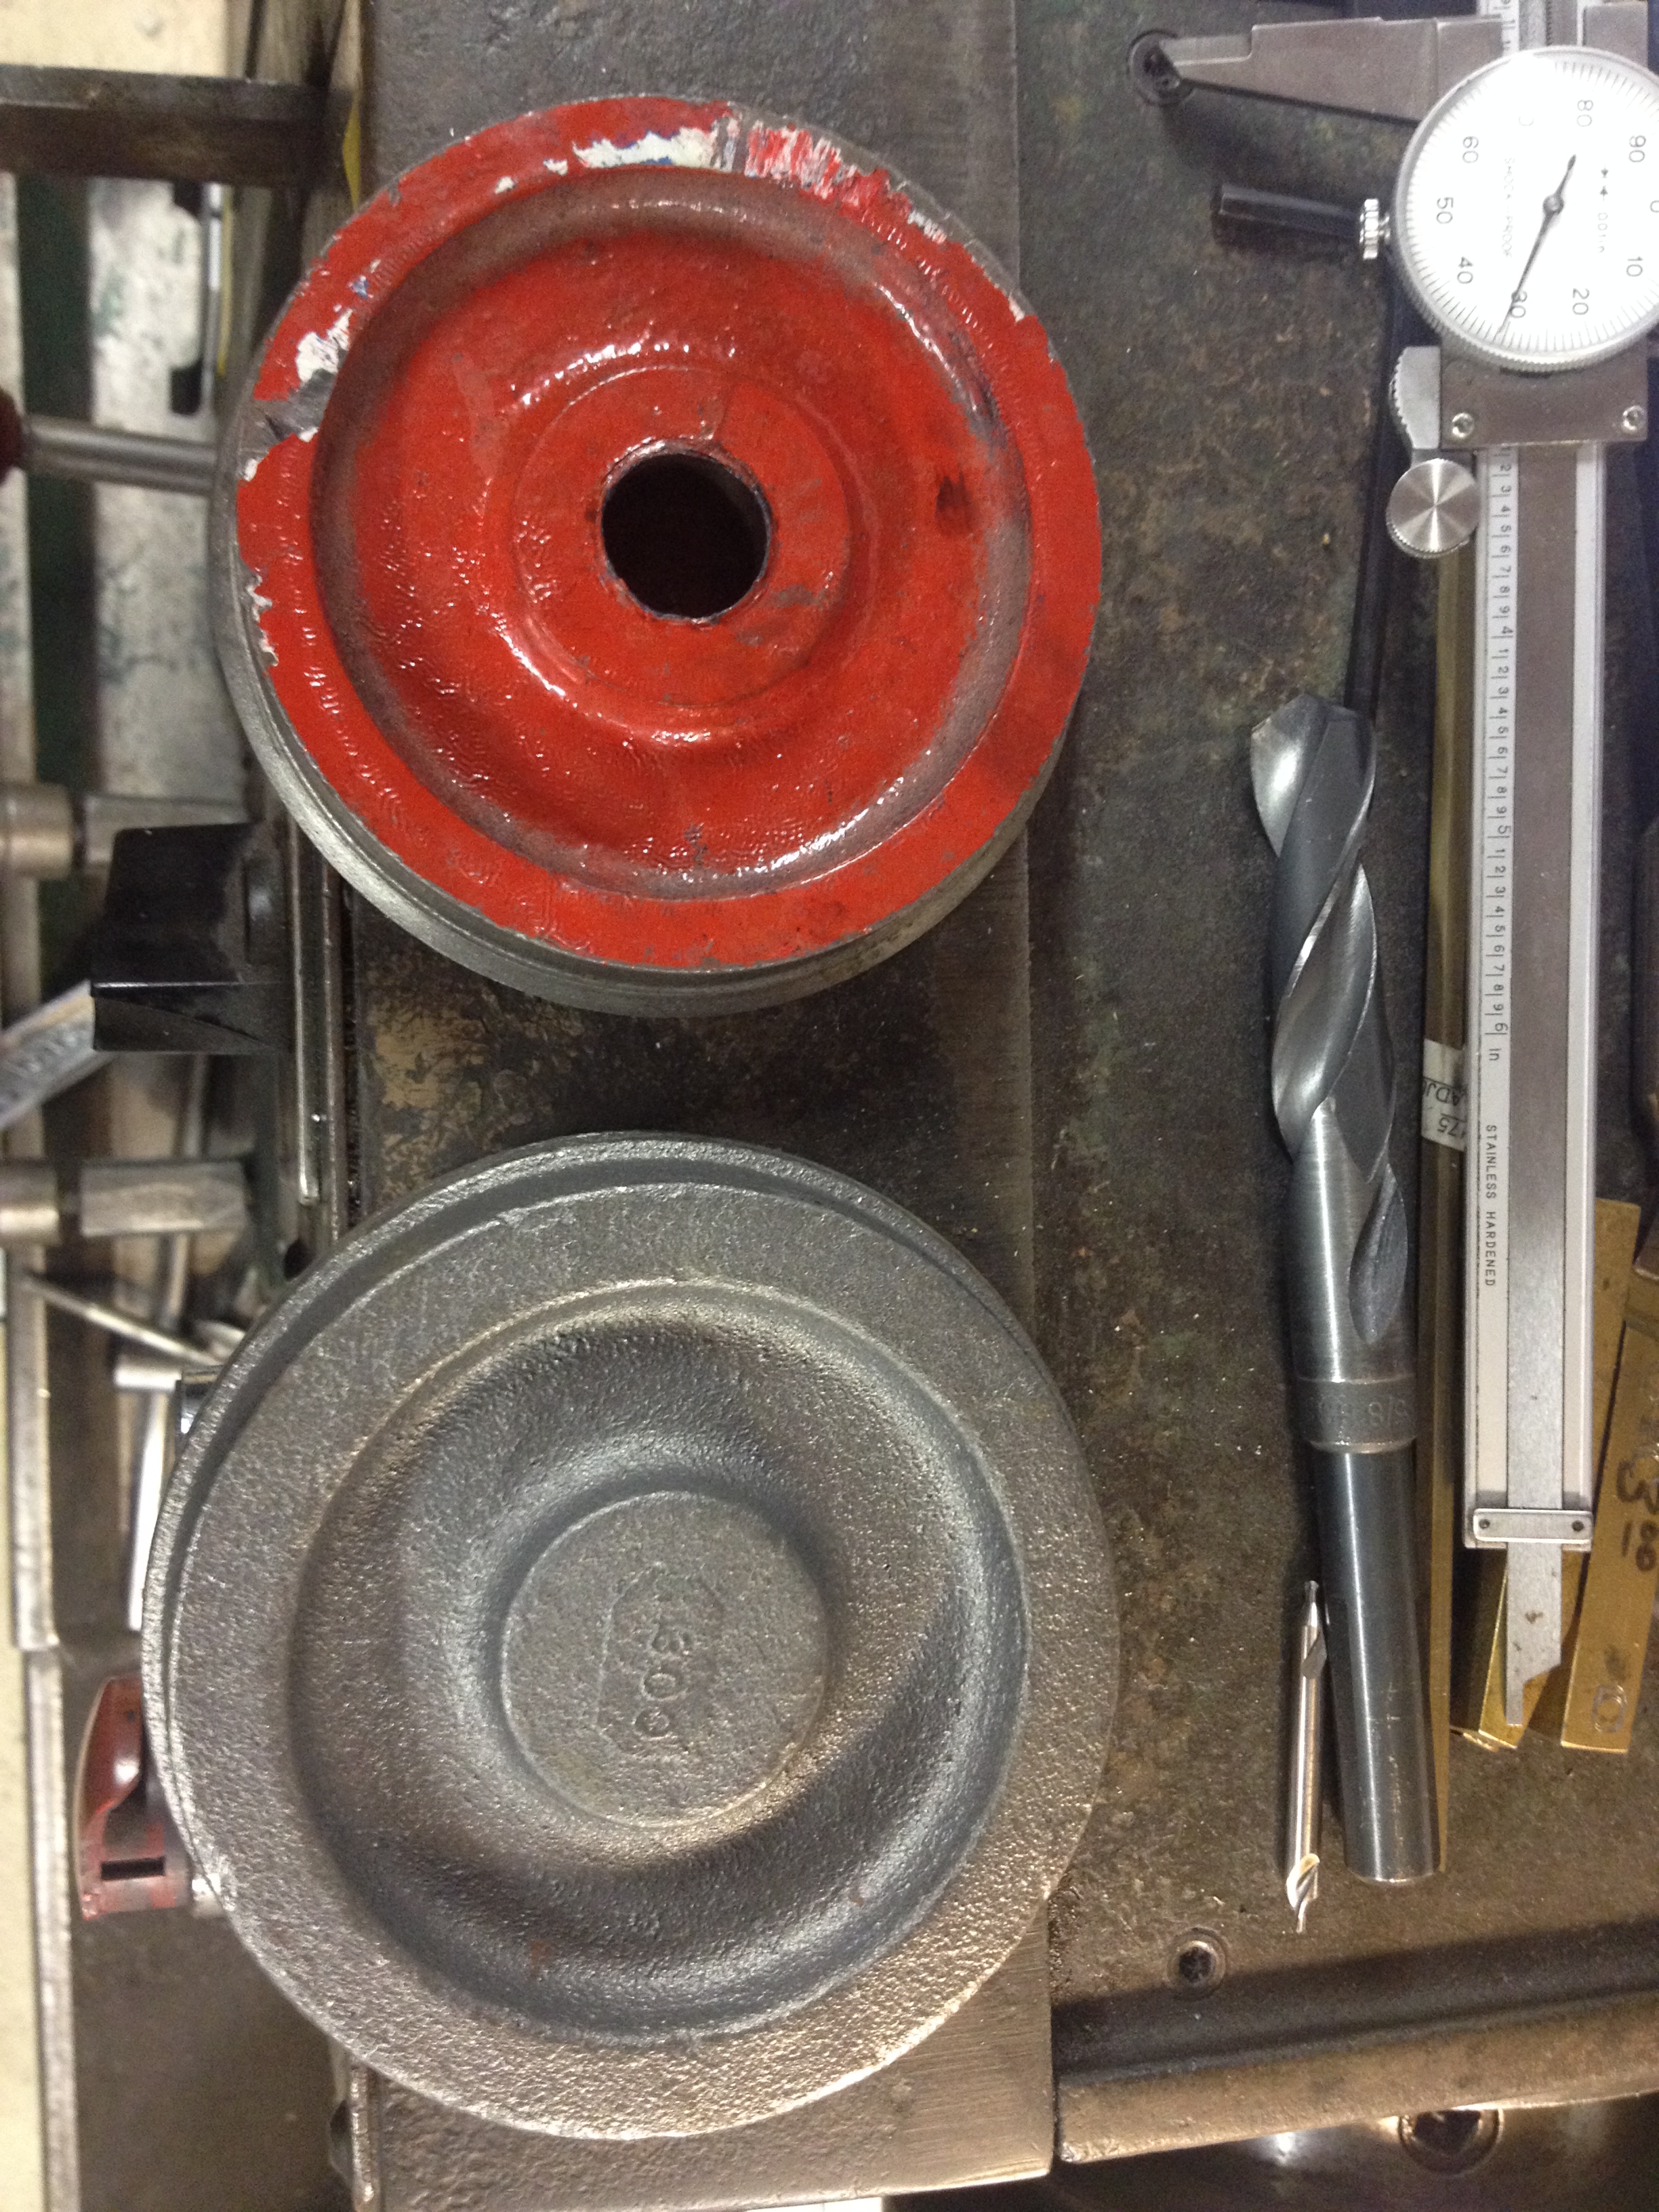
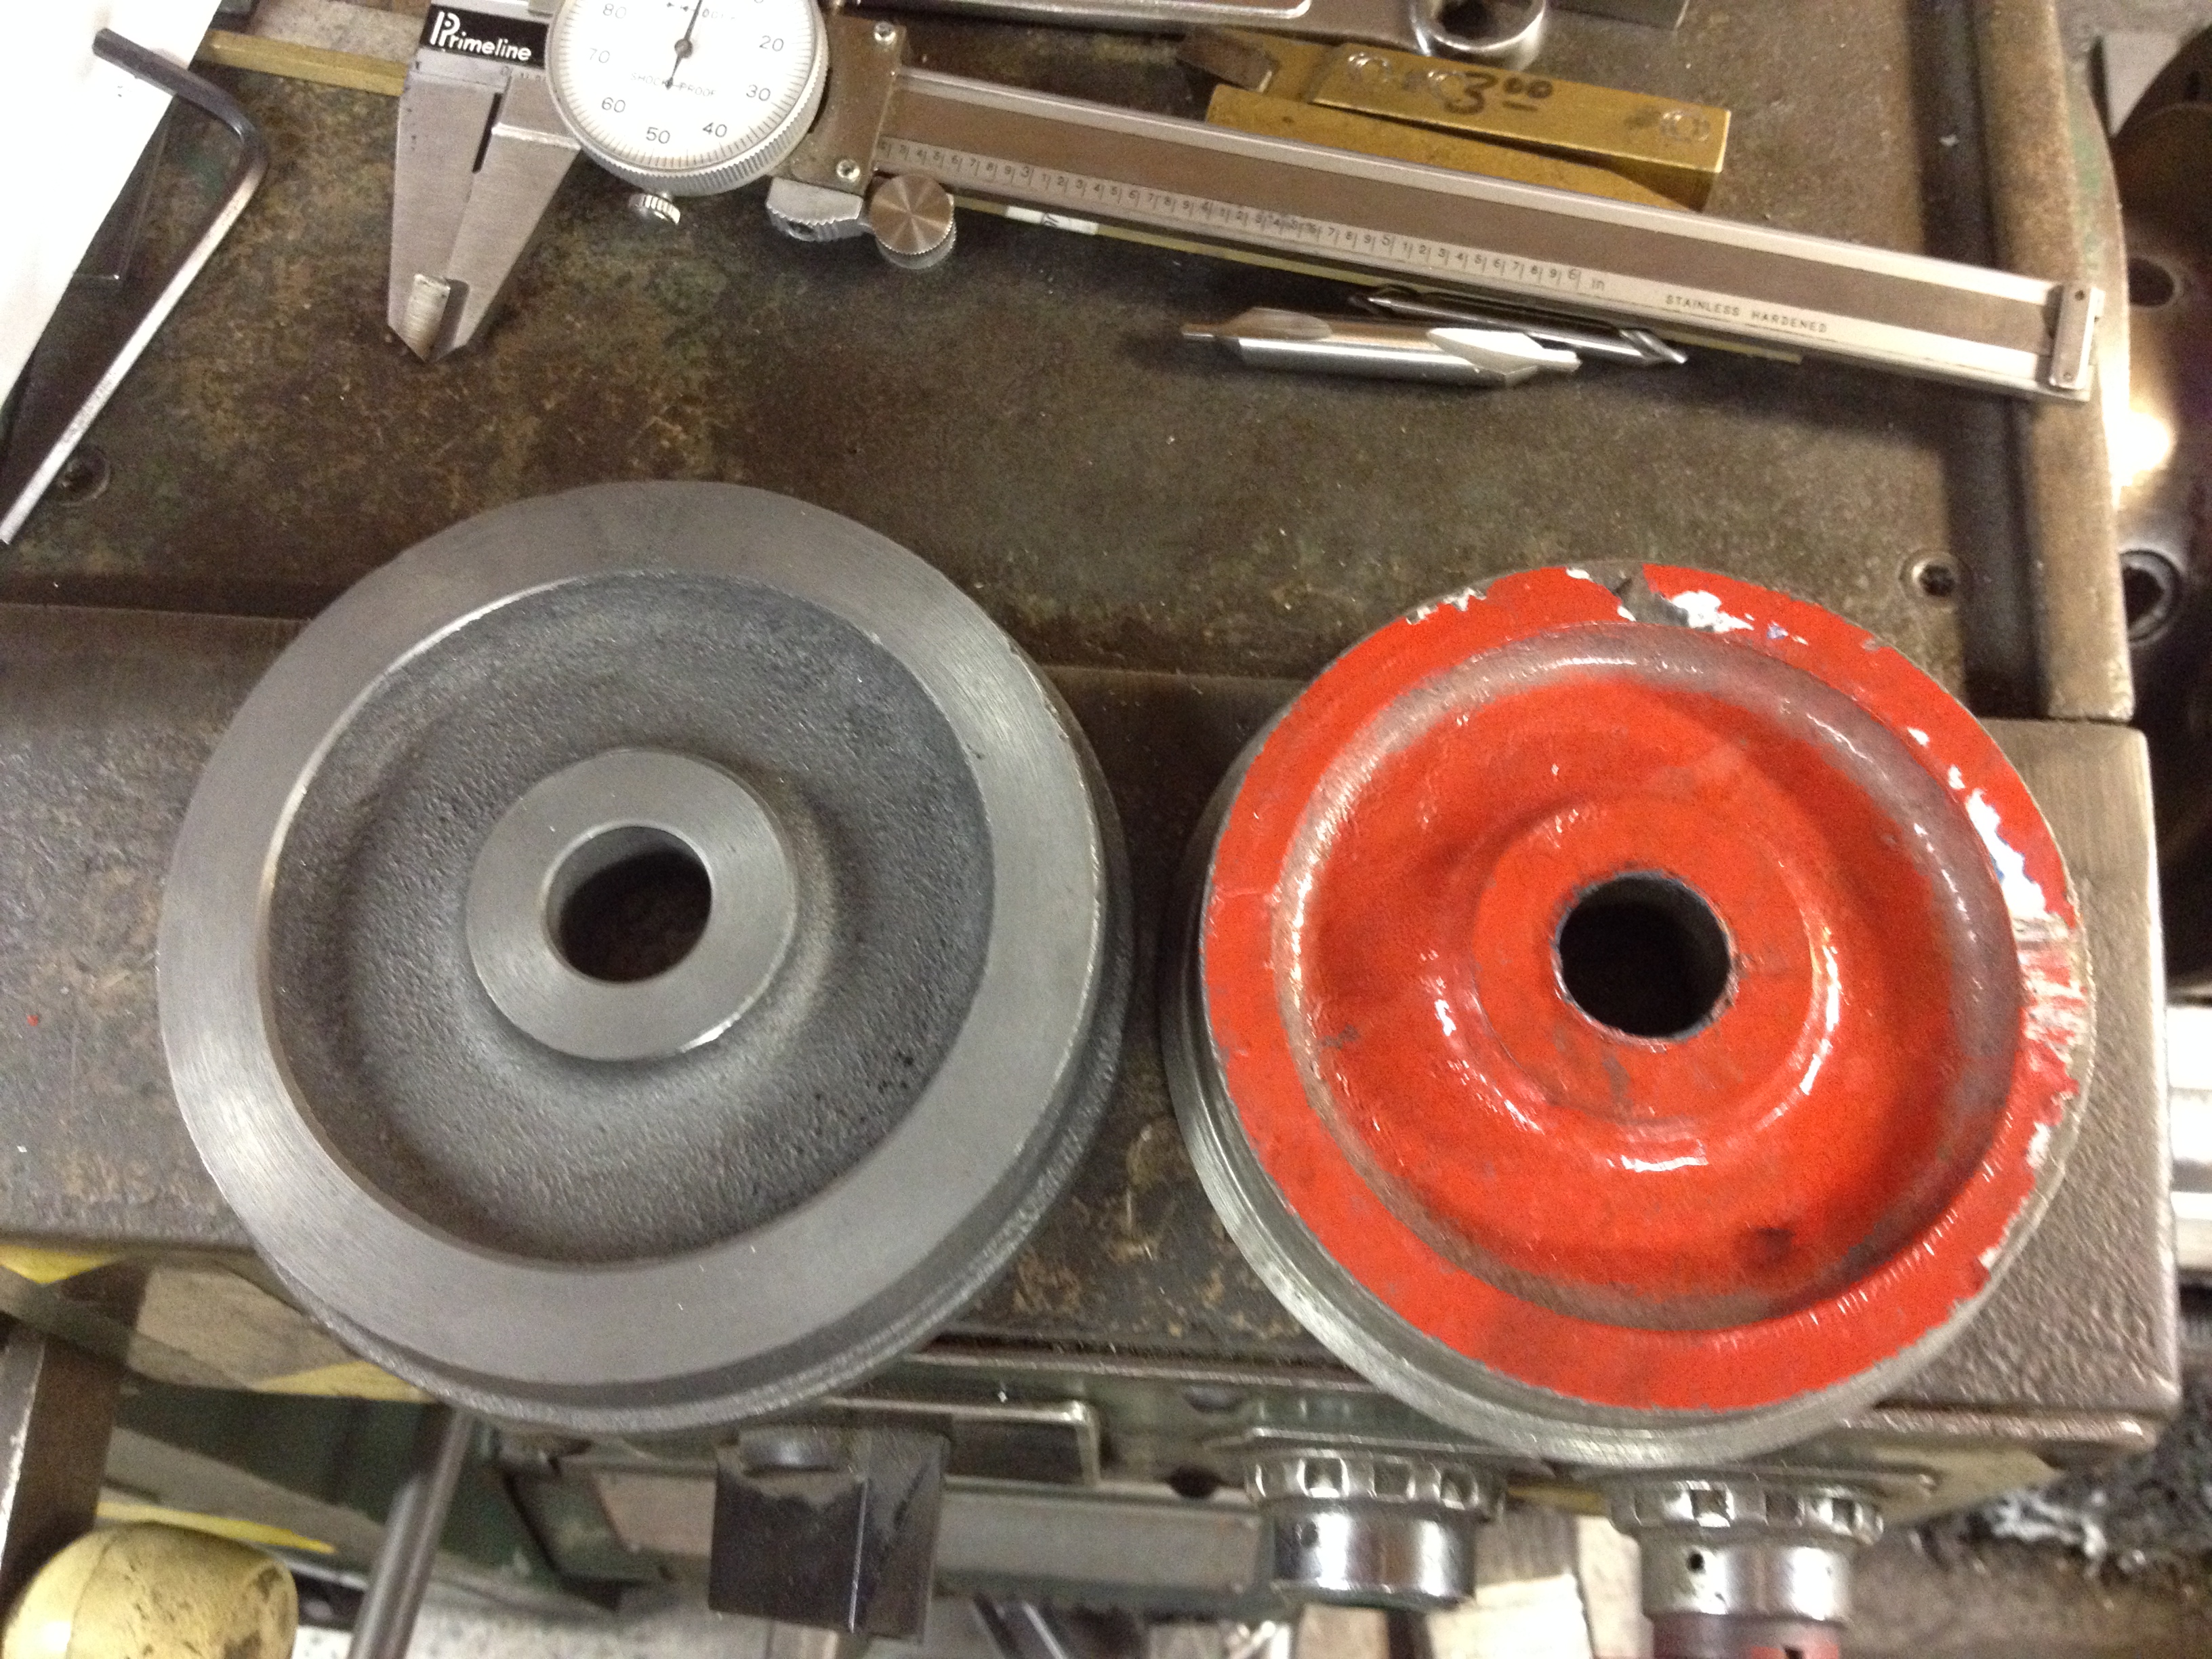
2.82 MB | Dnevil | Here is the worn wheel and the new blank, part number M300. I found out from Marty Knox that the M199 and M300 are the same casting. After I got off the phone, I saw the note on their price list that says the same. Duh! Photo by Daris A. Nevil, 2014. | 1 |
| 23:05, 30 March 2014 | 2014-03-17 20.29.45.jpg (file) |  |
2.22 MB | Dnevil | #486 temporarily "jacked up" on locomotive stand while repairs are underway. Photo by Daris A. Nevil, 2014. | 1 |
| 23:08, 30 March 2014 | 2014-03-17 20.46.01.jpg (file) |  |
1.93 MB | Dnevil | The wheel casting is mounted in the four jaw chuck. First operation is to center drill. Photo by Daris A. Nevil, 2014. | 1 |
| 23:09, 30 March 2014 | 2014-03-17 21.13.13.jpg (file) |  |
1.93 MB | Dnevil | Next operation: drill with 45/64 inch drill bit (not shown). I measured the size of the axle that the wheel would be pressed onto, and it was 0.751 inches. So I bored the hole to 0.749 for a tight fit (shown here). Photo by Daris A. Nevil, 2014. | 1 |
| 23:12, 30 March 2014 | 2014-03-17 21.37.48.jpg (file) |  |
2.02 MB | Dnevil | Made 4 facing cut passes taking 0.020 inches off each pass. Photo by Daris A. Nevil, 2014. | 1 |
| 23:14, 30 March 2014 | 2014-03-18 21.30.23.jpg (file) |  |
1.66 MB | Dnevil | Turned the wheel around in the chuck, and made sure the front face was firmly pressed against the chuck face. Then made several face cuts of 0.020 inches each until the wheel was 0.8125 inches thick, per the Allen drawing. Photo by Daris A. Nevil, 2014. | 1 |
| 23:21, 30 March 2014 | 2014-03-19 21.18.13.jpg (file) |  |
2.87 MB | Dnevil | Here is the bored and faced wheel compared to the worn wheel. I will press the new wheel onto the axle, then cut the tread. This will assure that the tread is cut concentric with the axle. Photo by Daris A. Nevil, 2014. | 1 |
| 23:16, 30 March 2014 | 2014-03-19 21.22.30.jpg (file) |  |
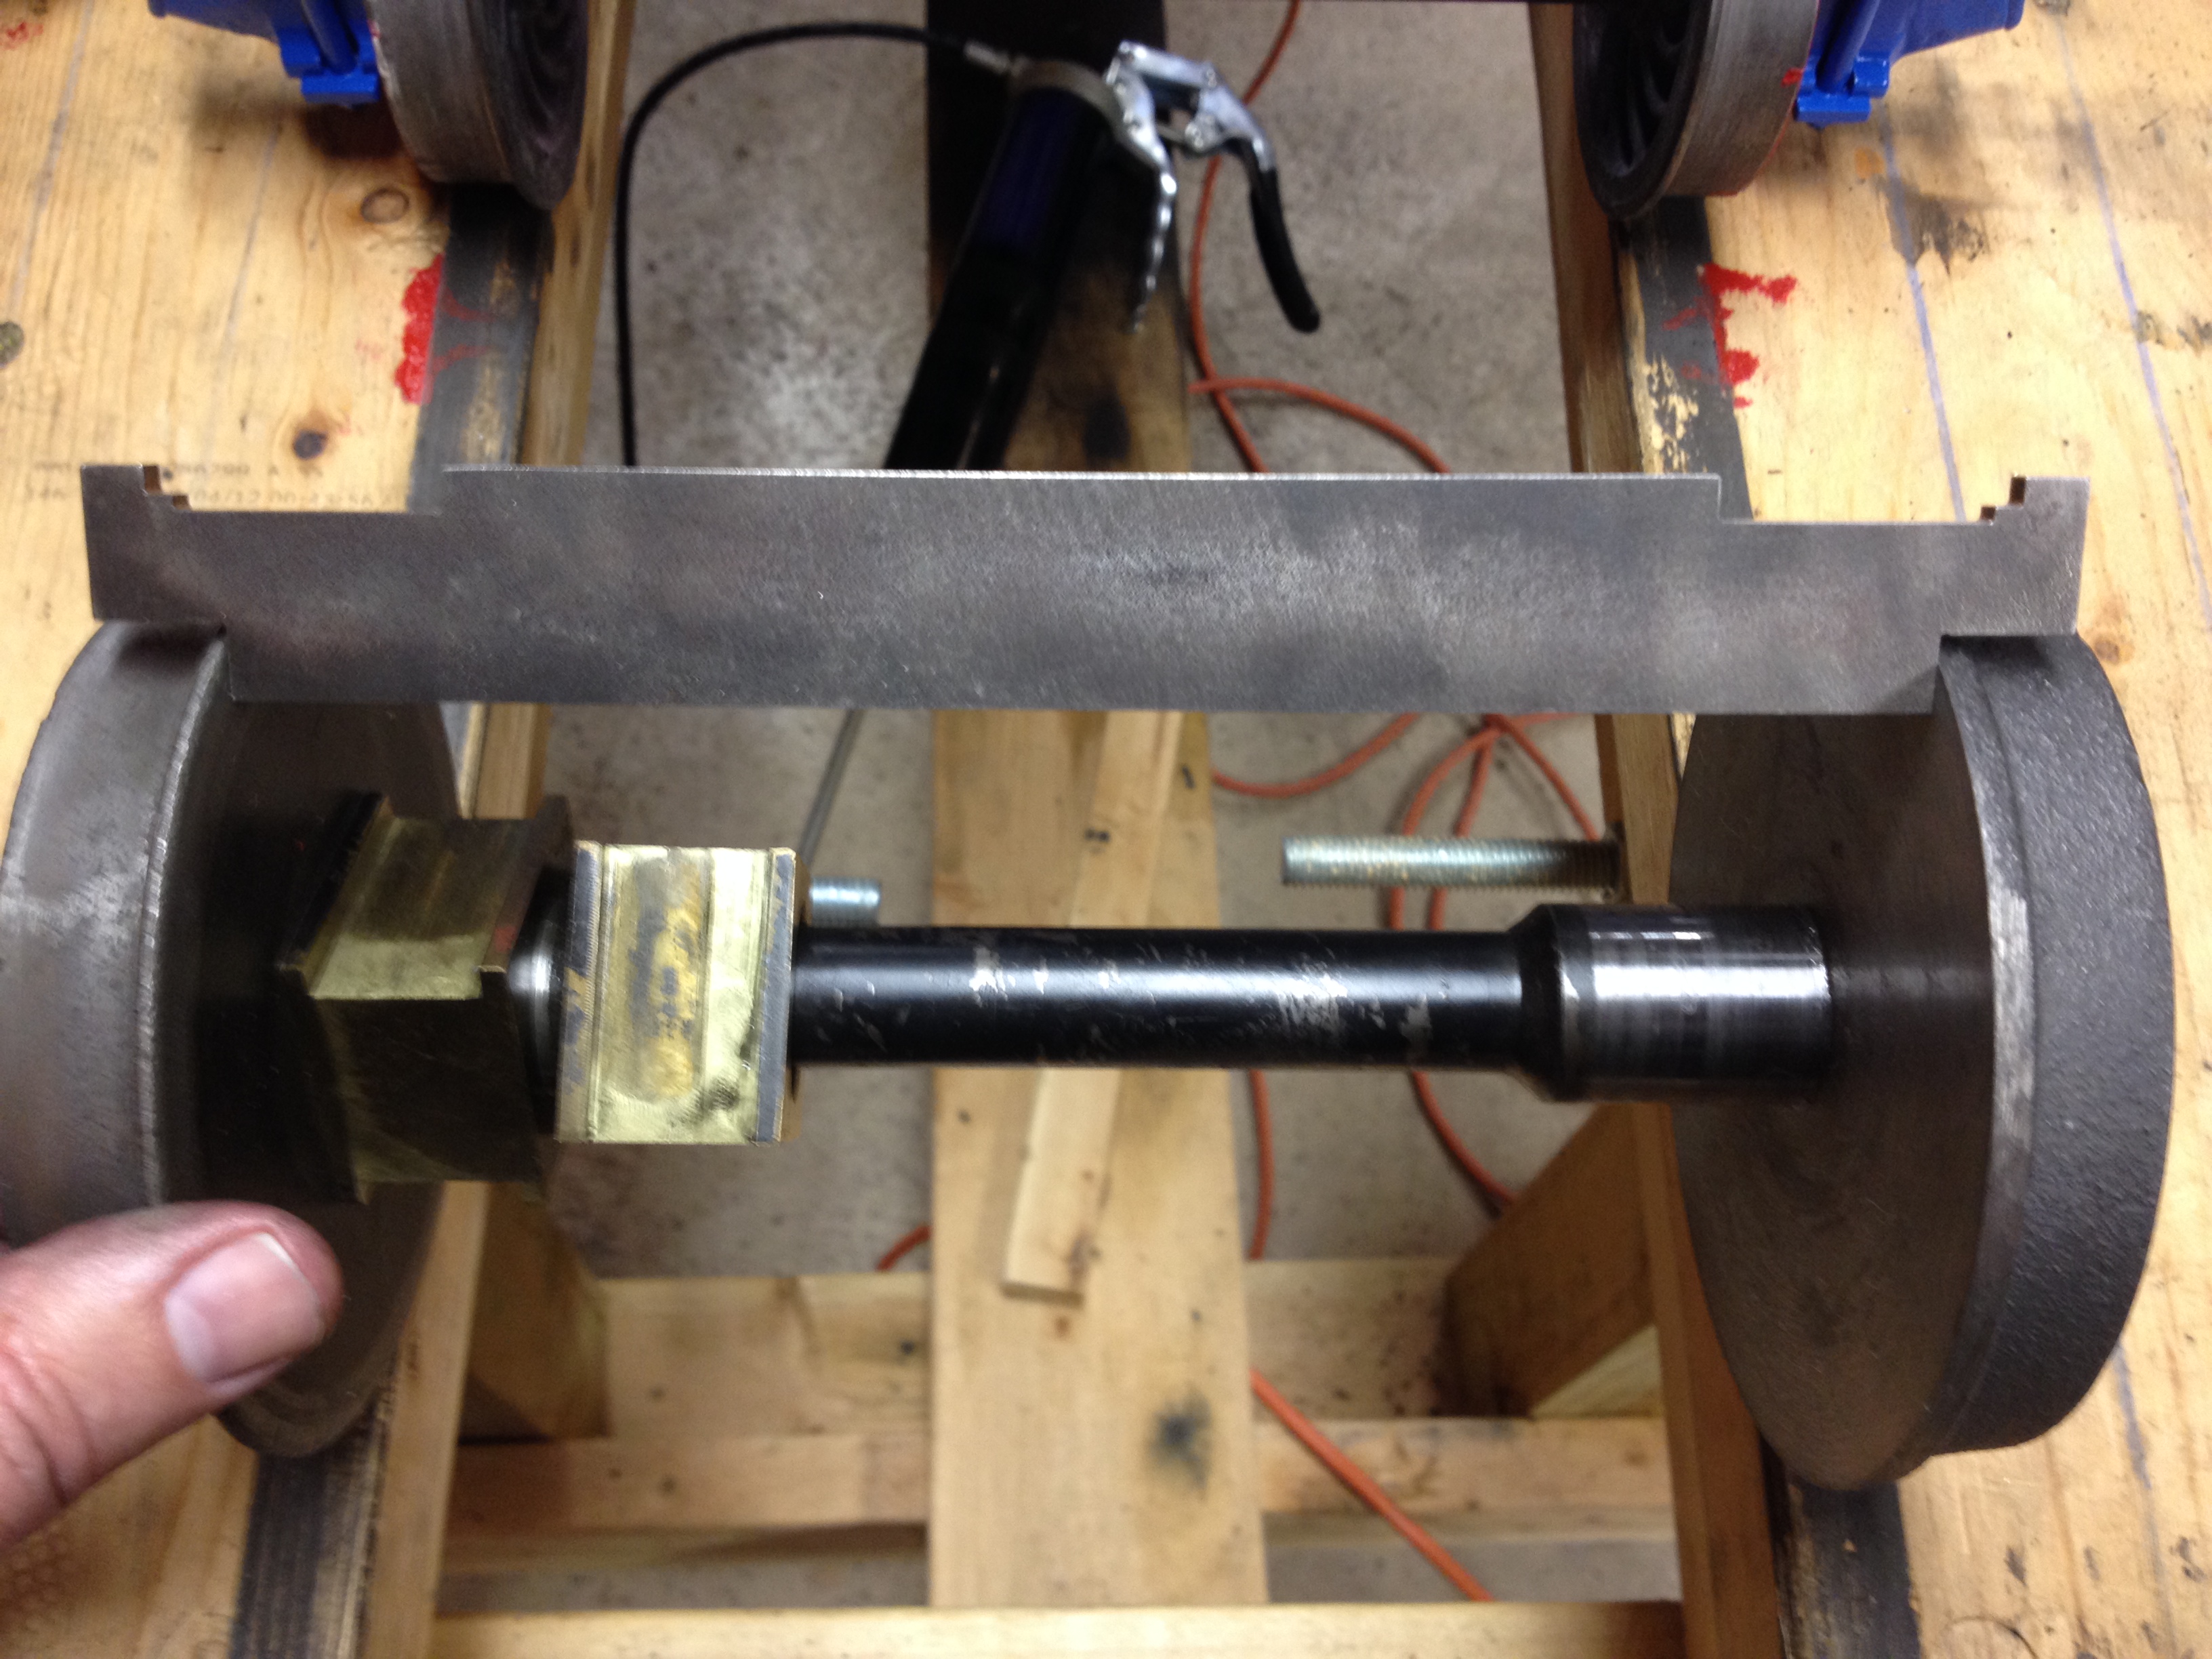
2.53 MB | Dnevil | Here I am preparing to press the wheel onto the axle. Notice that the bearings are already on the axle! Photo by Daris A. Nevil, 2014. | 1 |
| 23:19, 30 March 2014 | 2014-03-19 21.26.46.jpg (file) |  |
1.93 MB | Dnevil | The wheel gauge shows the back-to-back dimension is correct, per IBLS Wheel Standard. Photo by Daris A. Nevil, 2014. | 1 |
| 23:24, 30 March 2014 | 2014-03-29 14.54.22.jpg (file) |  |
1.44 MB | Dnevil | Machining the tread and flange of the new wheel. I know this is not the best setup. Typically you would machine "between centers"; a live center in the tailstock and a dead center in the headstock. I don't have a "dog" that will transfer motion to the ... | 1 |
| 23:29, 30 March 2014 | 2014-03-29 15.00.57.jpg (file) |  |
3.9 MB | Dnevil | I use my dial calipers as a poor man's DRO (digital readout). I take an initial measurement with the dial calipers. With each cut I decrease the dial calipers by that amount. I continue taking 20 mil (0.020 inches) cuts across the tread until I am with... | 1 |
| 23:32, 30 March 2014 | 2014-03-29 16.33.08.jpg (file) |  |
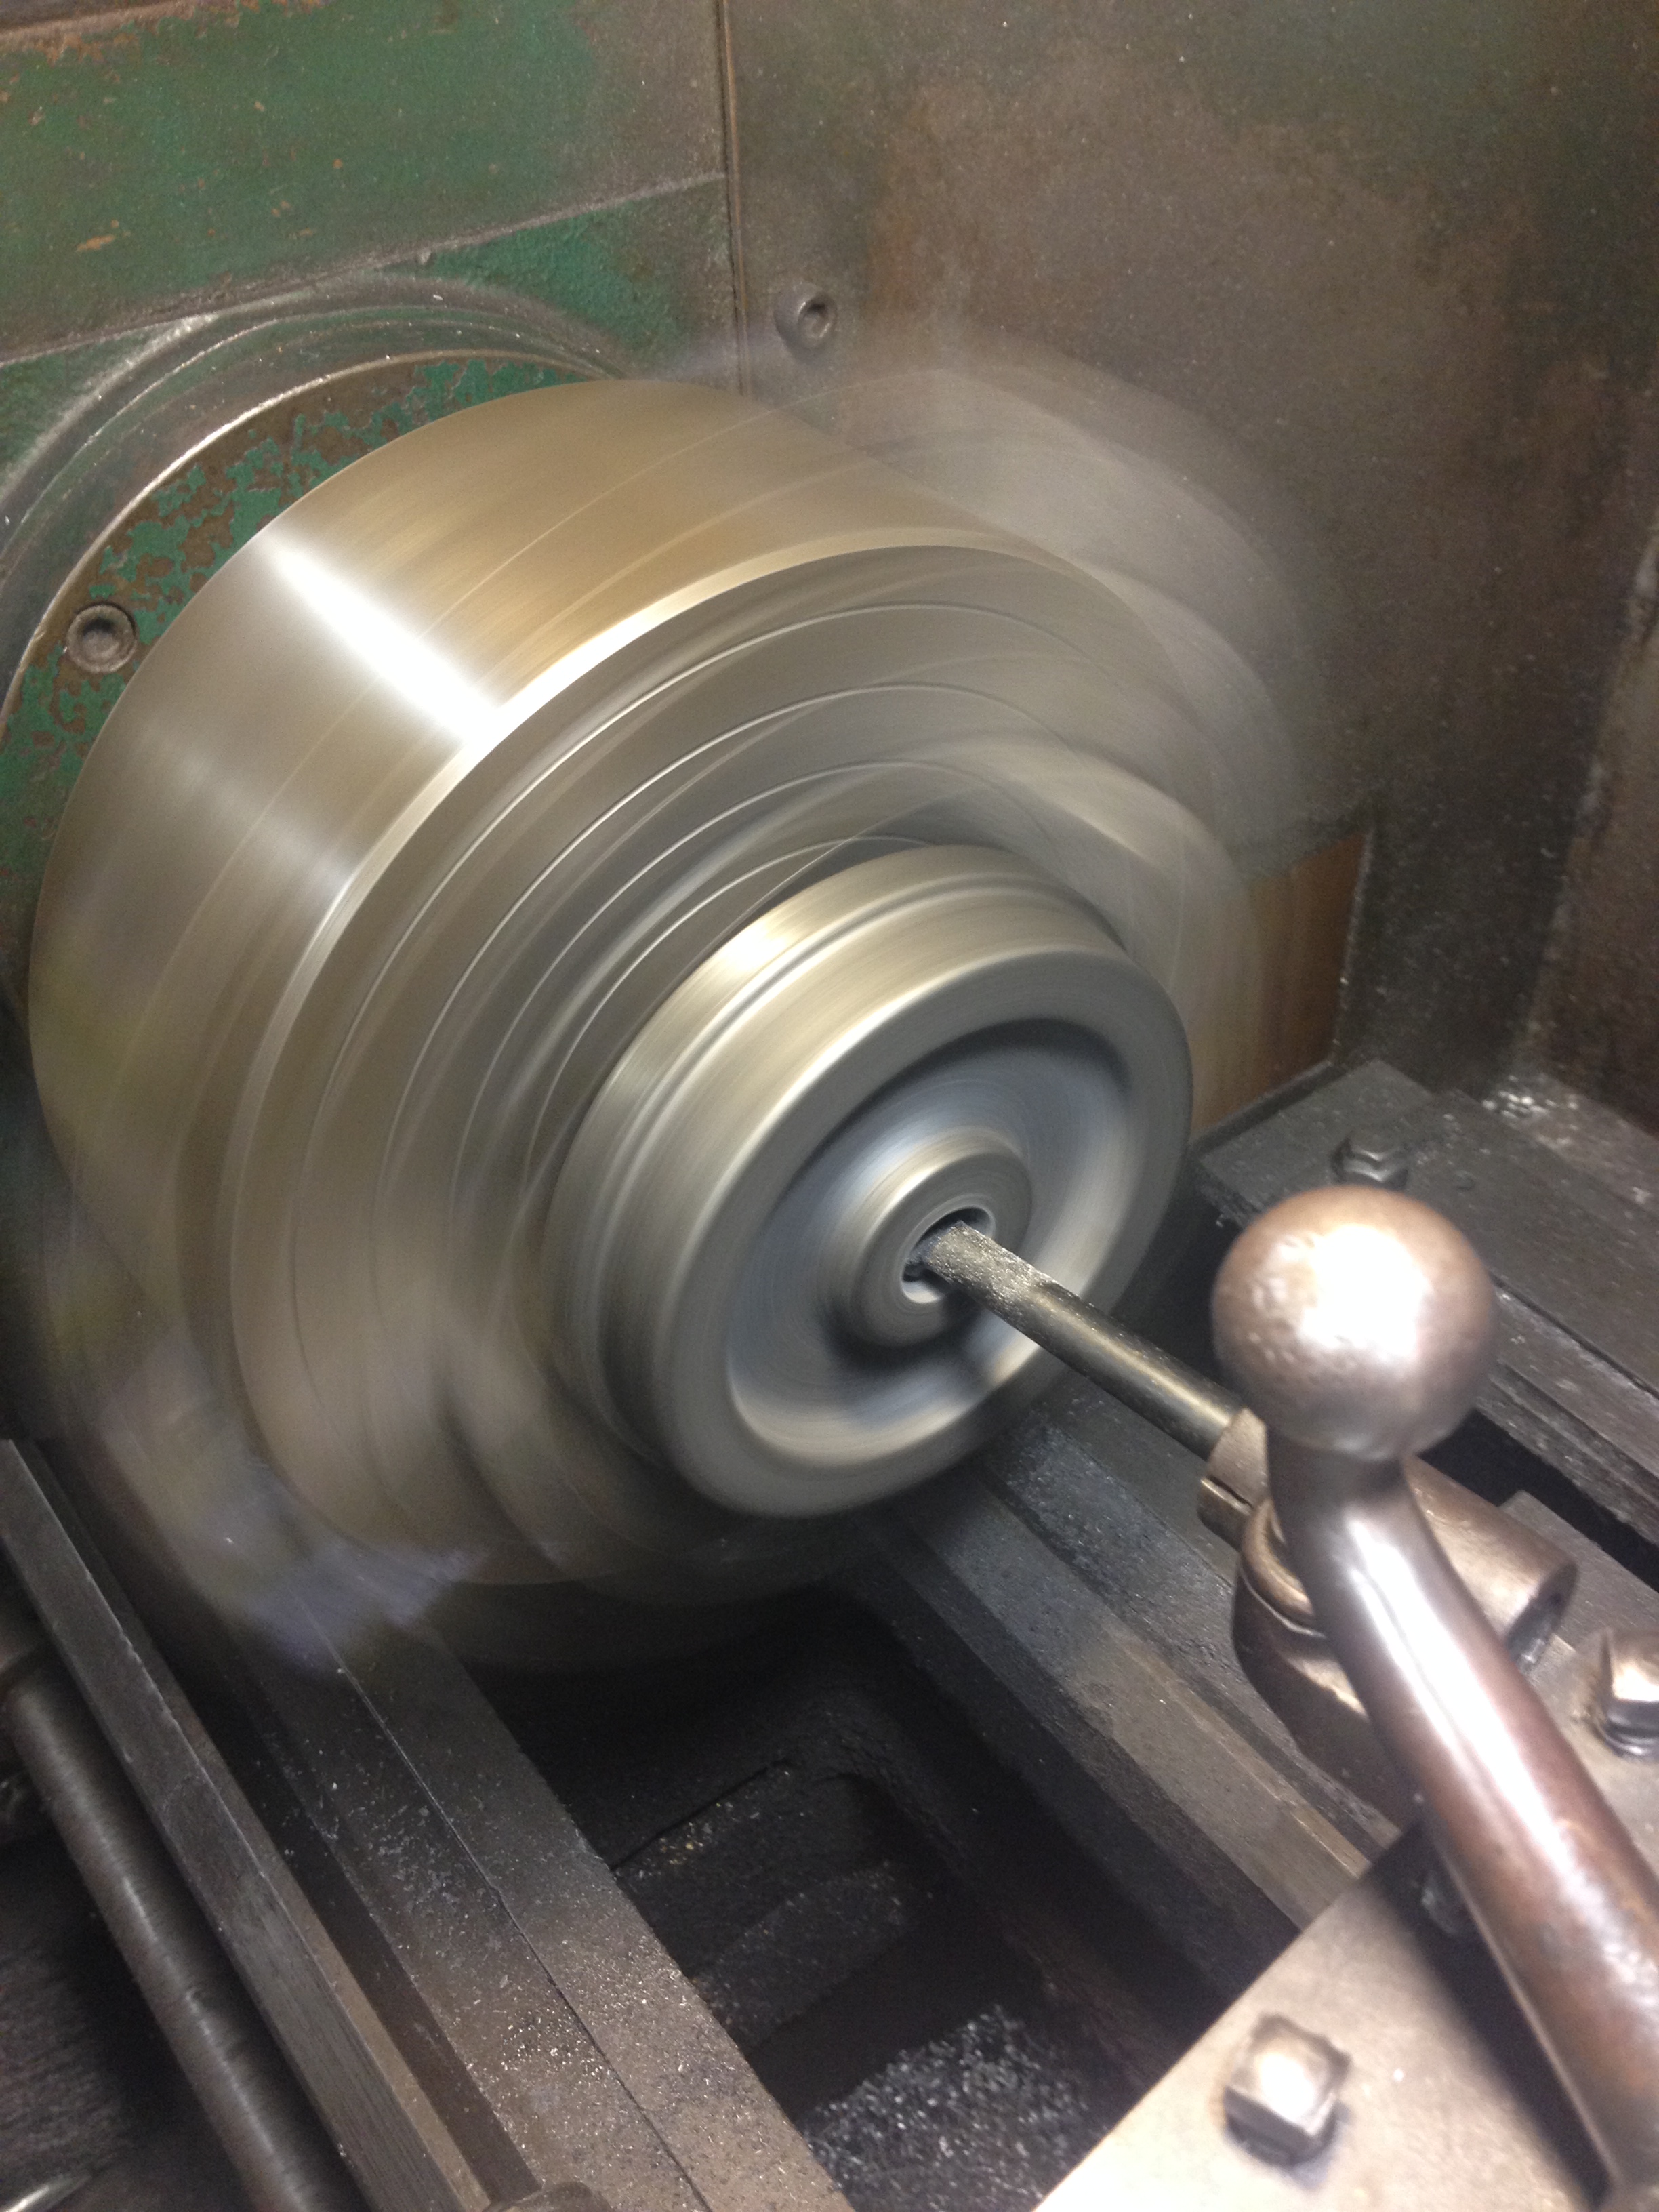
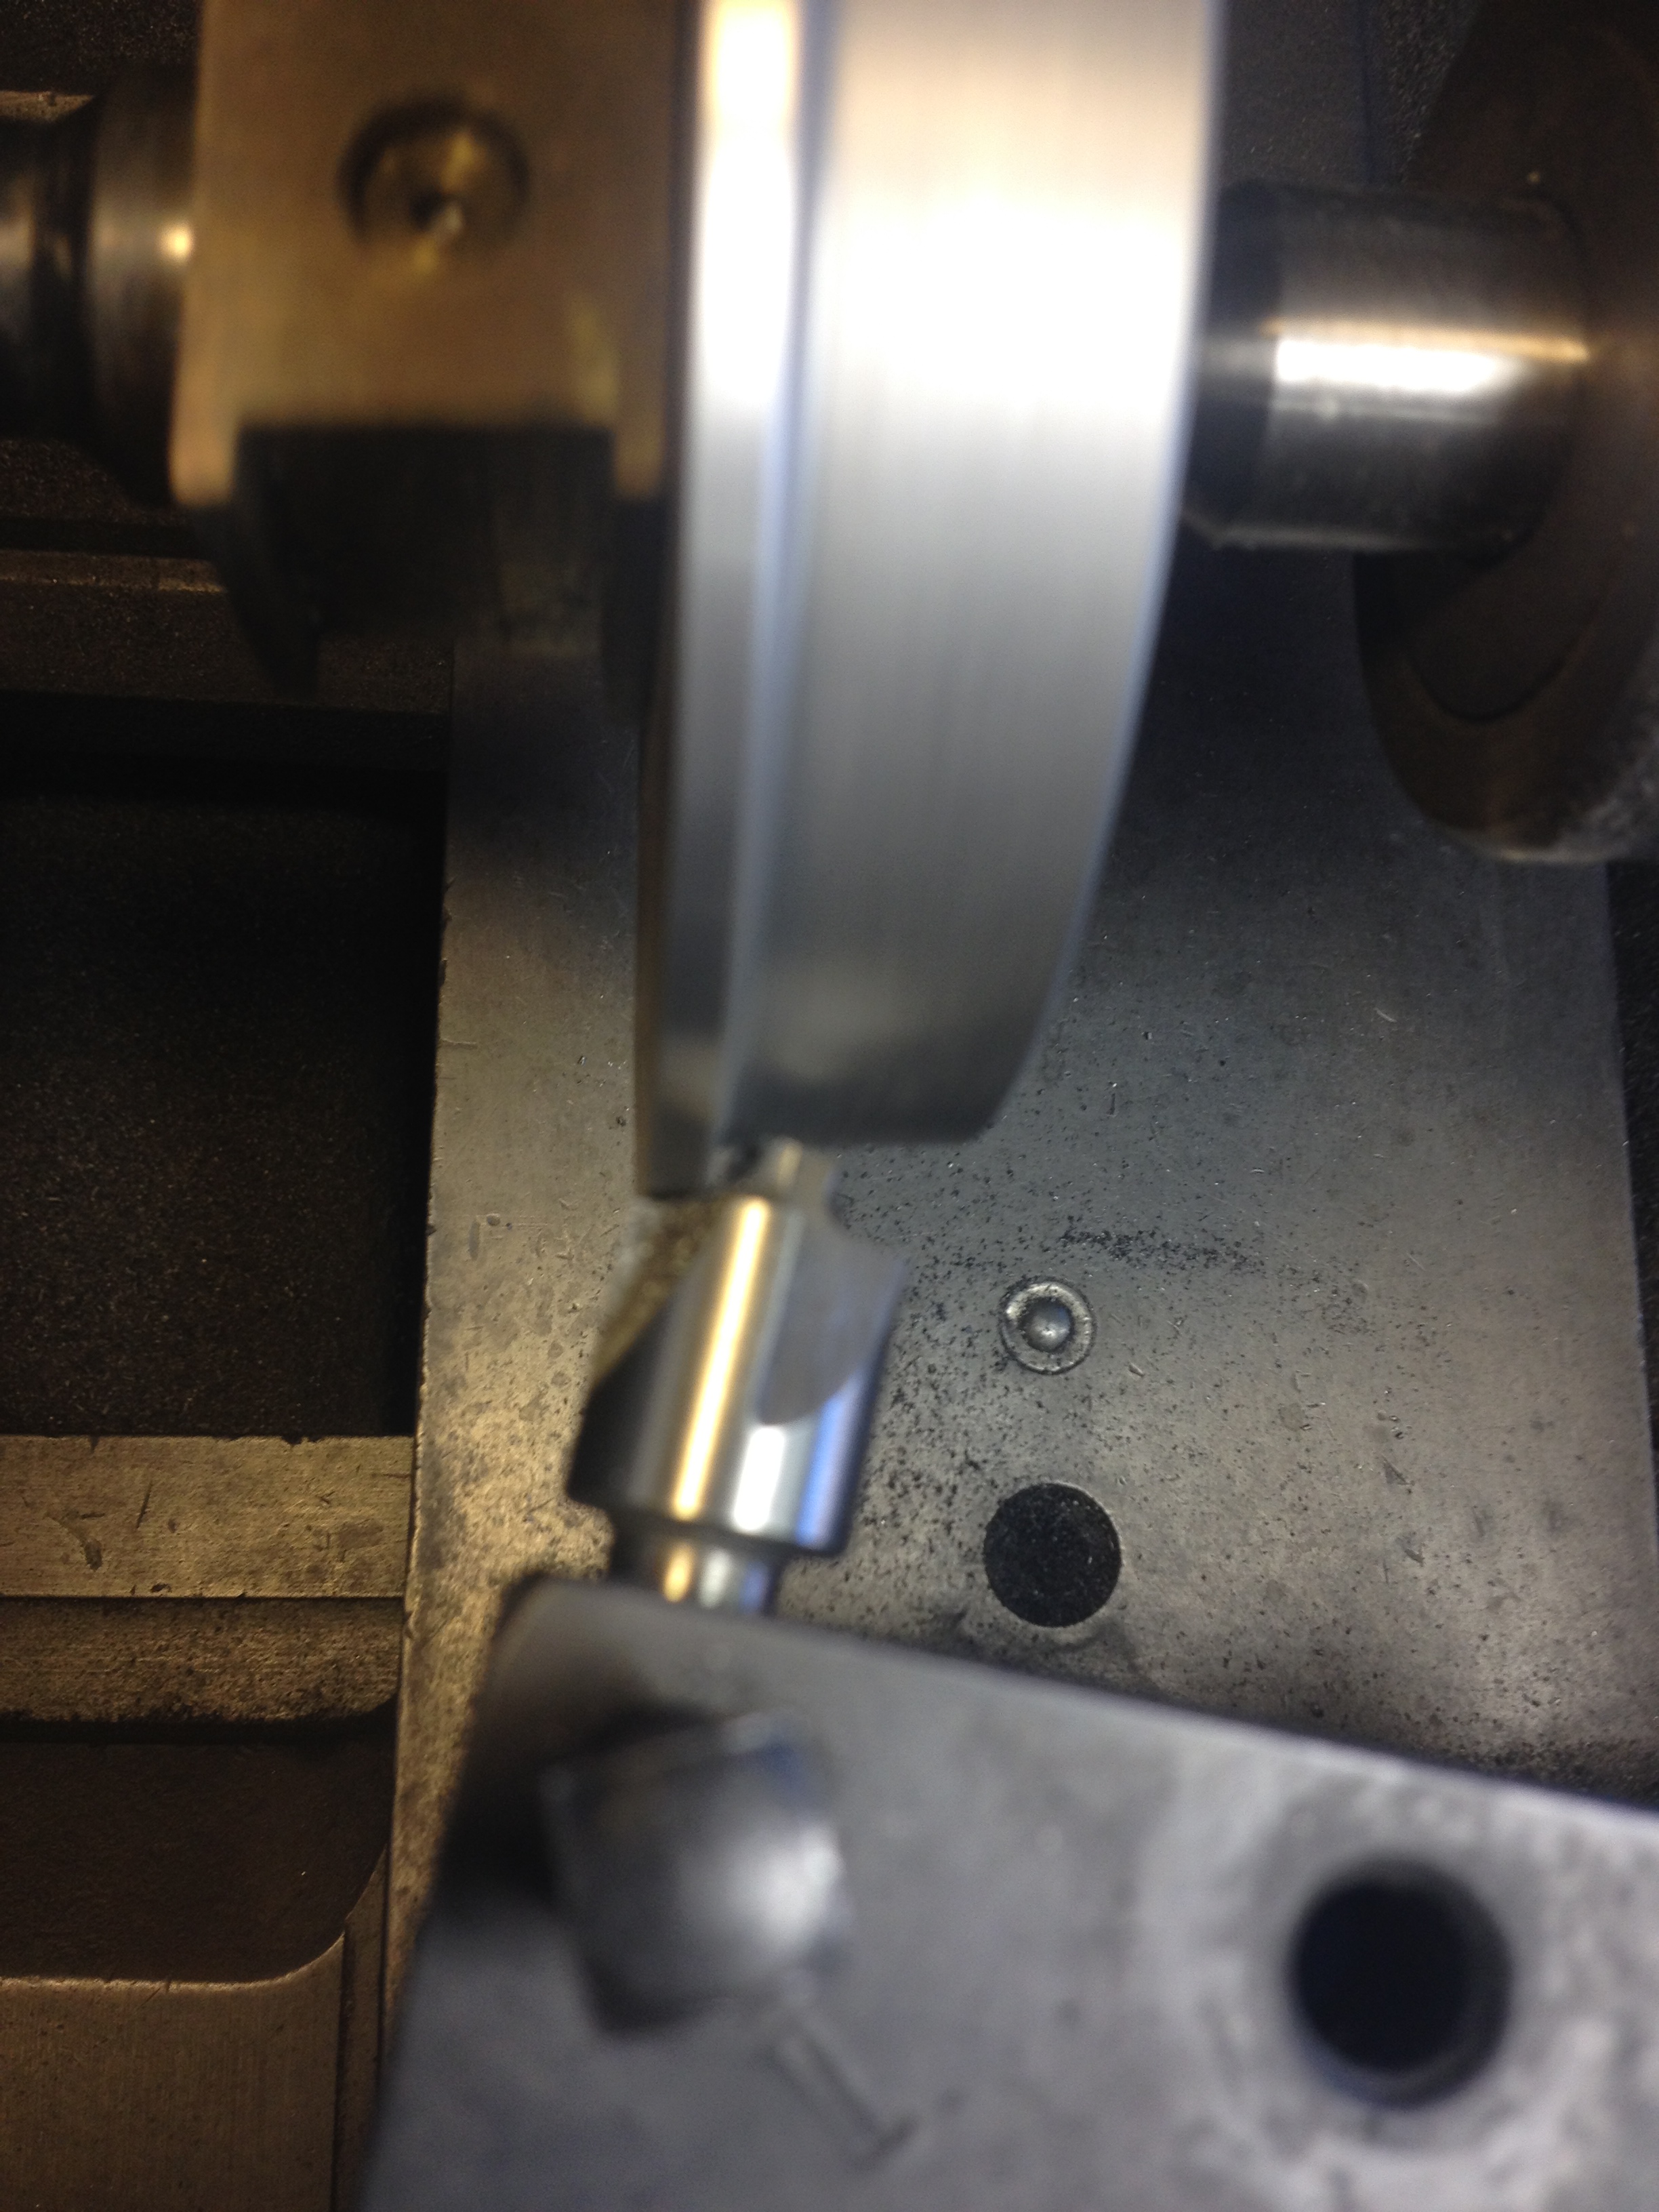
1.63 MB | Dnevil | This is the final cut across the tread, taking the last 5 mils off. This is at an angle of 2-5/6 degrees per IBLS spec. The final tread diameter is 4.000 inch its widest point next to the flange. Most cuts were performed at 1600 rpm. Slowed to 300 rpm ... | 1 |
| 23:35, 30 March 2014 | 2014-03-29 16.41.11.jpg (file) |  |
1.79 MB | Dnevil | What kind of cutter is this? Here is a trick l learned from an experienced machinist. The surplus store where I purchase tools did not have a cutting tool with the proper diameter for the flanges. The machinist said "you have to improvise with what you... | 1 |
| 22:00, 18 April 2014 | 2014-04-08 21.28.24.jpg (file) |  |
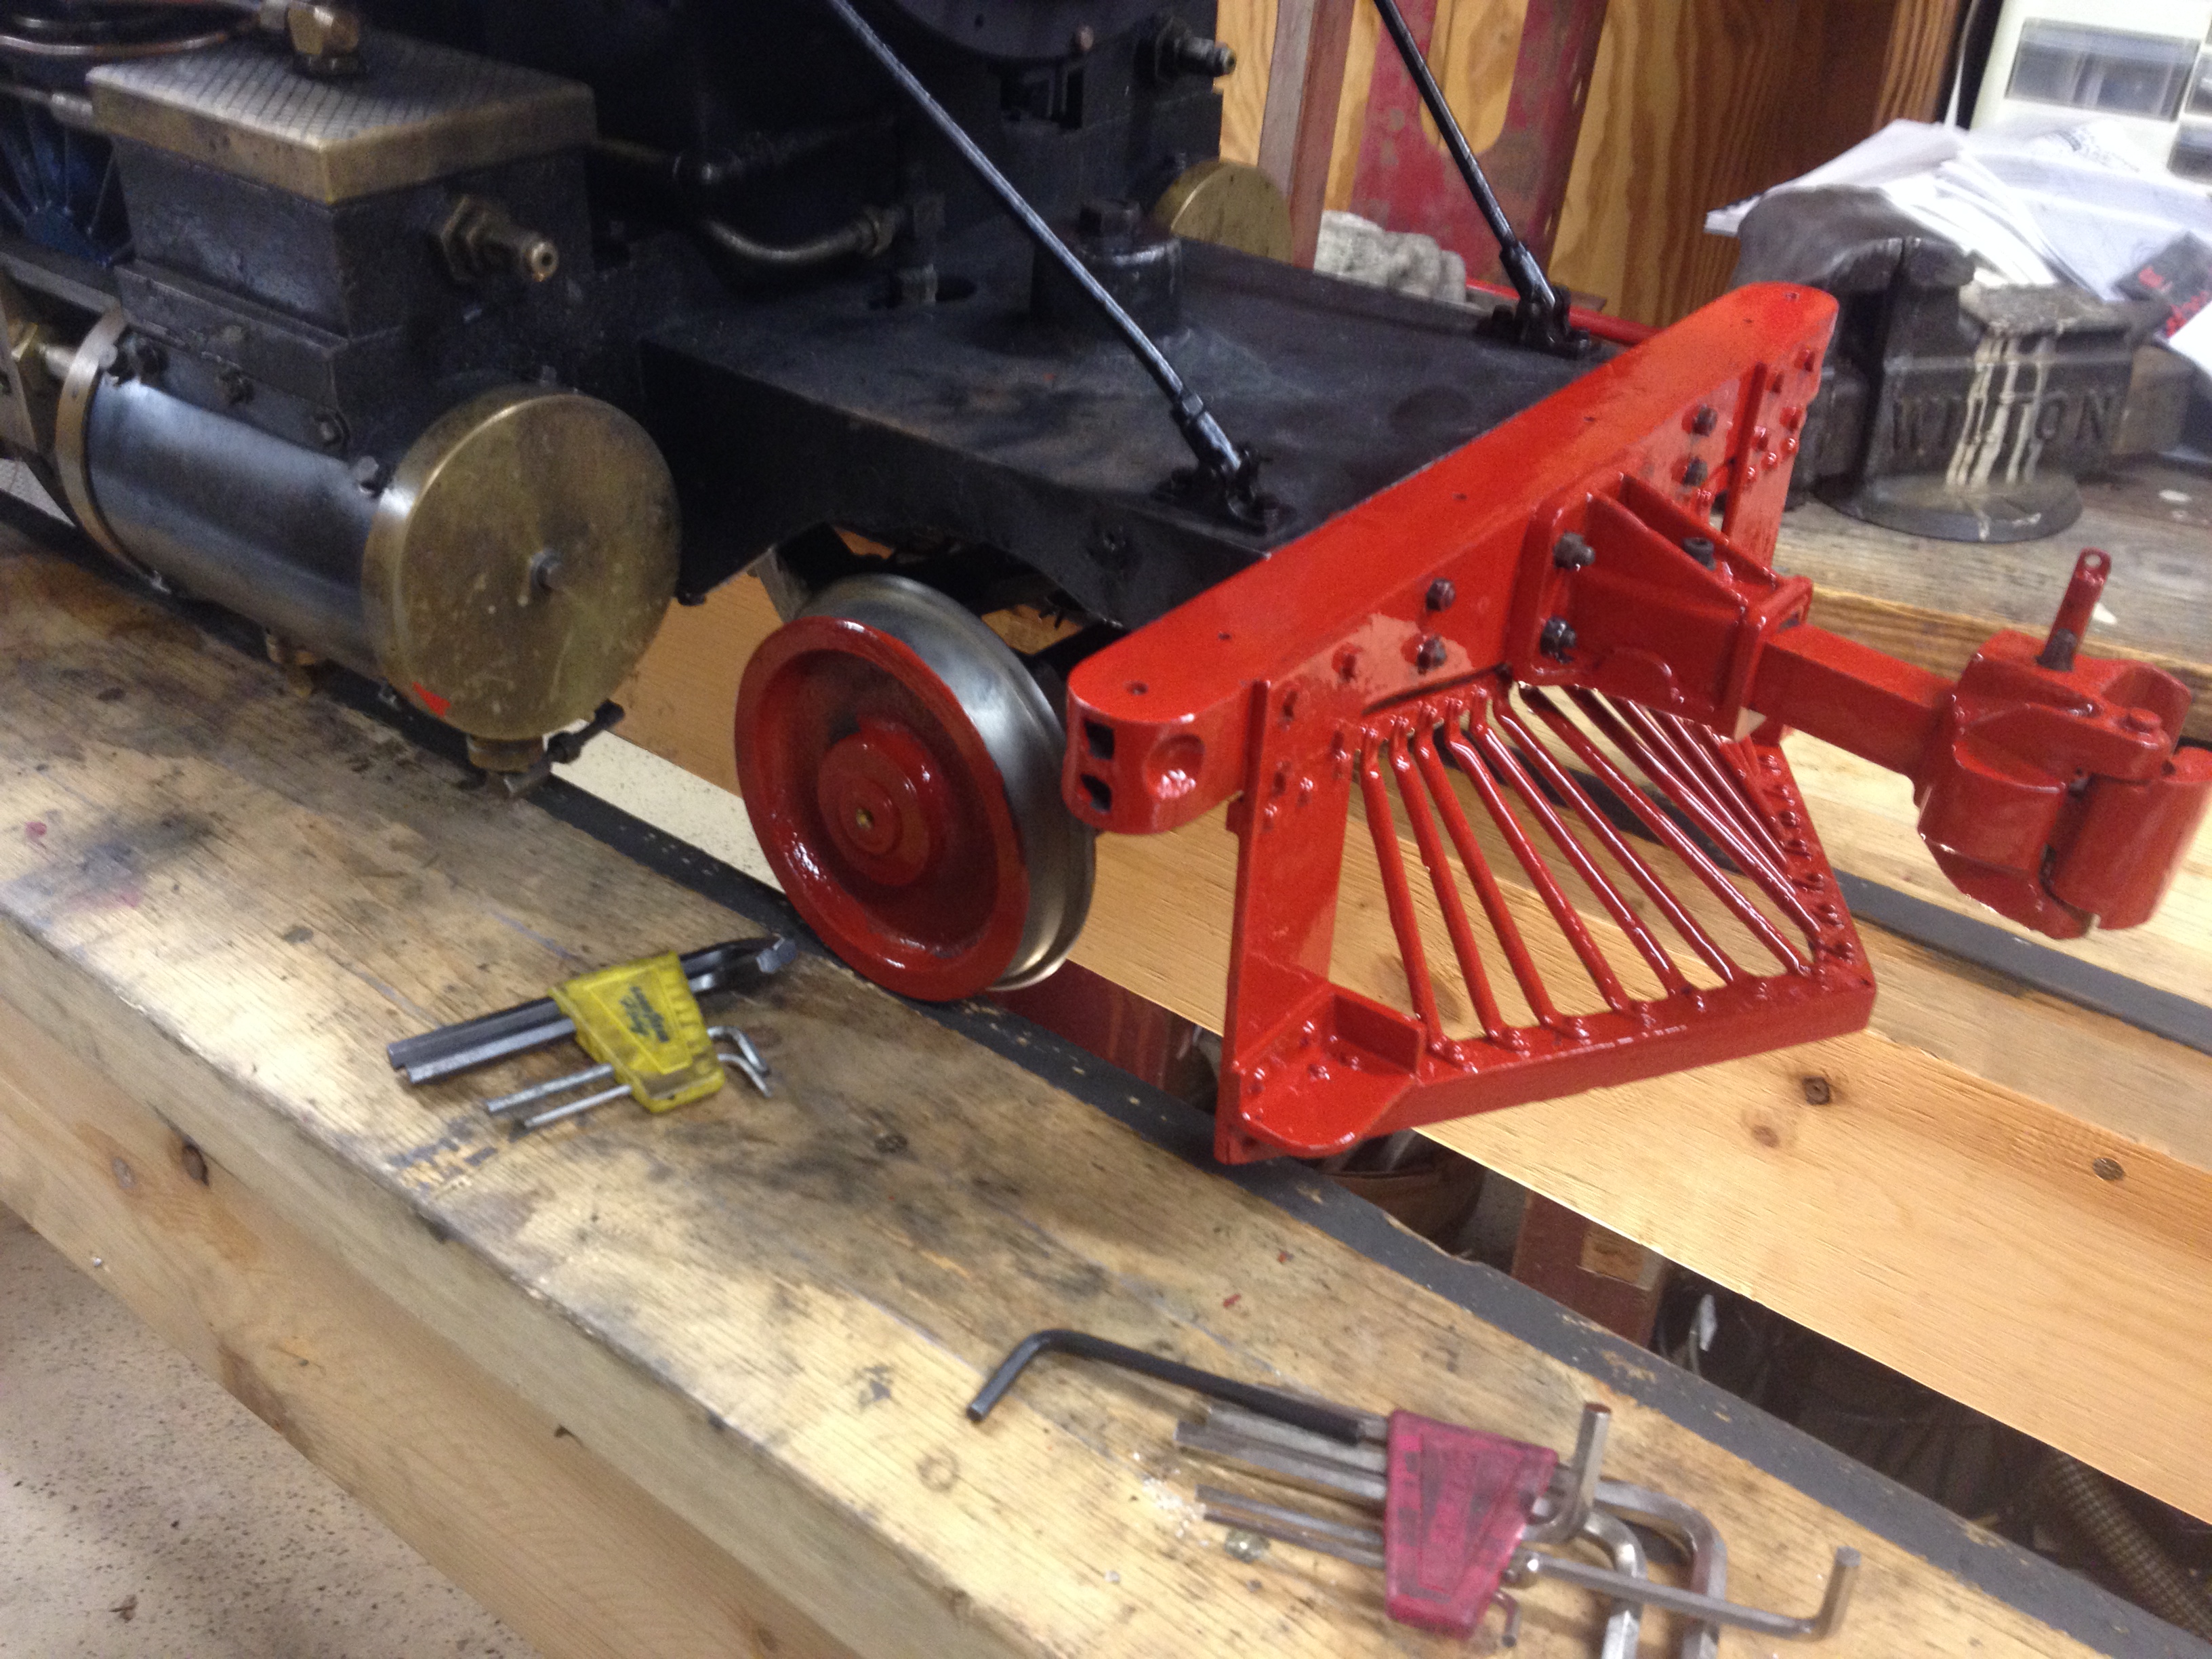
2.44 MB | Dnevil | ...and #486 is back in operation! New engineer's side pilot wheel and straightened and repainted cow catcher. The Allen Mogul is easy to maintain, but you have to have the courage to get in there and work on it. Photo by Daris A. Nevil, April 2014. | 1 |
| 23:27, 15 May 2014 | 2014-04-11 14.19.58.jpg (file) |  |
2.73 MB | Dnevil | Annetta Valley & Western RR steel riding car. Photo by Daris A Nevil, April 2014. | 1 |
| 23:29, 15 May 2014 | 2014-04-11 14.20.02.jpg (file) |  |
2.86 MB | Dnevil | Annetta Valley & Western RR steel riding car. Photo by Daris A Nevil, April 2014. | 1 |
| 23:30, 15 May 2014 | 2014-04-11 14.20.07.jpg (file) |  |
2 MB | Dnevil | Annetta Valley & Western RR steel riding car. Photo by Daris A Nevil, April 2014. | 1 |
| 23:32, 15 May 2014 | 2014-04-11 14.20.09.jpg (file) |  |
2.56 MB | Dnevil | Annetta Valley & Western RR steel riding car. Photo by Daris A Nevil, April 2014. | 1 |
| 23:33, 15 May 2014 | 2014-04-11 14.20.11.jpg (file) |  |
2.29 MB | Dnevil | Annetta Valley & Western RR steel riding car. Photo by Daris A Nevil, April 2014. | 1 |
| 23:35, 15 May 2014 | 2014-04-11 14.20.15.jpg (file) |  |
2.16 MB | Dnevil | Annetta Valley & Western RR steel riding car. Photo by Daris A Nevil, April 2014. | 1 |
| 23:36, 15 May 2014 | 2014-04-11 14.20.28.jpg (file) |  |
2.08 MB | Dnevil | Annetta Valley & Western RR steel riding car. Photo by Daris A Nevil, April 2014. | 1 |
| 23:38, 15 May 2014 | 2014-04-11 14.20.30.jpg (file) |  |
2.4 MB | Dnevil | Annetta Valley & Western RR steel riding car. Photo by Daris A Nevil, April 2014. | 1 |
| 23:39, 15 May 2014 | 2014-04-11 14.20.43.jpg (file) |  |
2.88 MB | Dnevil | Annetta Valley & Western RR steel riding car. Photo by Daris A Nevil, April 2014. | 1 |
| 23:41, 15 May 2014 | 2014-04-11 14.20.47.jpg (file) |  |
2.95 MB | Dnevil | Annetta Valley & Western RR steel riding car. Photo by Daris A Nevil, April 2014. | 1 |
| 23:23, 15 May 2014 | 2014-04-11 14.20.57.jpg (file) |  |
4.07 MB | Dnevil | Annetta Valley & Western RR steel riding car. Photo by Daris A Nevil, April 2014. | 1 |
| 23:25, 15 May 2014 | 2014-04-11 14.21.10.jpg (file) |  |
3.71 MB | Dnevil | Annetta Valley & Western RR steel riding car. Photo by Daris A Nevil, April 2014. | 1 |
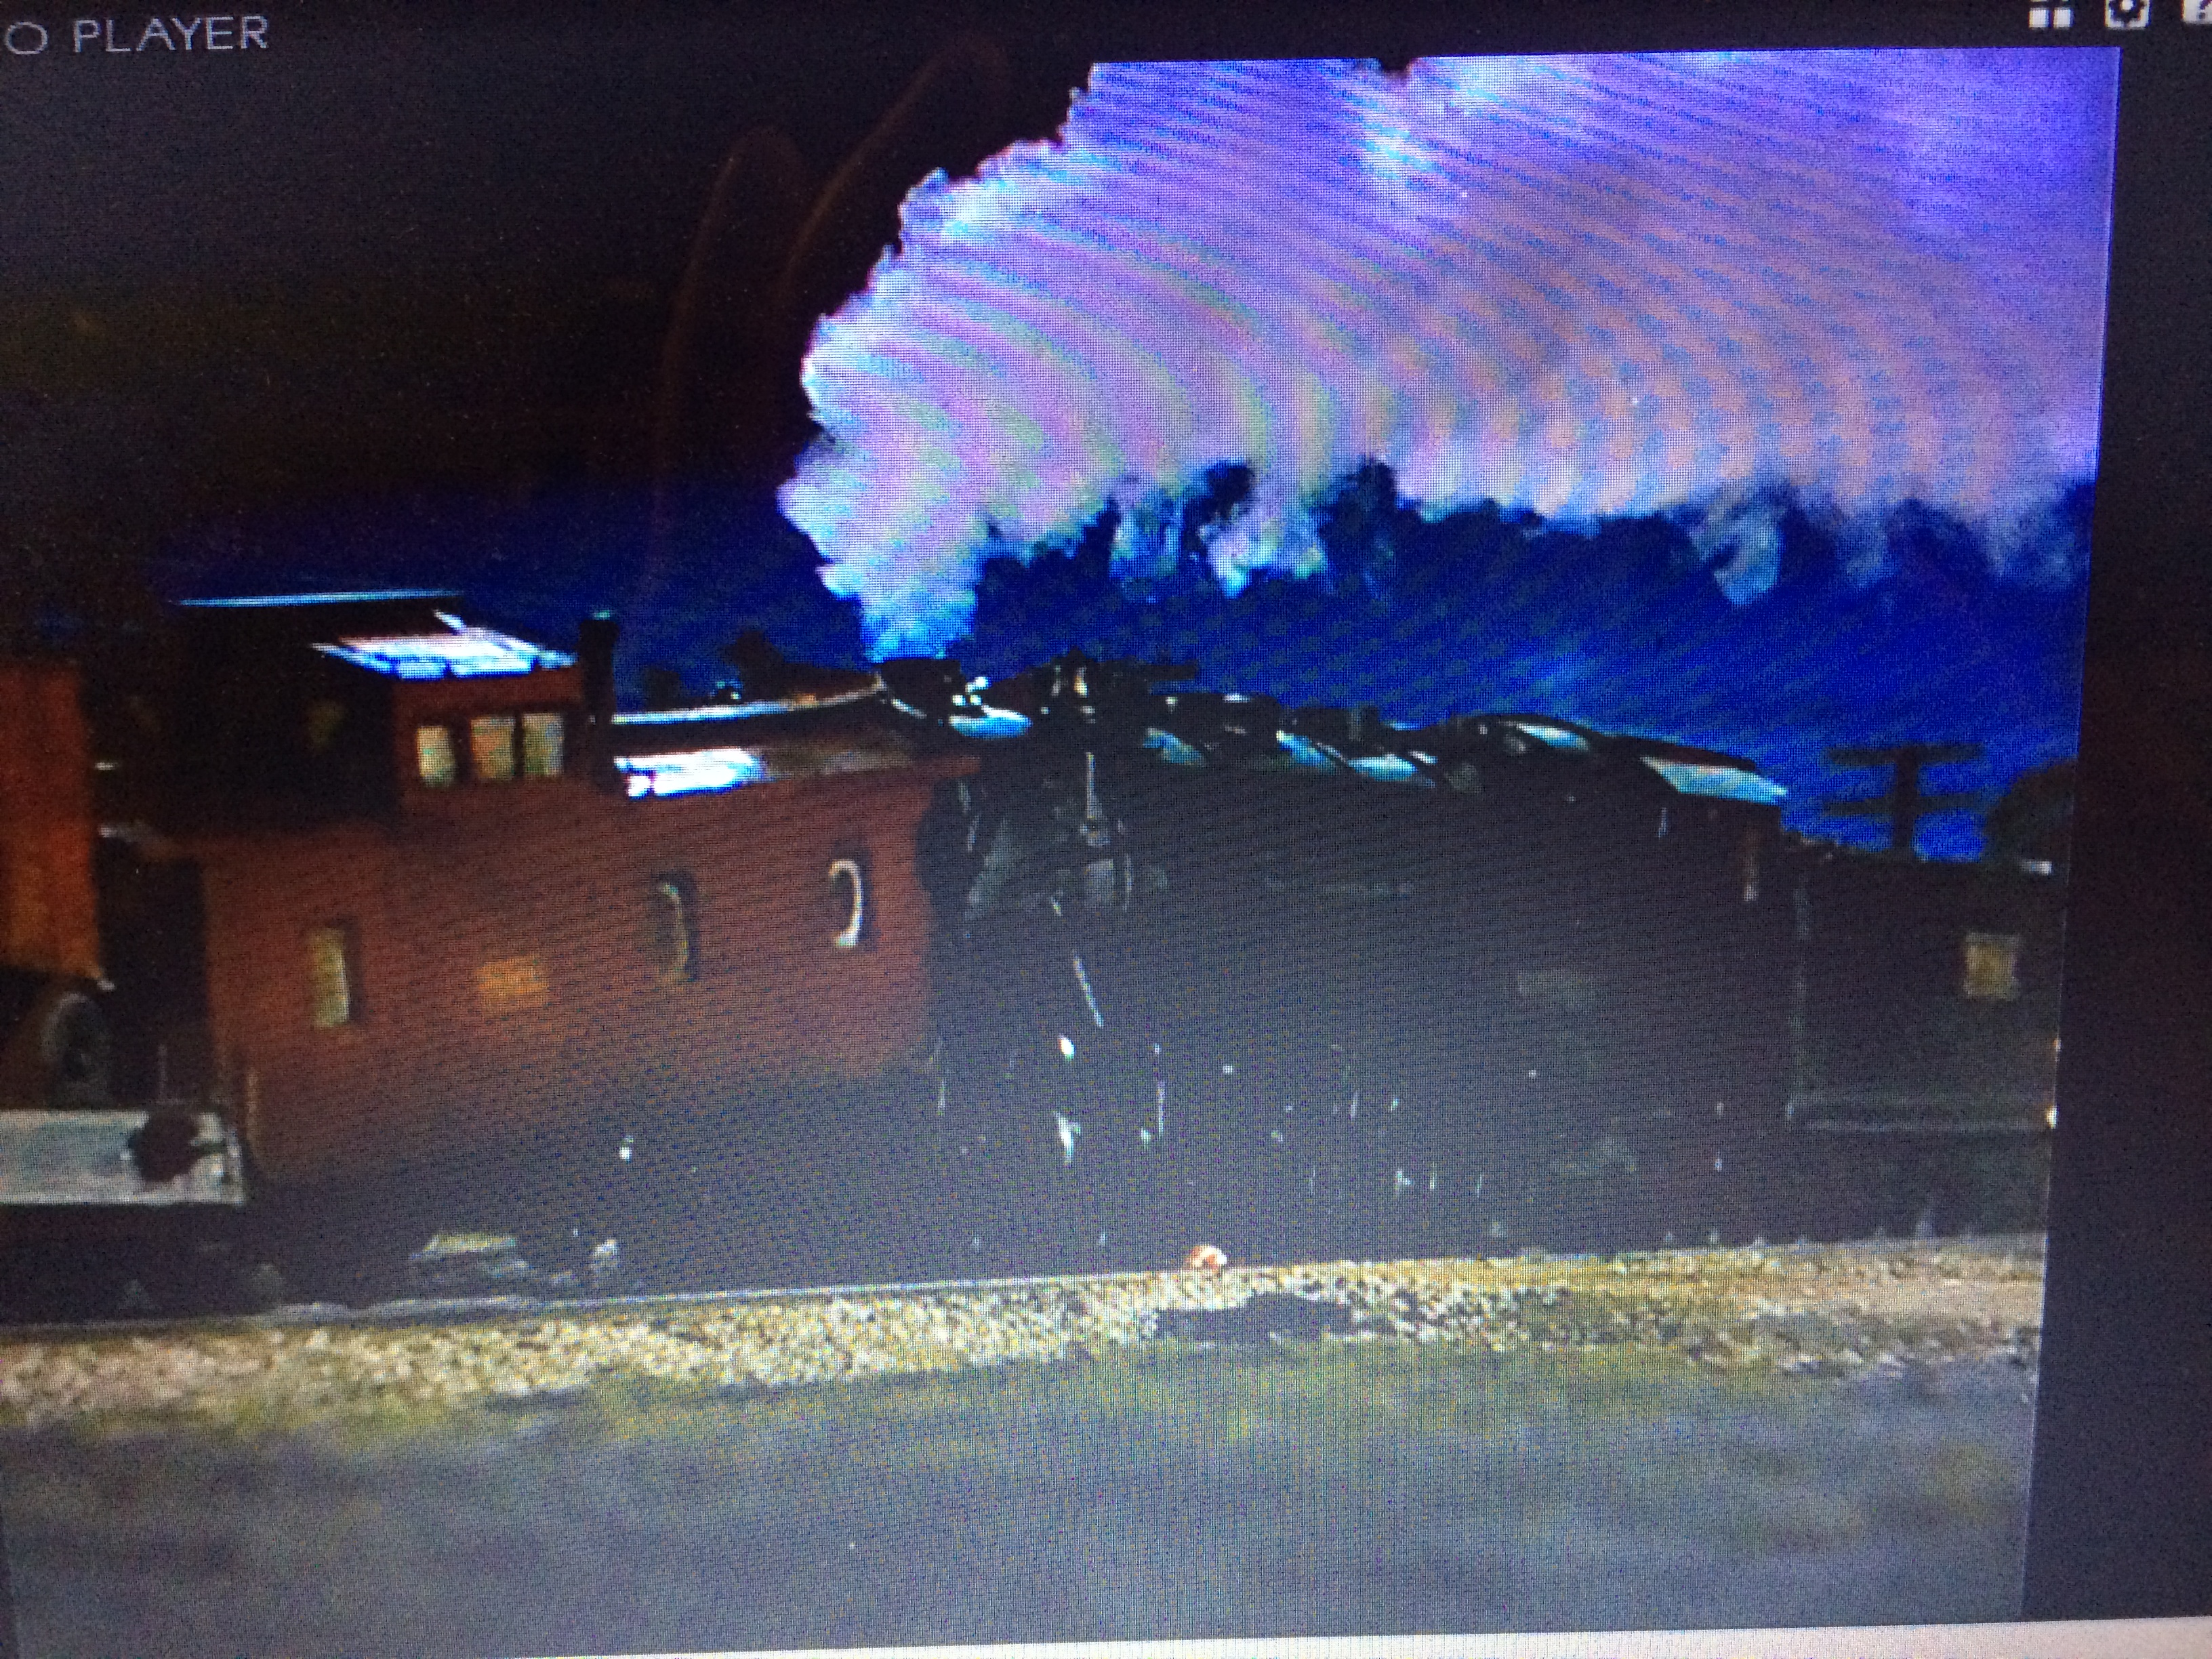
| 20:36, 23 June 2014 | 2014-06-22 23.03.04.jpg (file) |  |
2.91 MB | Dnevil | L.E. Smith's 1 inch scale Hudson as it appeared in the movie "The Greatest Show on Earth", Copyright 1952 Paramount Pictures. | 1 |
| 20:39, 23 June 2014 | 2014-06-22 23.08.04.jpg (file) |  |
3.29 MB | Dnevil | L.E. Smith's 1 inch scale Hudson as it appeared in the movie "The Greatest Show on Earth", Copyright 1952 Paramount Pictures. | 1 |
| 20:41, 23 June 2014 | 2014-06-22 23.10.57.jpg (file) |  |
3.83 MB | Dnevil | L.E. Smith's 1 inch scale Hudson as it appeared in the movie "The Greatest Show on Earth", Copyright 1952 Paramount Pictures. | 1 |
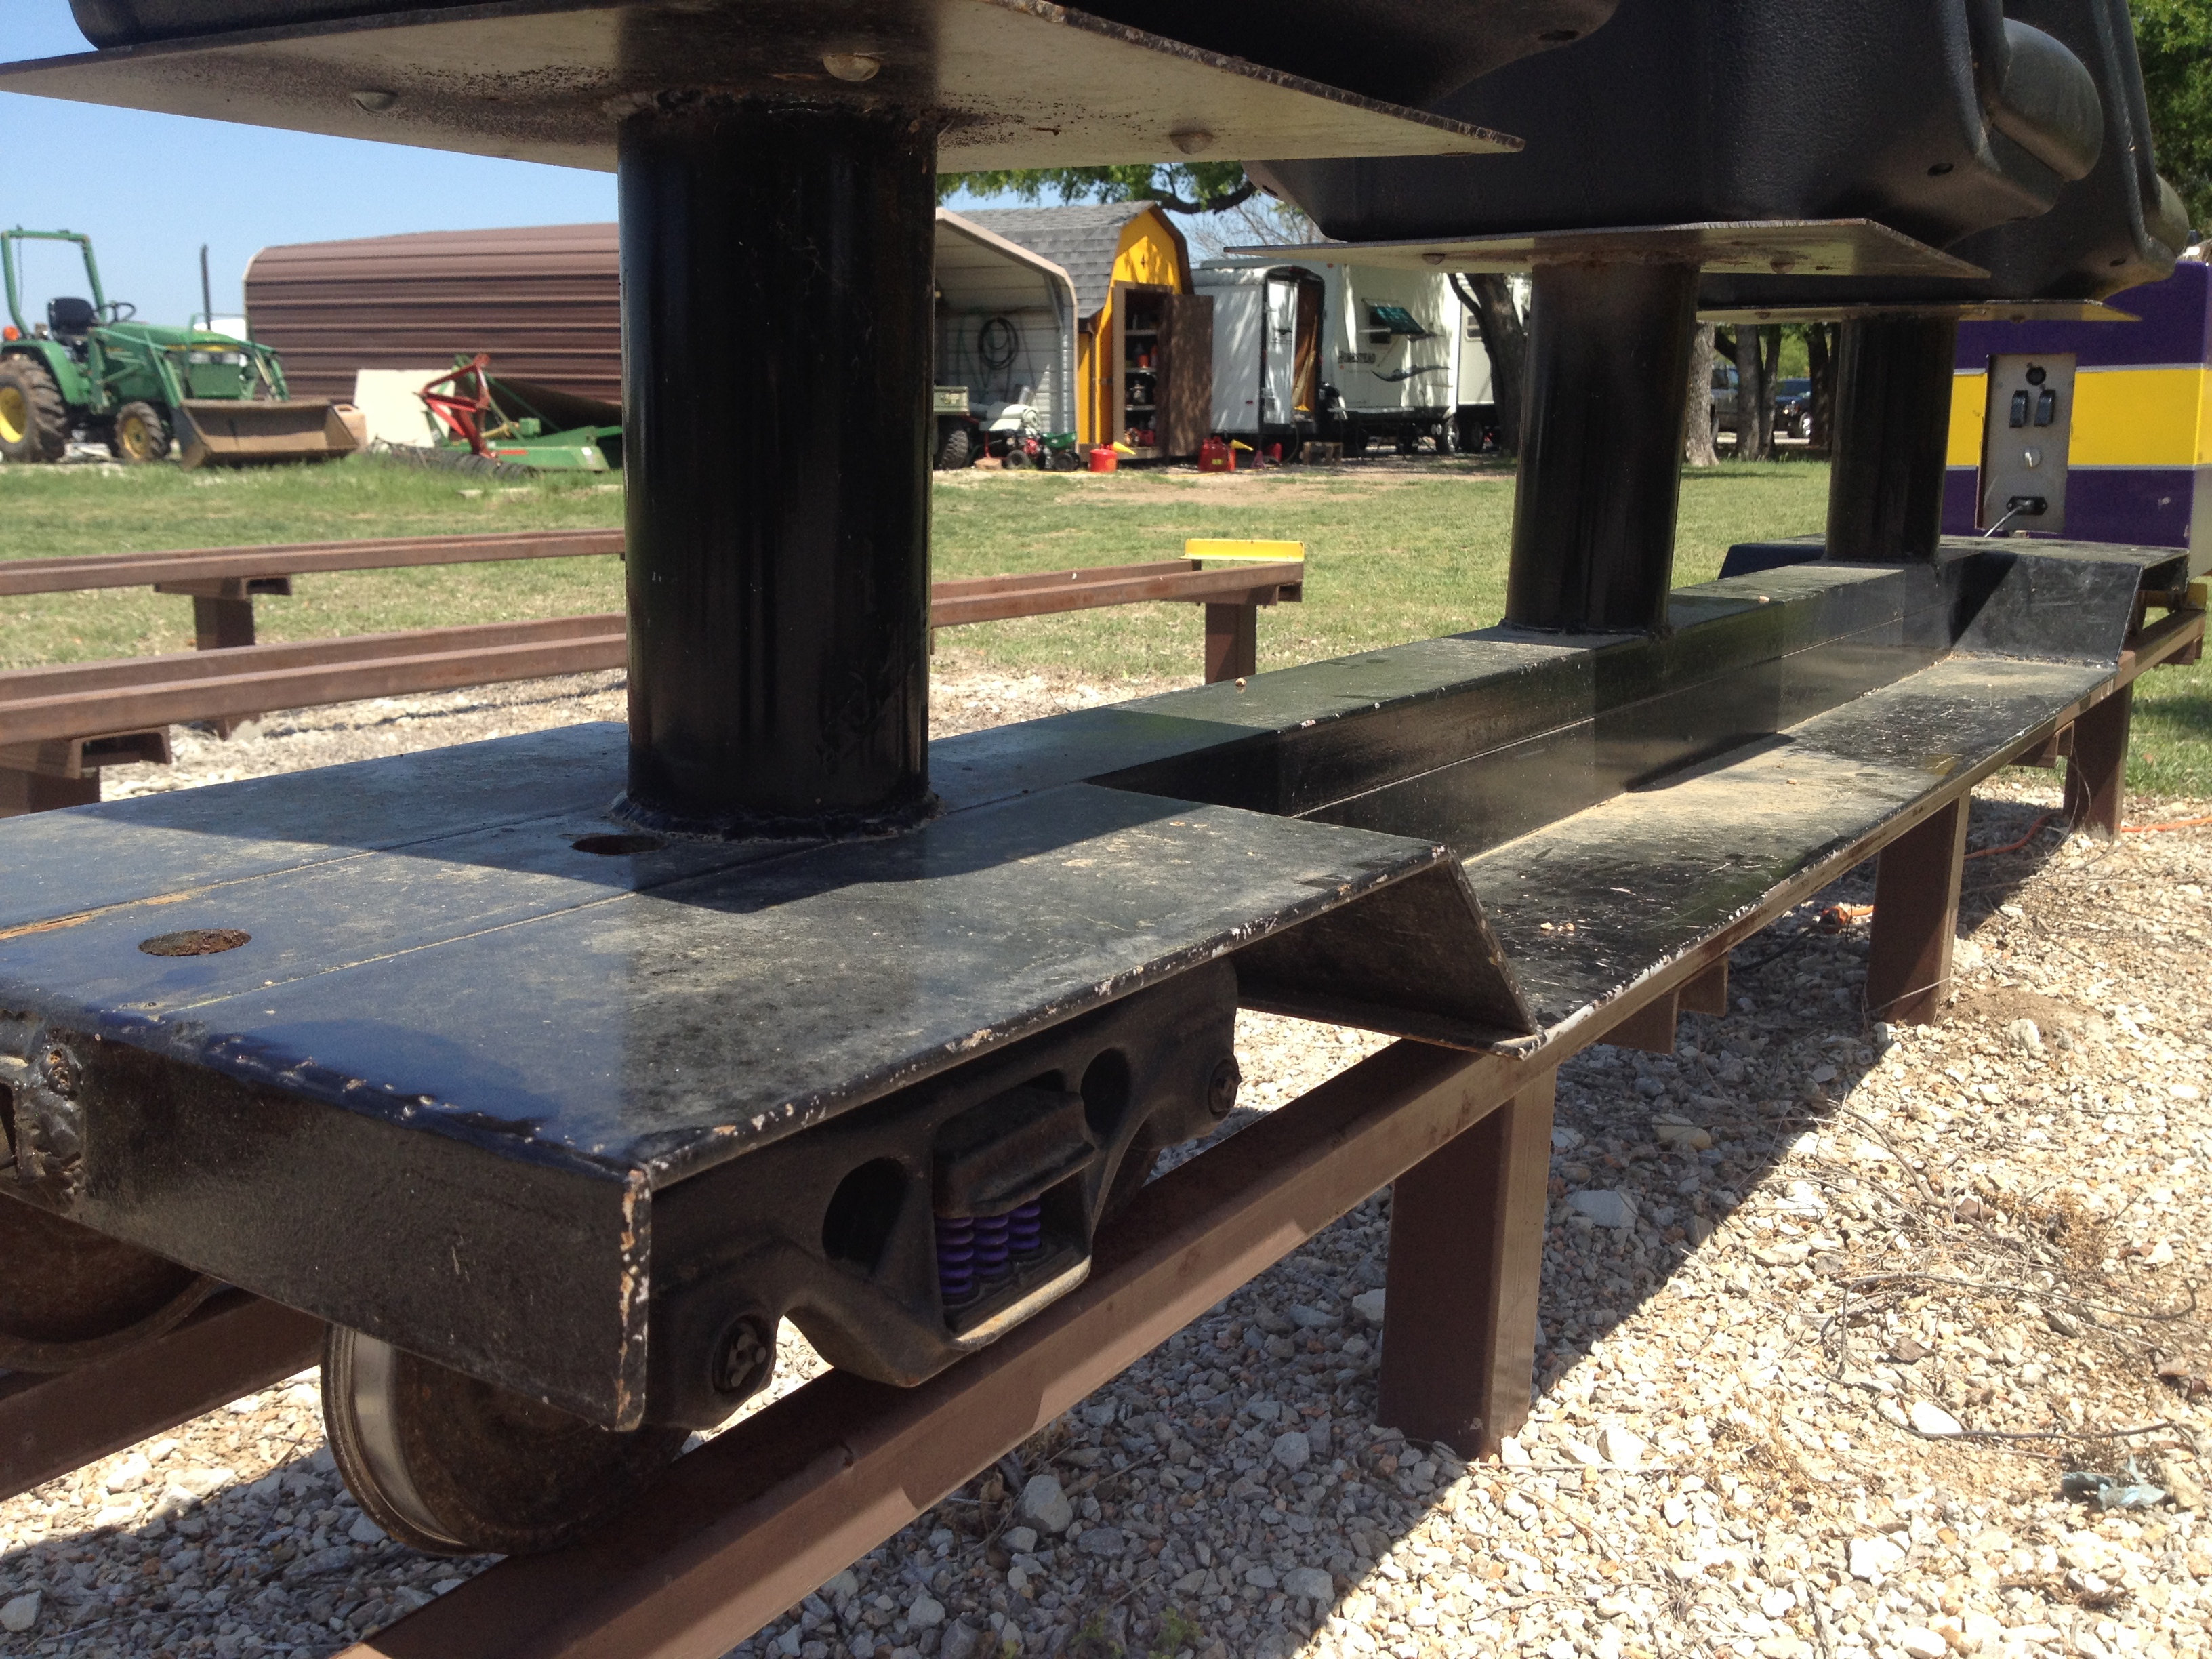
| 23:20, 6 March 2015 | 2015-02-28 21.35.12.jpg (file) |  |
1.88 MB | Dnevil | Partially completed AAR A truck from MDM Locomotive Works kit. Photo by Daris A Nevil, March 2015. | 1 |
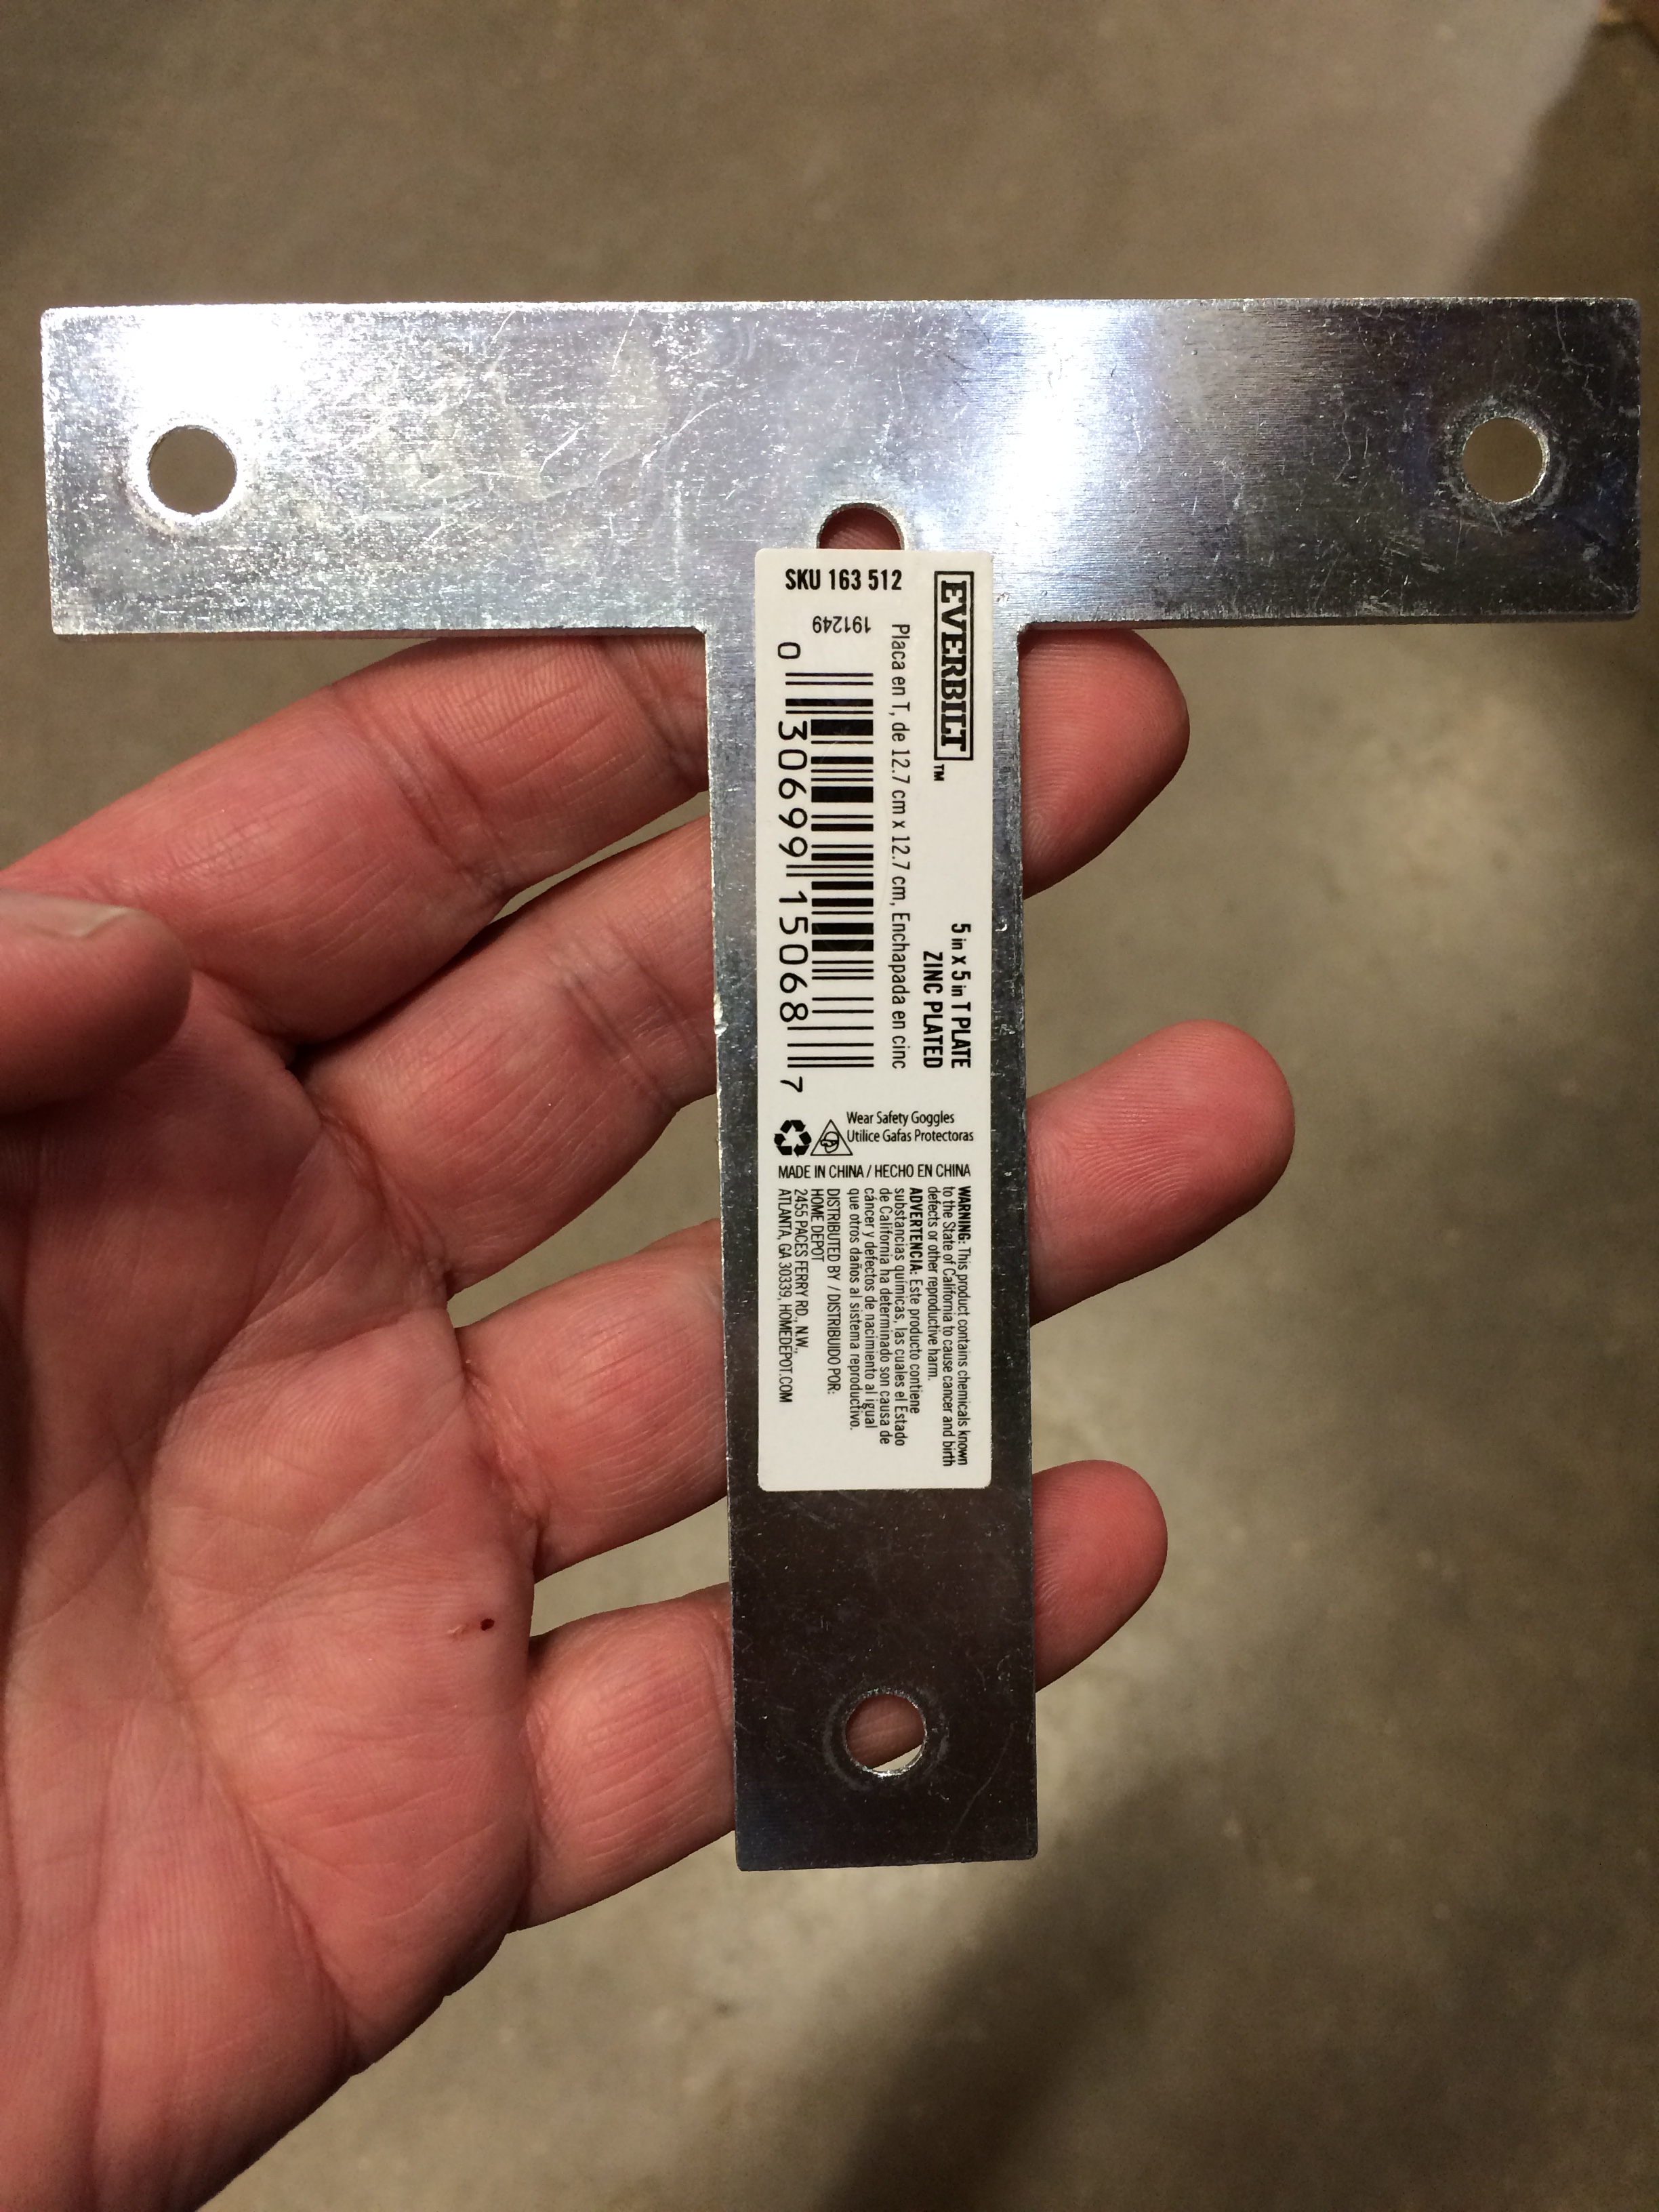
| 23:11, 6 March 2015 | 2015-03-06 12.28.45.jpg (file) |  |
1.7 MB | Dnevil | T Plate, 5x5 inches, unmodified, Everbuilt, Home Depot | 1 |
| 23:14, 6 March 2015 | 2015-03-06 12.31.18.jpg (file) |  |
1.23 MB | Dnevil | Everbuilt #304 1/2 inch pipe U-bolt | 1 |
| 10:49, 4 December 2019 | 2019-12-04 09.35.29.jpg (file) |  |
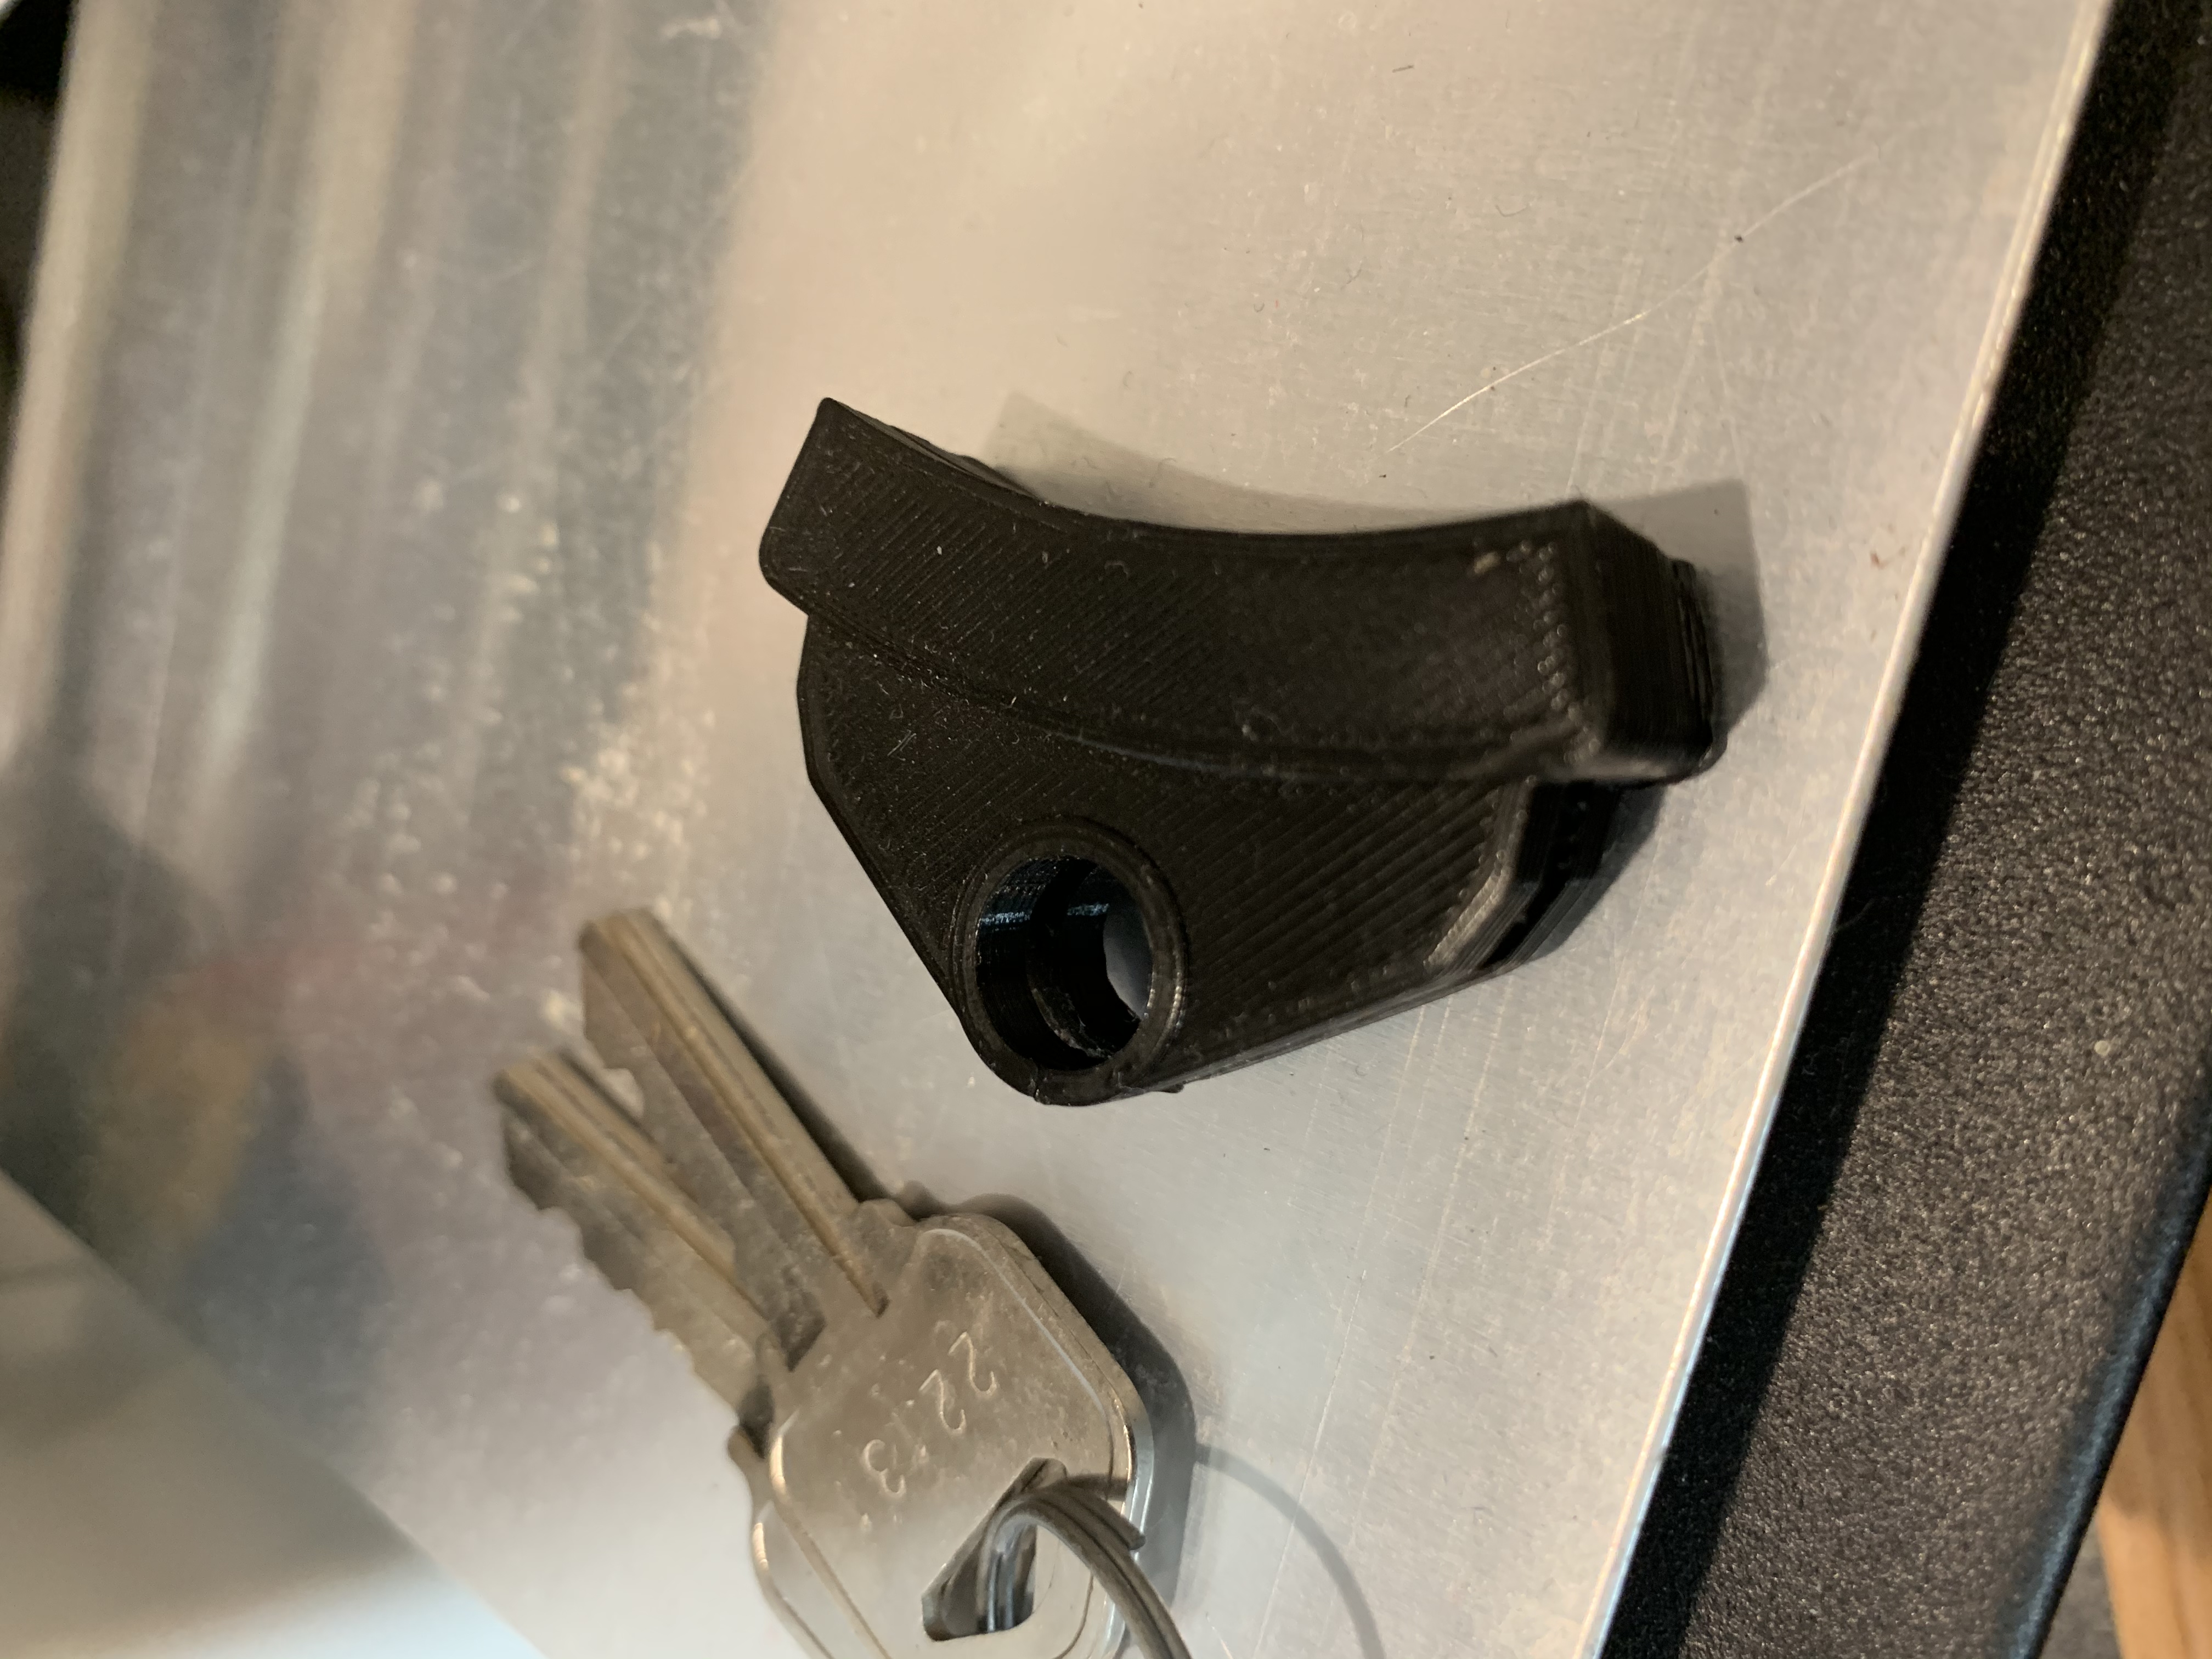
4.33 MB | Dnevil | 1.5 inch scale brake shoe printed in black PLA. Photo by Daris A Nevil, December 2019. | 1 |
| 12:41, 26 July 2020 | 2020-07-25 17.25.34.jpg (file) |  |
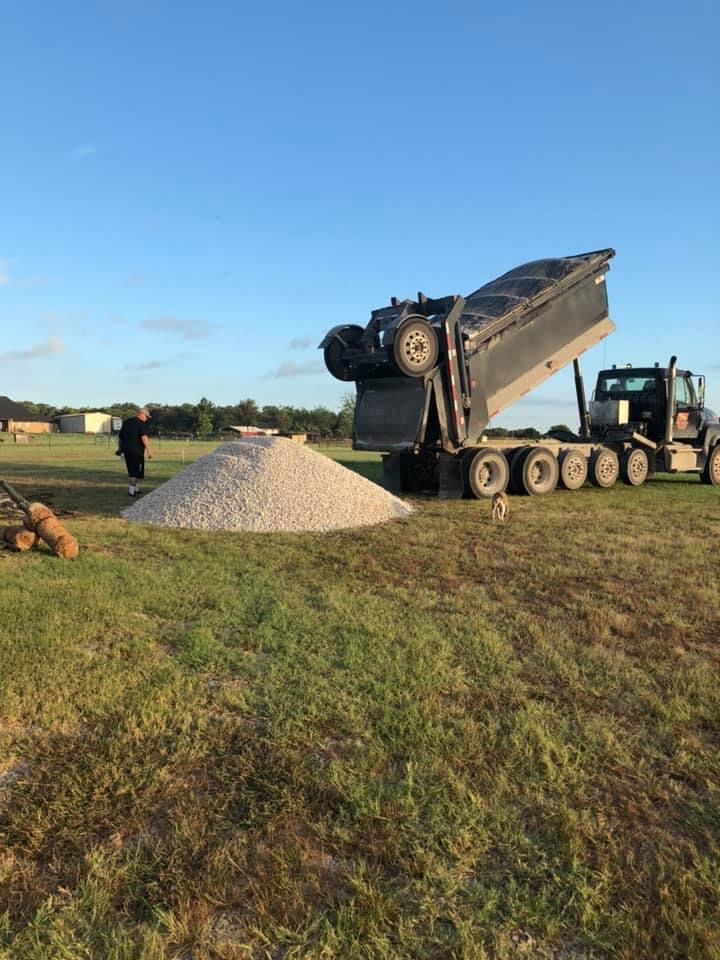
160 KB | Dnevil | Daris Nevil looks on as 16.7 yards are unloaded for the future International & Great Northern Railroad. Photo by Brenda Nevil, July 2020. | 1 |
| 12:50, 26 July 2020 | 2020-07-26 12.48.35.jpg (file) |  |
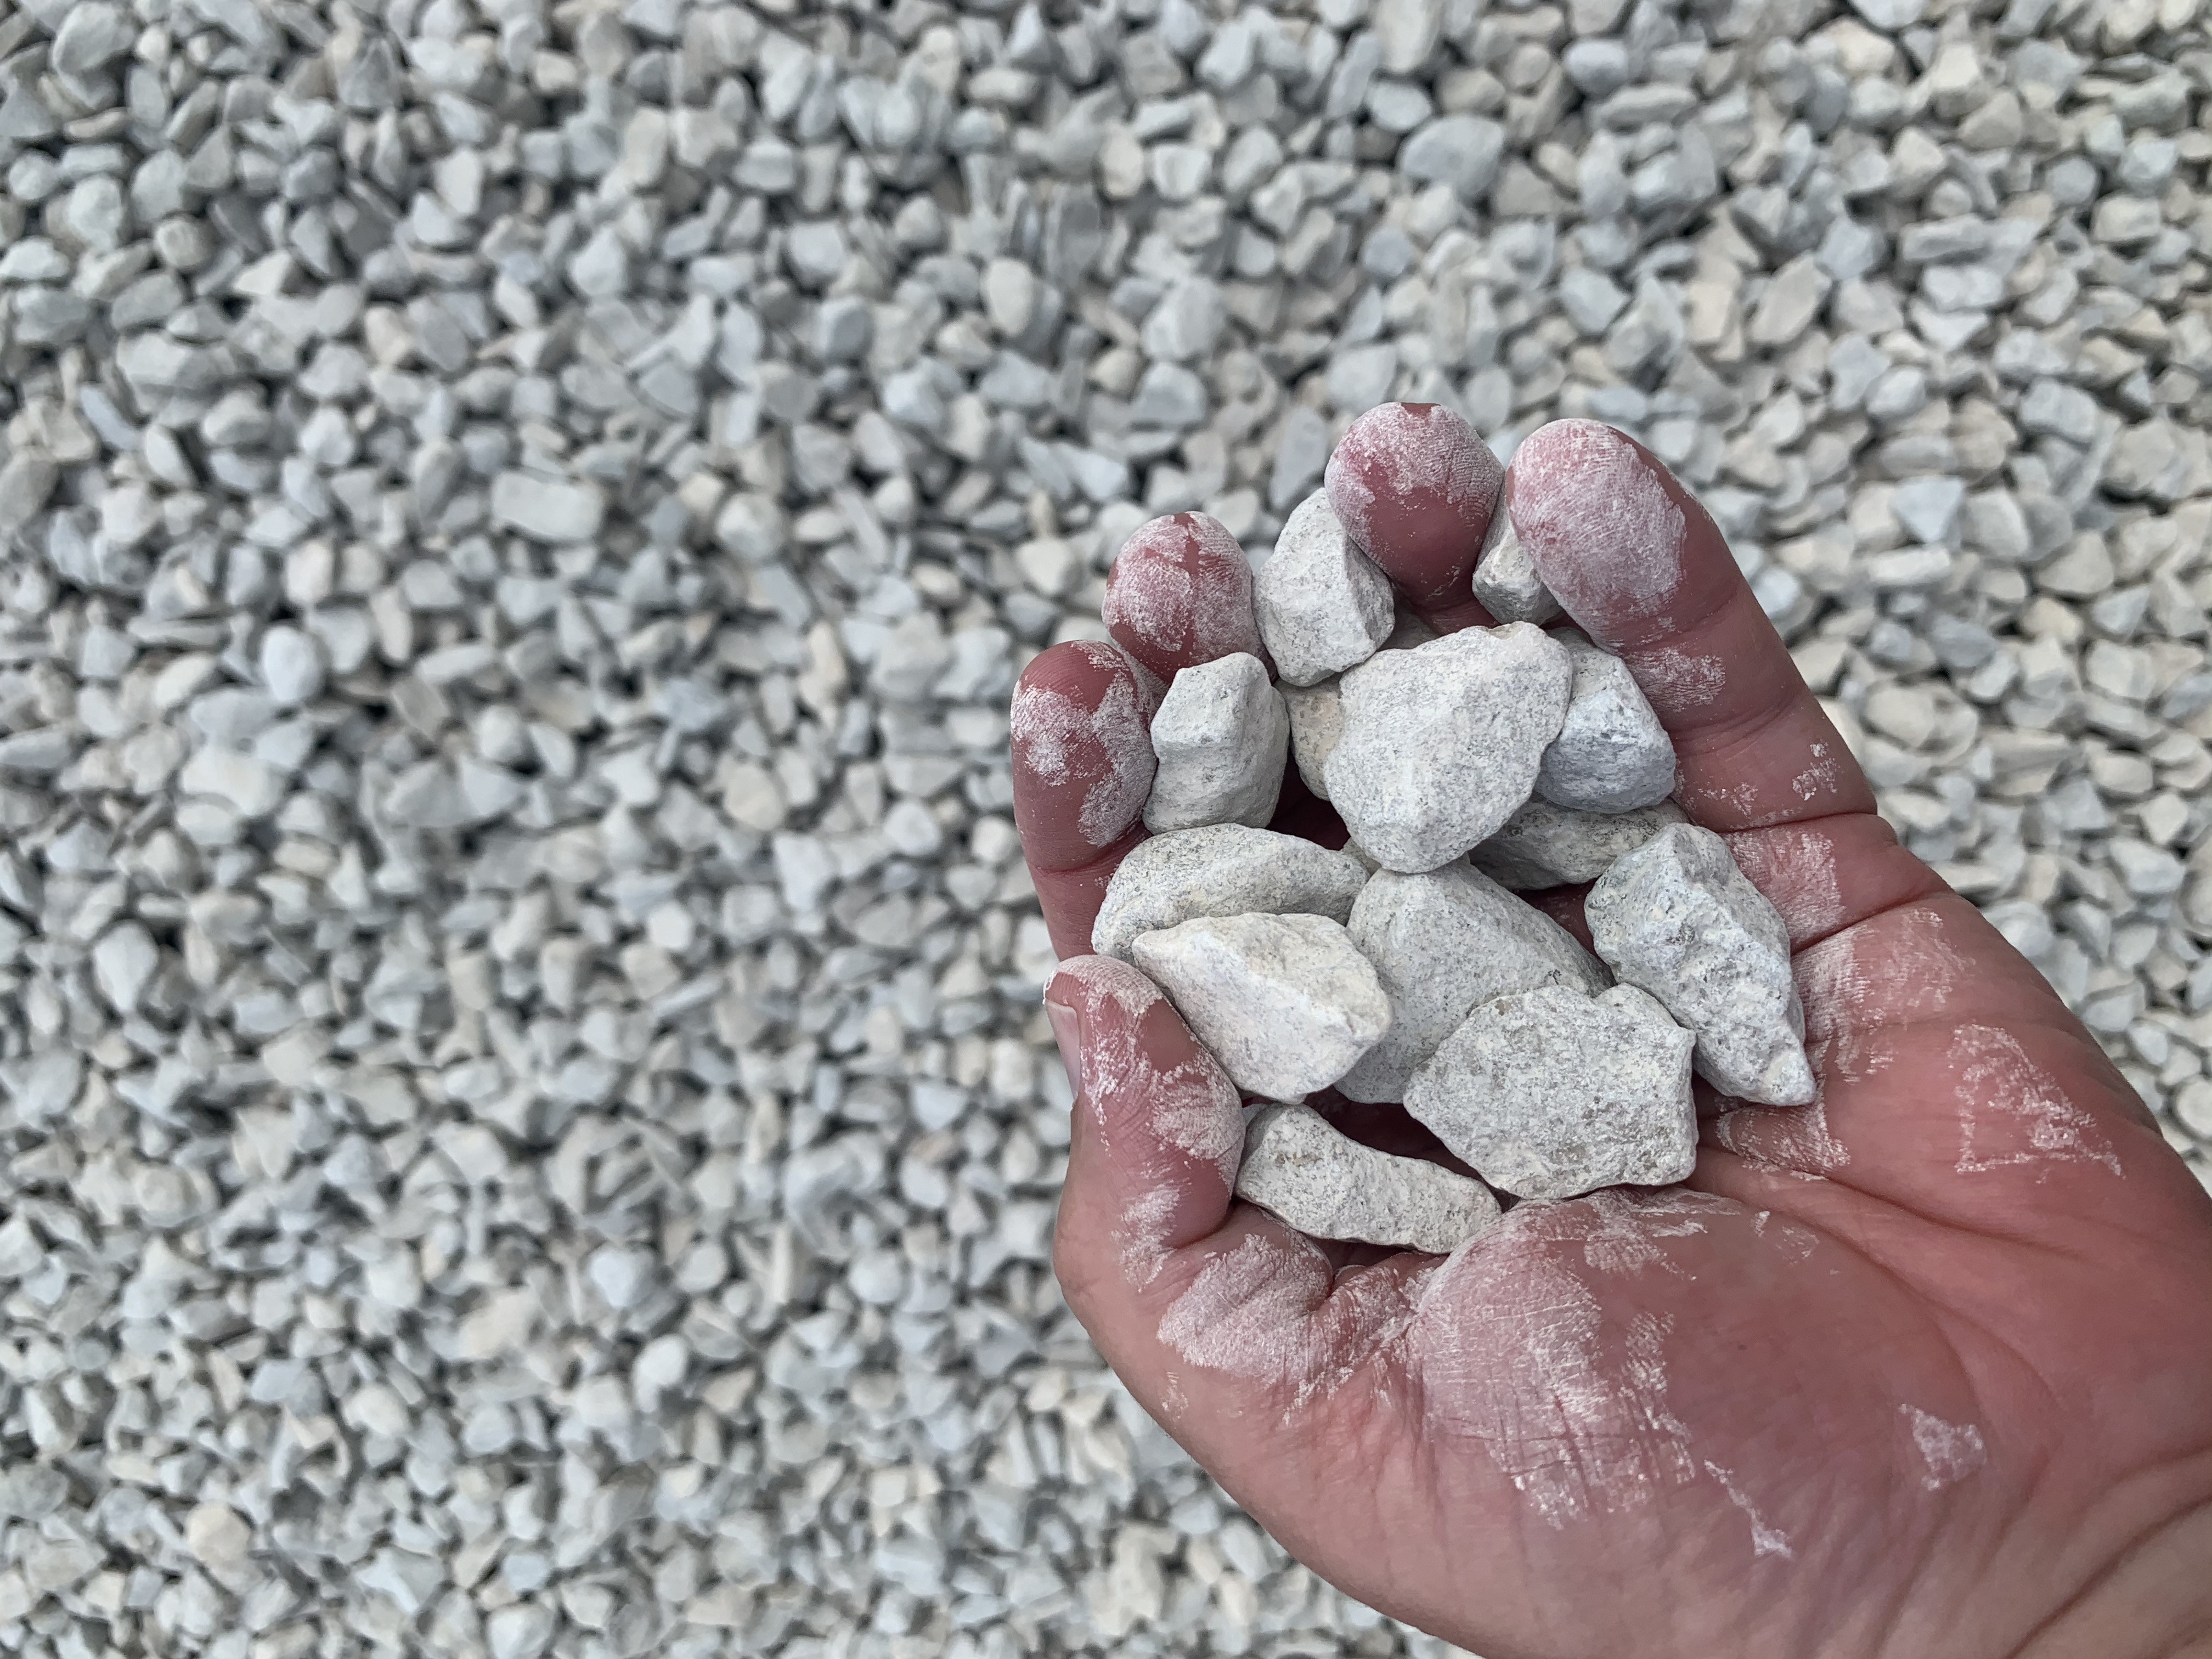
6.02 MB | Dnevil | Crushed limestone, 3/4 to 5/8 inch, ready for application as ballast for 1.5 inch scale railroad. Photo by Daris A Nevil, July 2020. | 1 |
| 17:20, 29 November 2020 | 2020-11-28 11.23.54.jpg (file) |  |
5.19 MB | Dnevil | 2 | |
| 17:23, 29 November 2020 | 2020-11-28 11.35.03.jpg (file) |  |
6.46 MB | Dnevil | Step 2: Track screws are started but not tightened in this step. Photo by Daris A Nevil, November 2020. | 1 |
| 17:27, 29 November 2020 | 2020-11-28 11.35.17.jpg (file) |  |
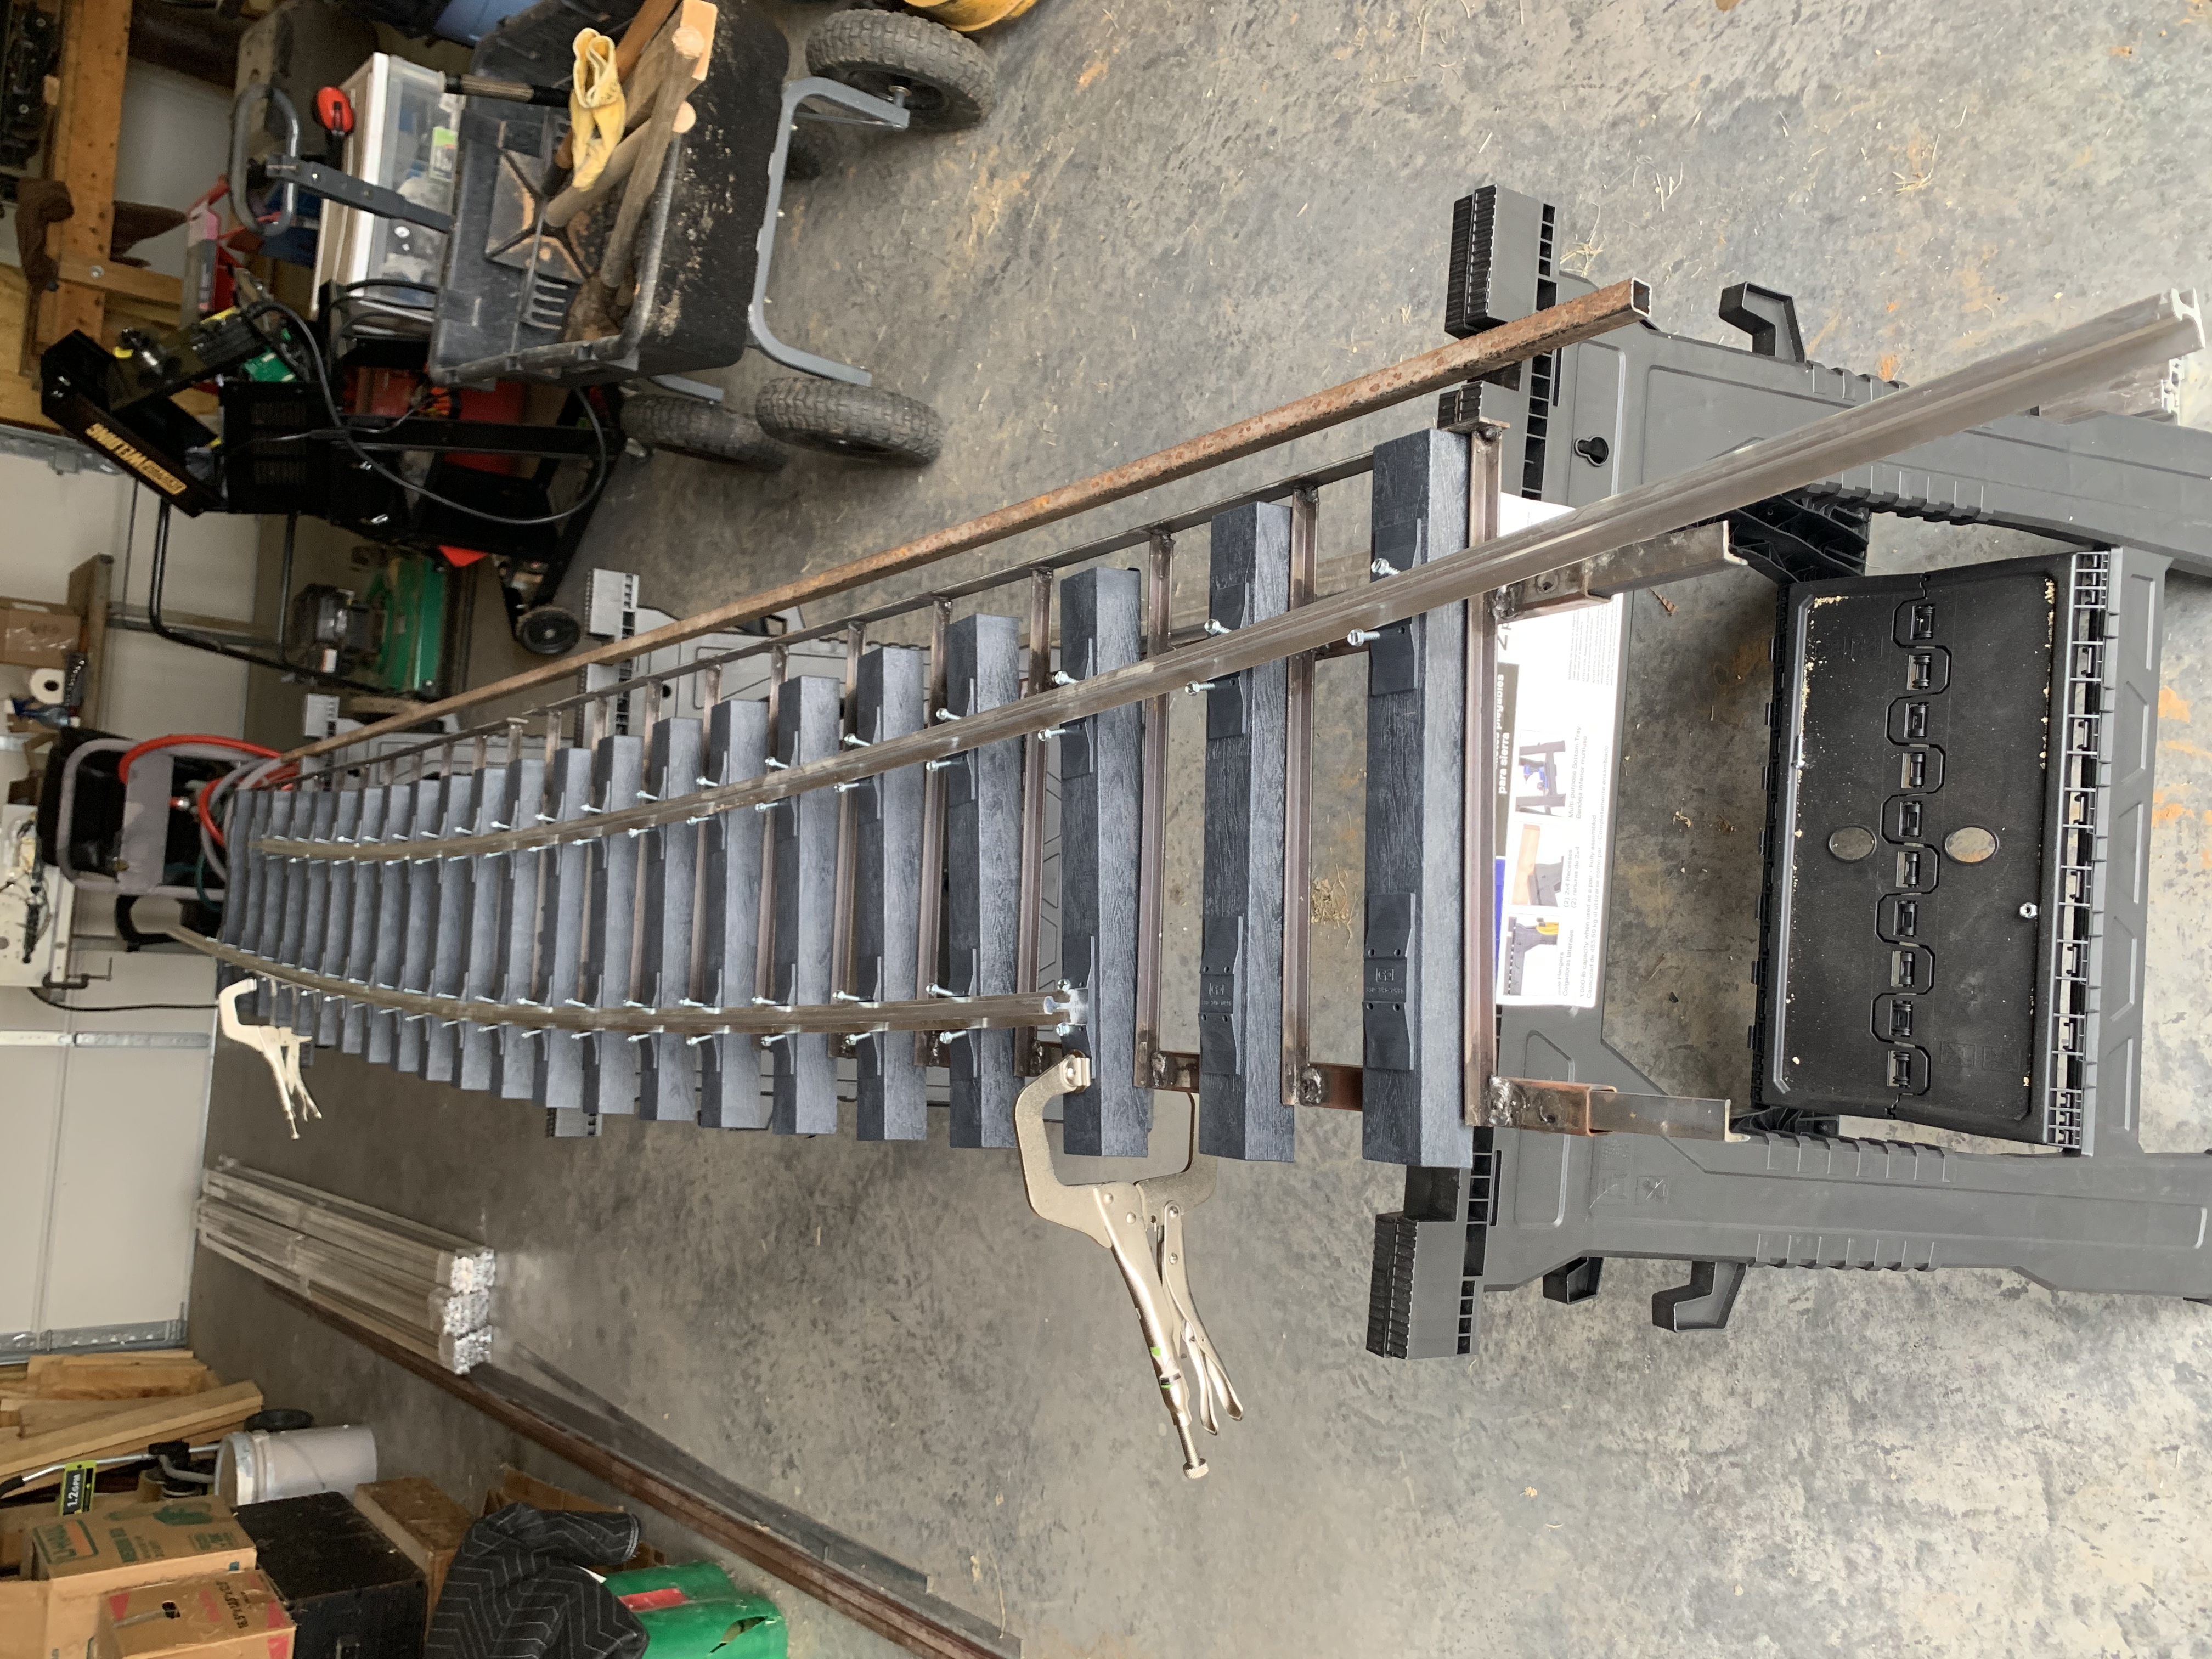
5.98 MB | Dnevil | Step 3: The gap in the rail is staggered to prevent sagging over time. Two screws are used to attached the end of the rail in the middle of the tie place on the third tie from the end. Do this on both ends. A welding clamp is used to hold these two... | 1 |
| 22:43, 1 December 2020 | 2020-11-28 11.39.36.jpg (file) |  |
5.46 MB | Dnevil | 2 | |
| 17:30, 29 November 2020 | 2020-11-28 11.41.16.jpg (file) |  |
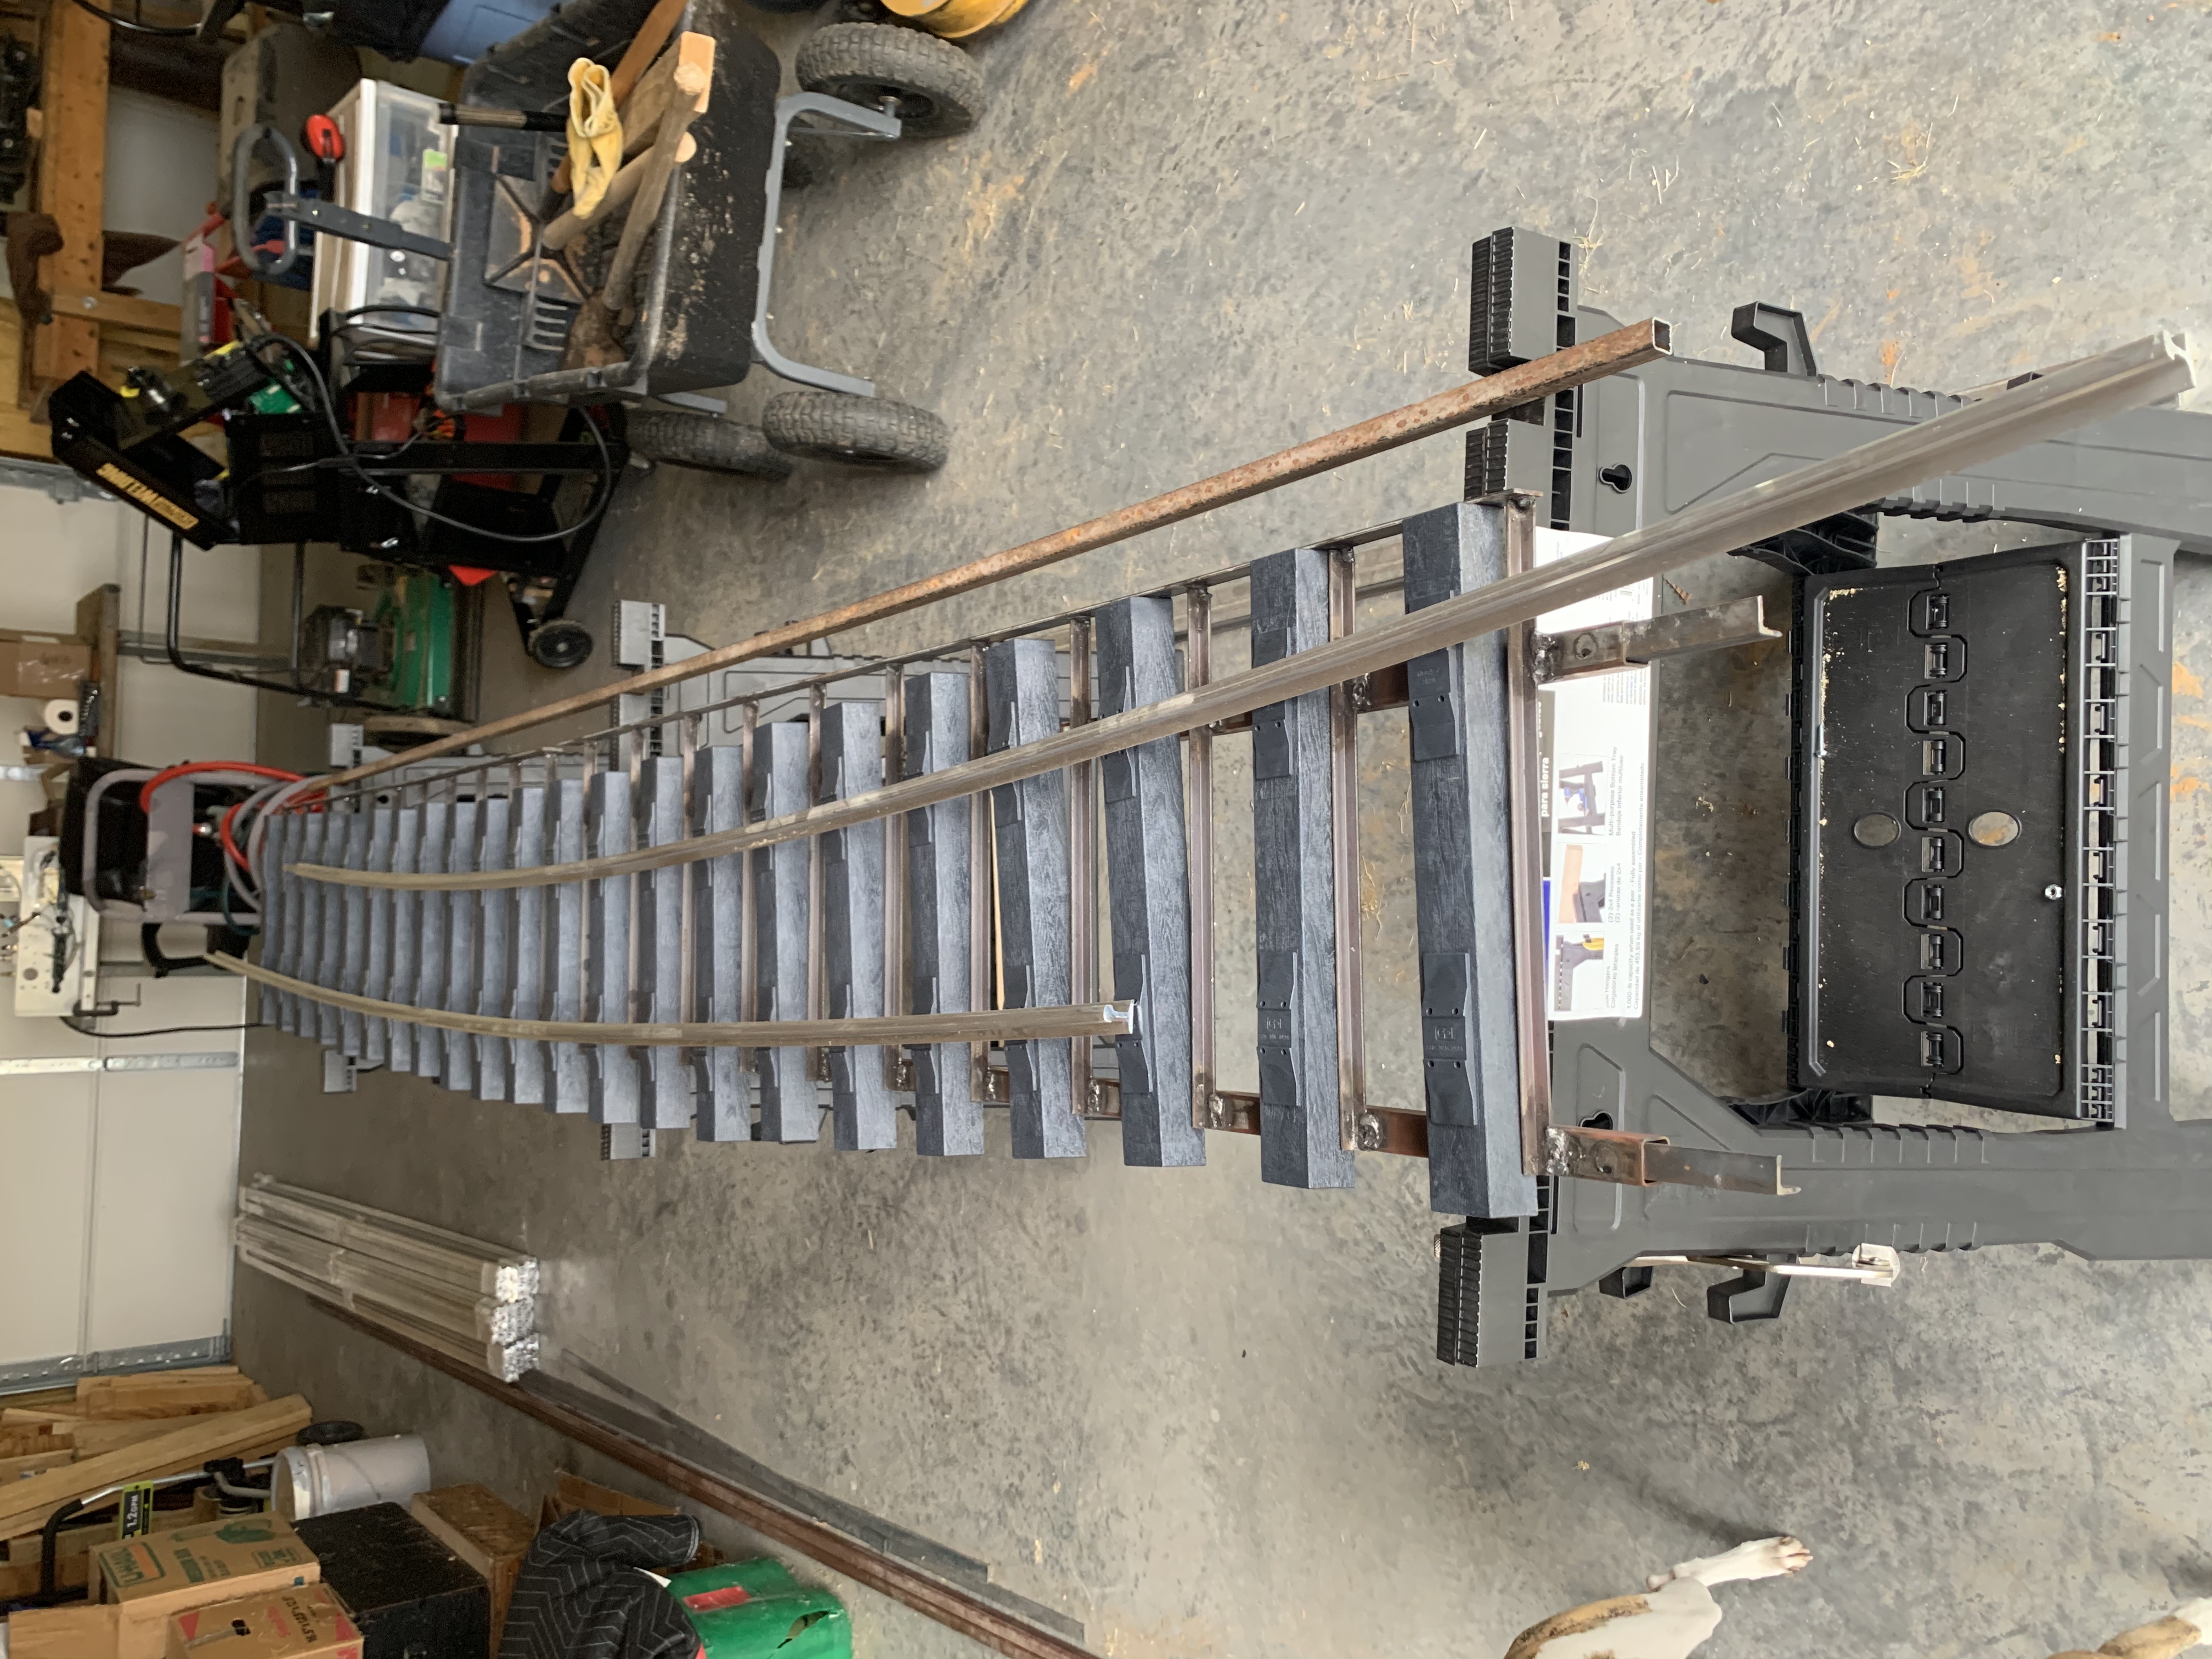
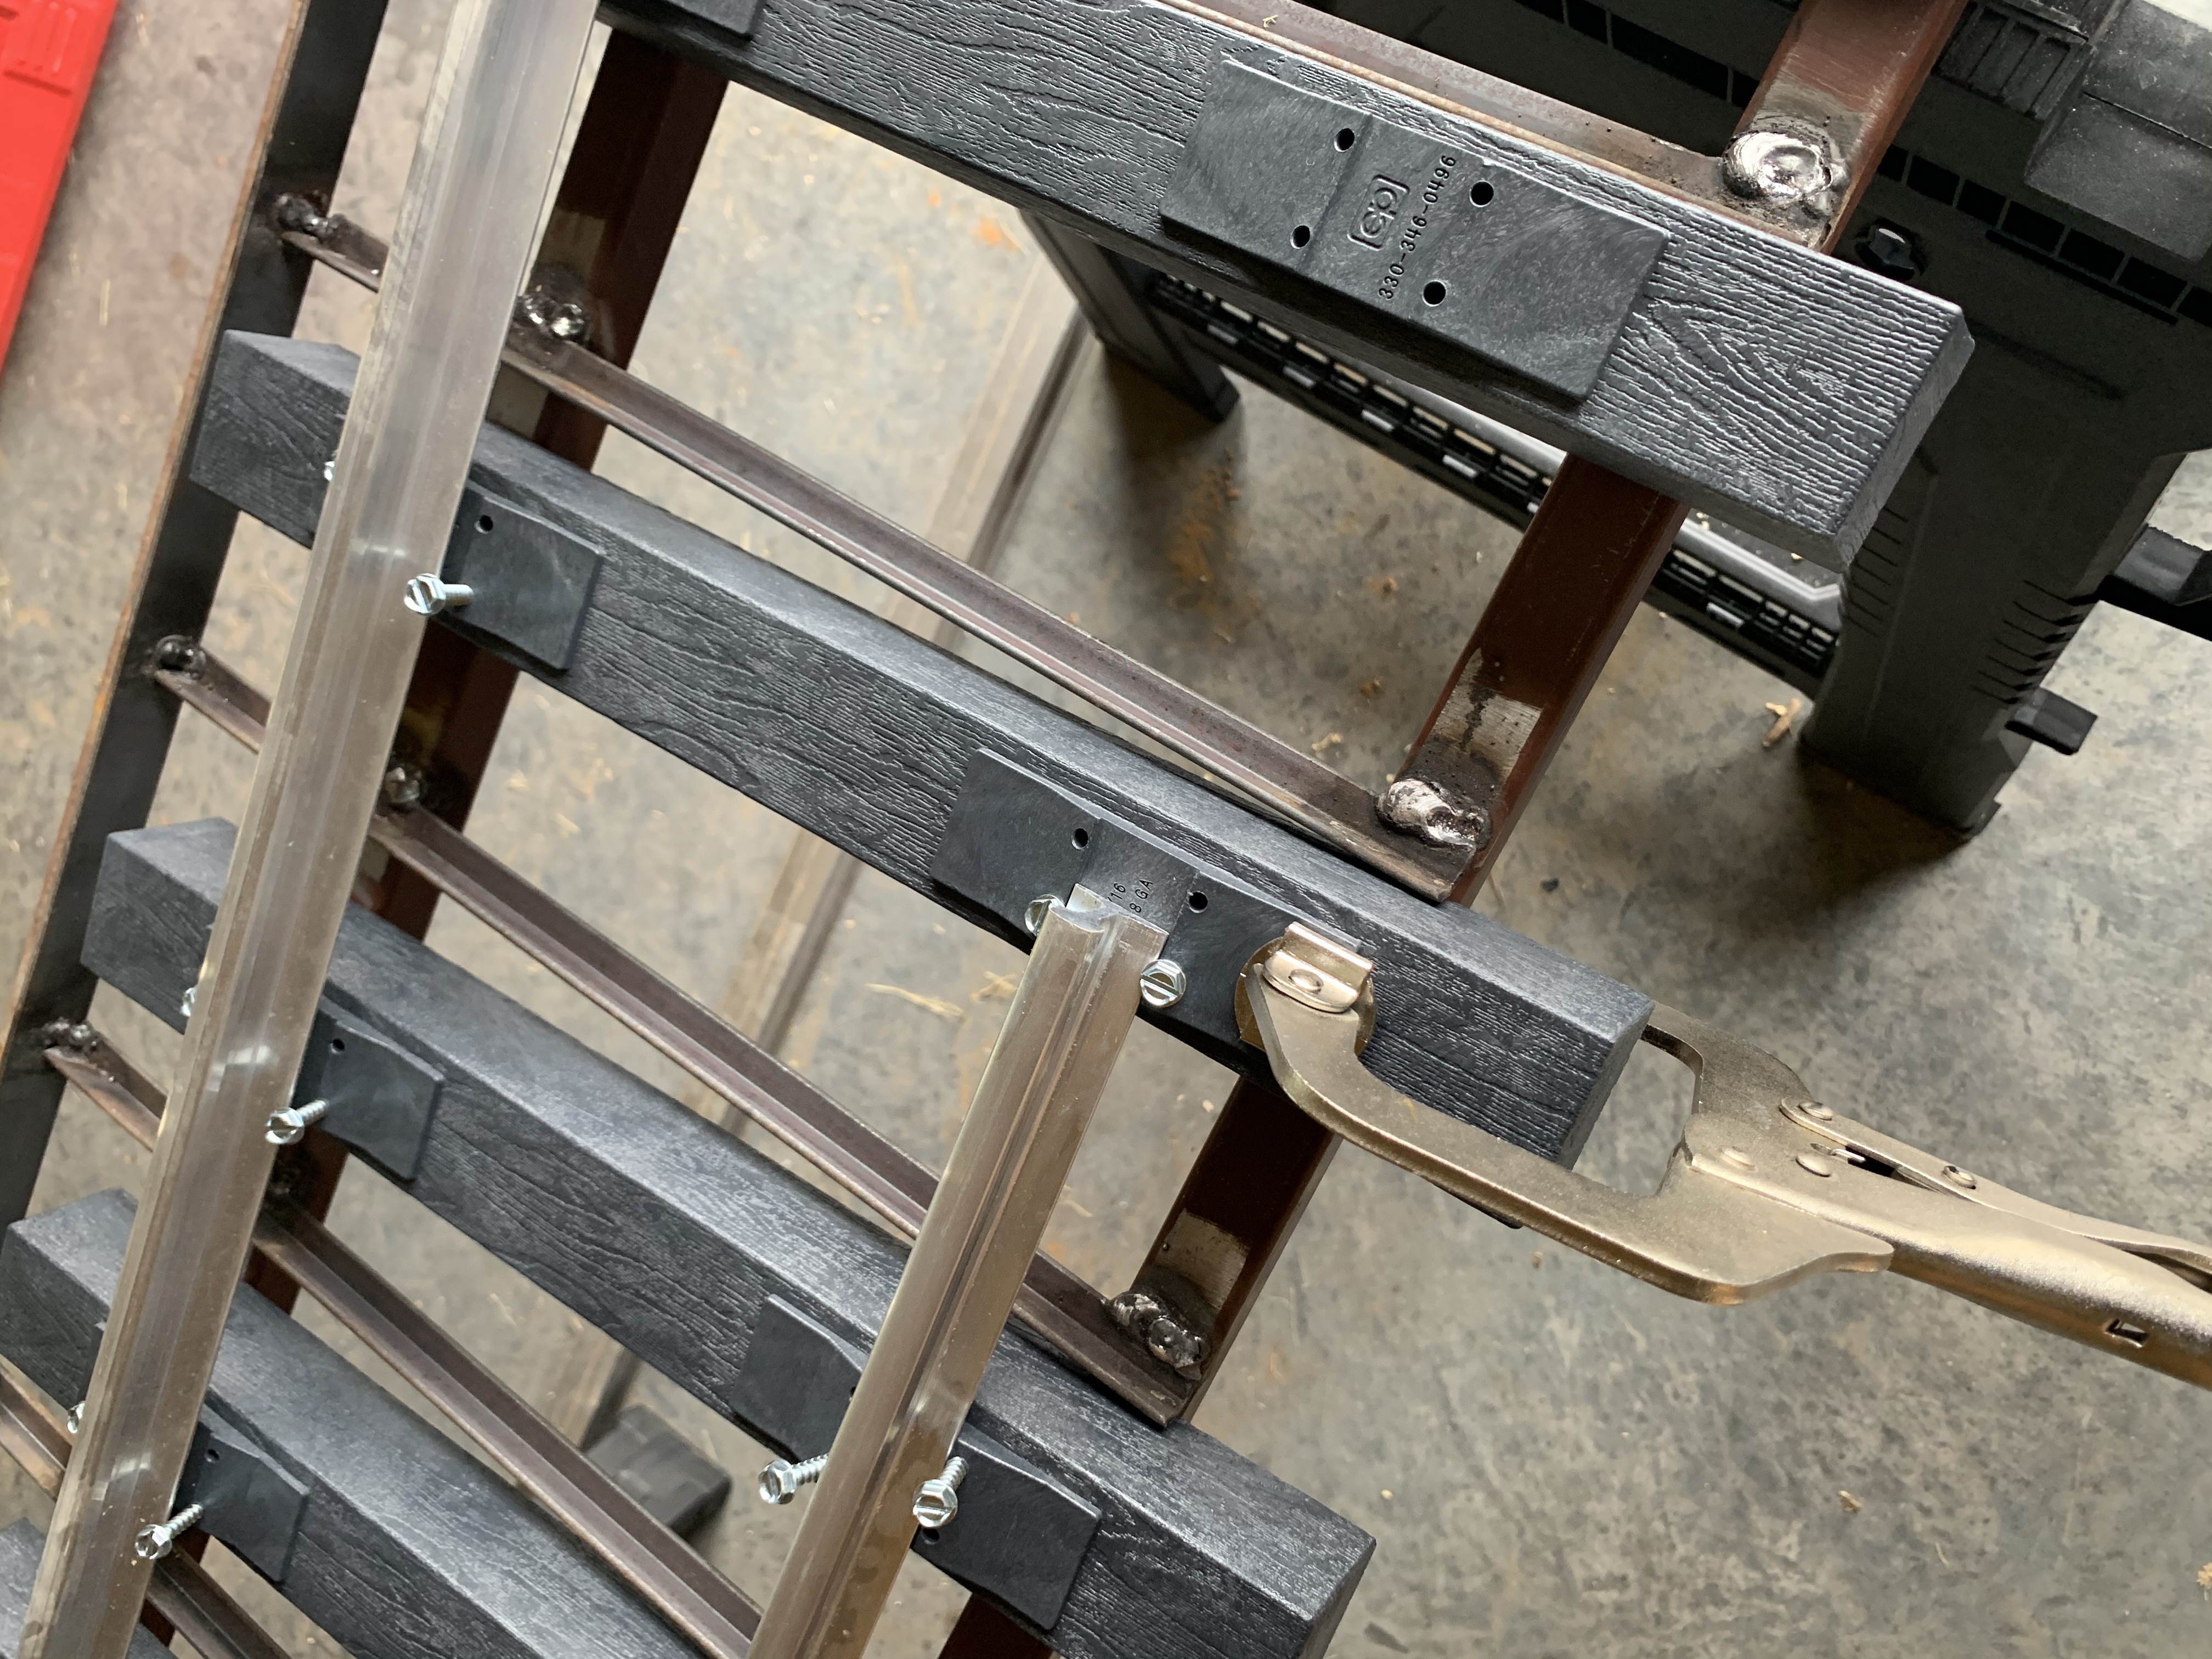
5.72 MB | Dnevil | Step 4: Start at one of the clamped ties and tighten all screws on that tie. The plastic tie plates will help align the tie perpendicular to the curved rail. Make sure one end of the tie touches the tie stop on the jig. Photo by Daris A Nevil, Novem... | 1 |
| 22:46, 1 December 2020 | 2020-11-28 12.10.50.jpg (file) |  |
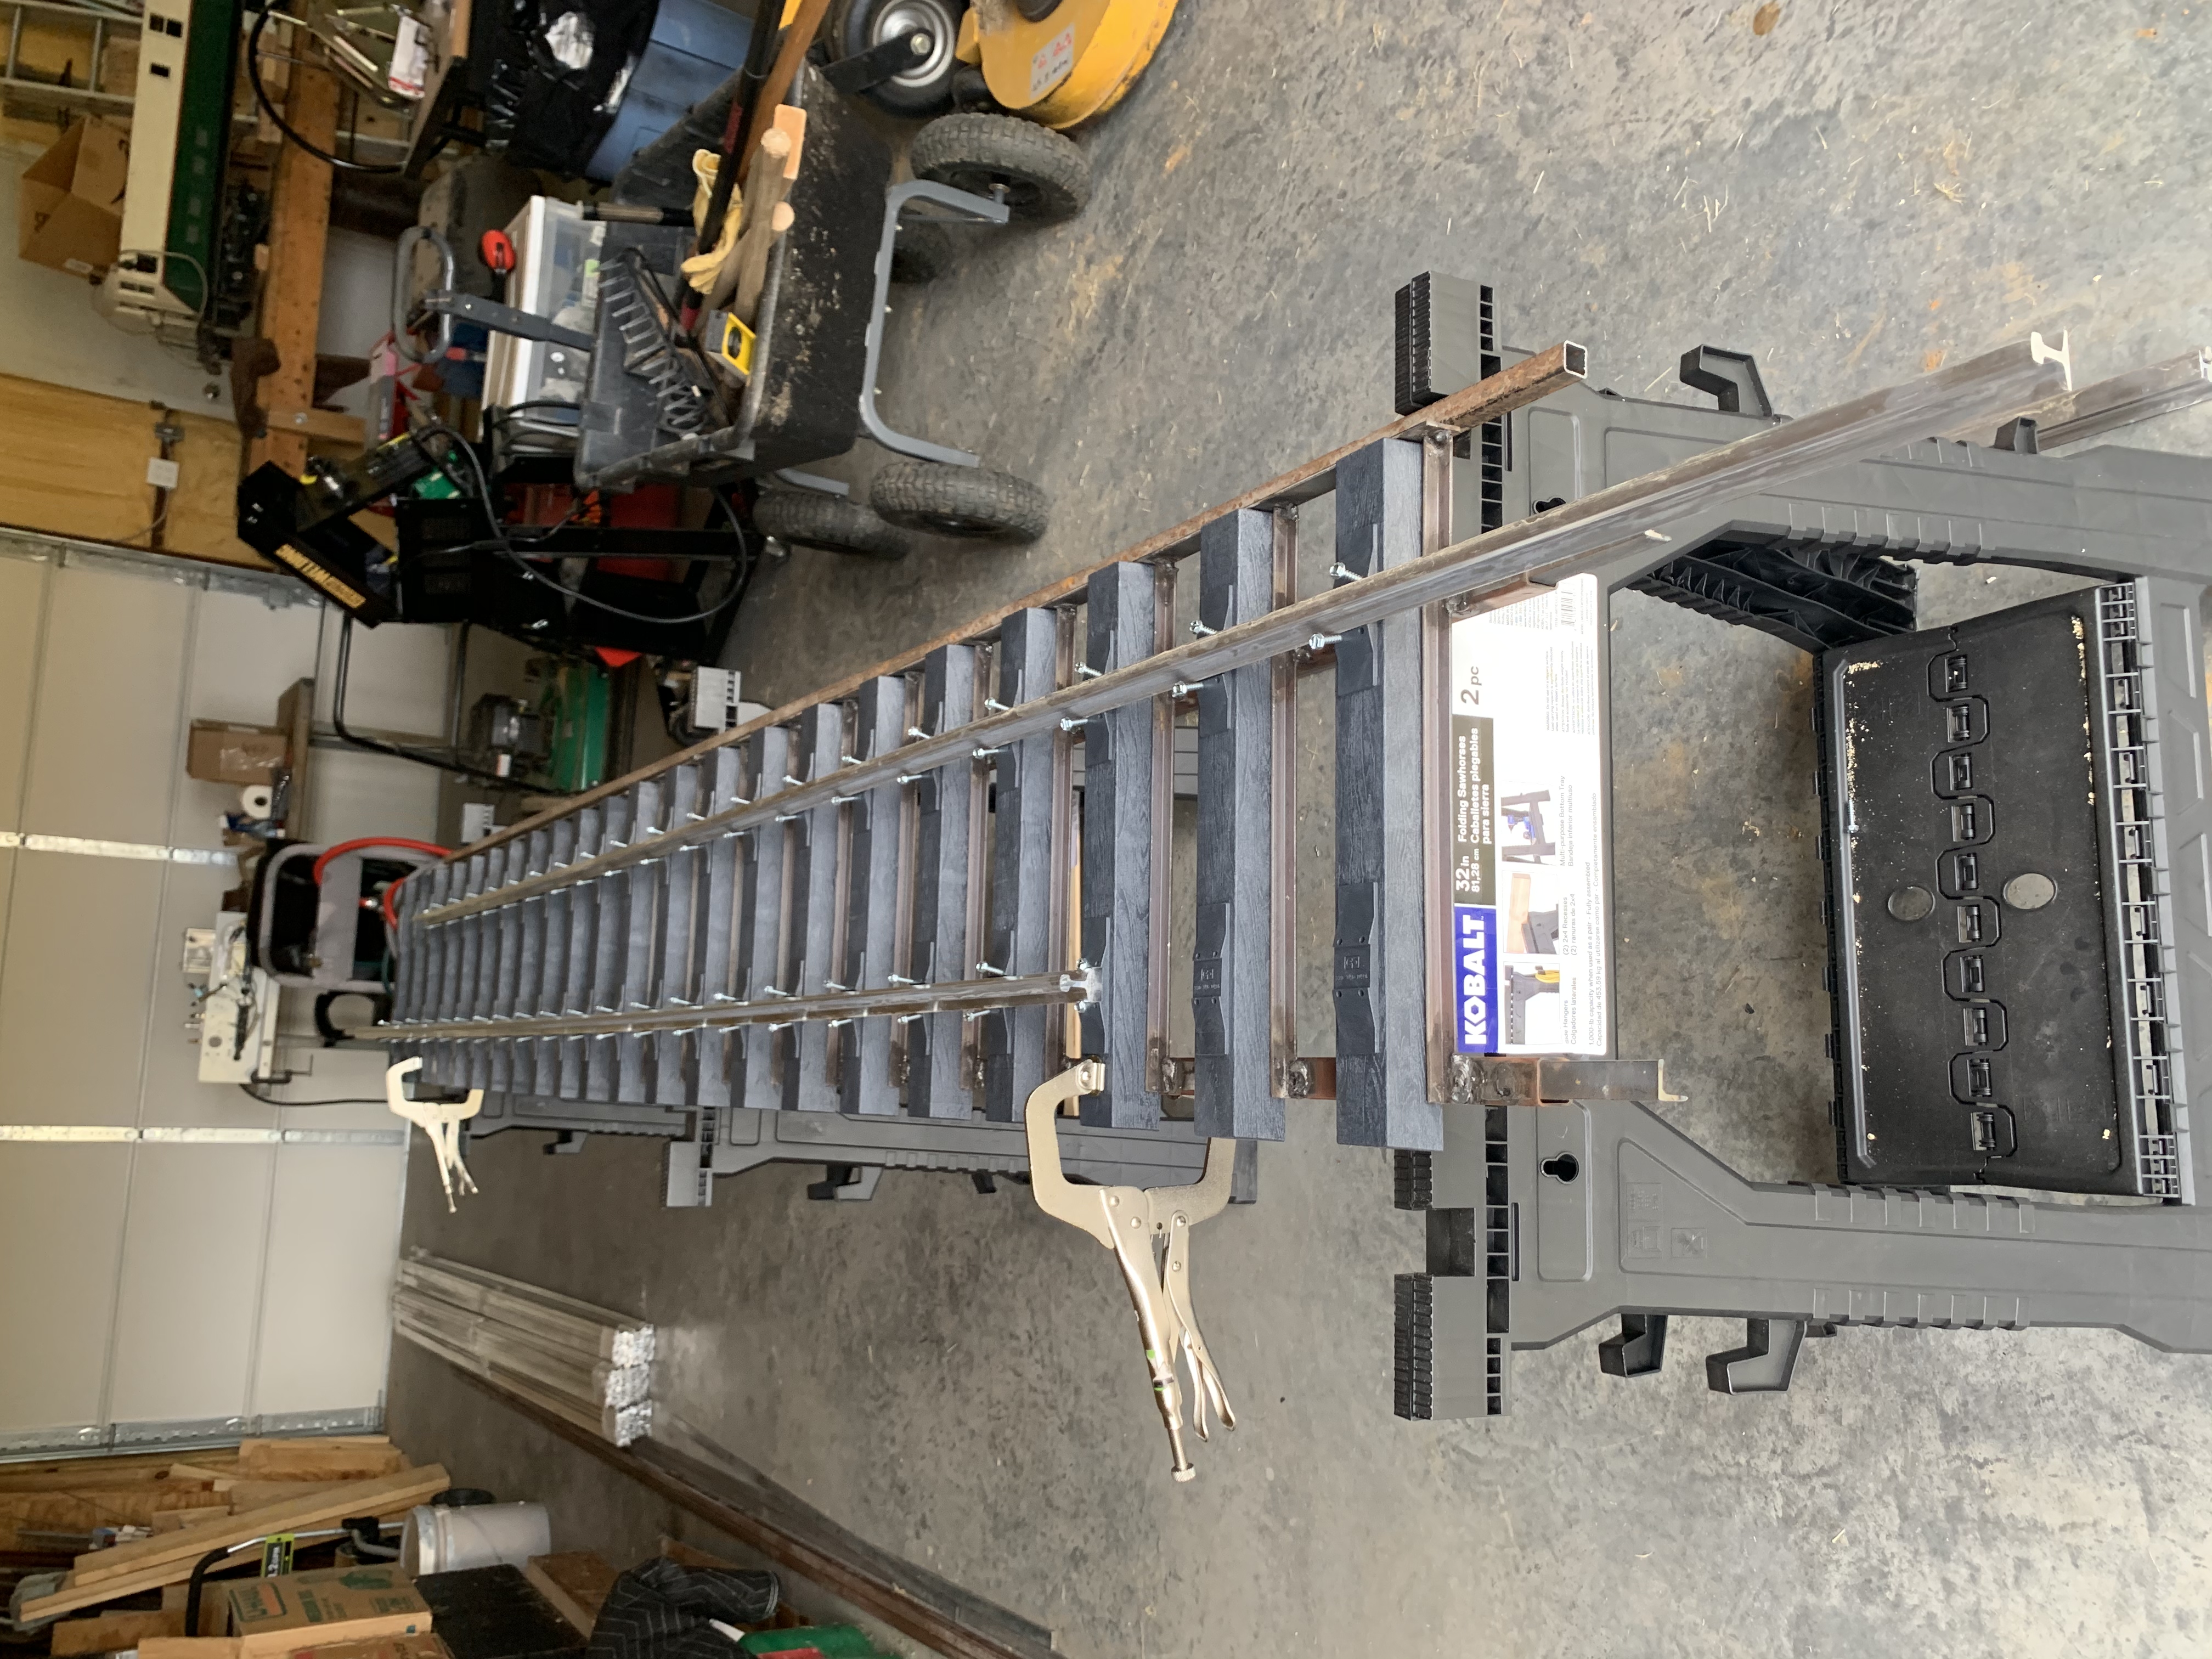
5.46 MB | Dnevil | Step 1: Place ties on the jig with straight rails on top. Start track screws to hold things in place. Photo by Daris A Nevil, November 2020. | 1 |
| 17:45, 29 November 2020 | 2020-11-28 12.16.06.jpg (file) |  |
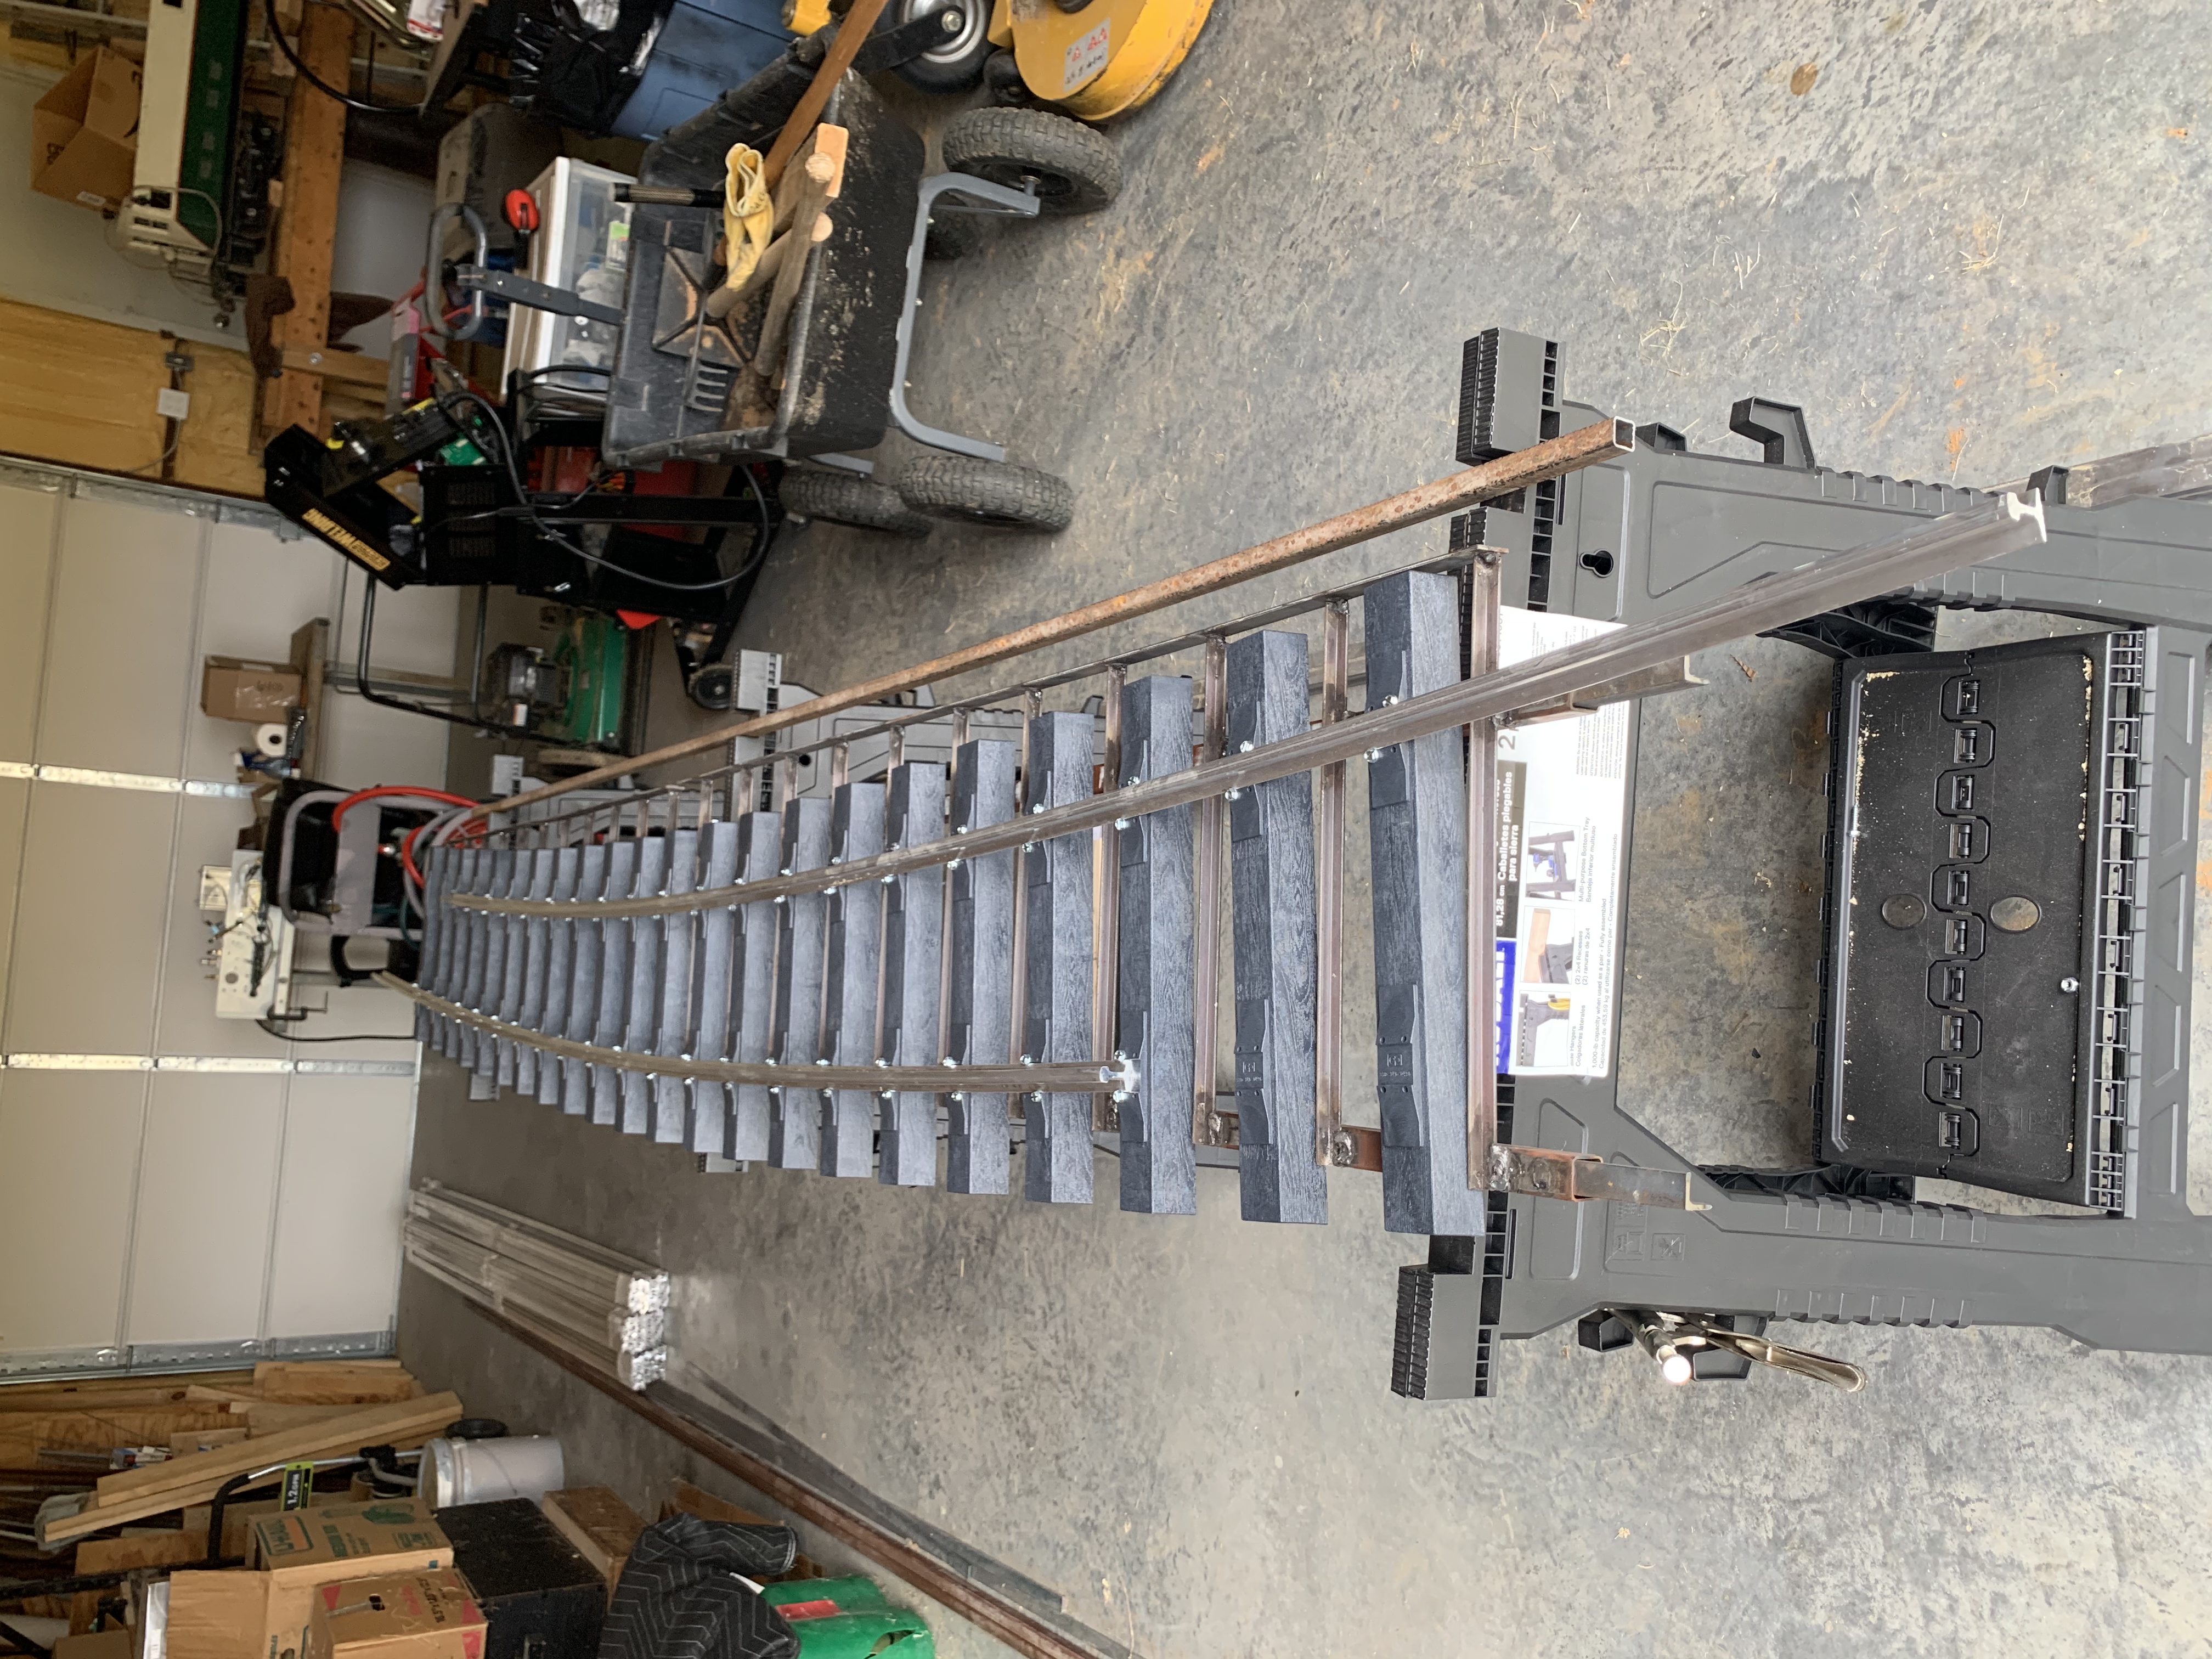
5.56 MB | Dnevil | Step 2: Clamp the third tie from each end in place. Use two screws to fasten a rail in the middle of the tie plate. Start at one of the clamped ties. Tighten the screws on each tie, making sure the tie is touching the tie stop on the jig. Photo by... | 1 |
| 22:33, 1 December 2020 | 2020-12-01 16.28.00.jpg (file) |  |
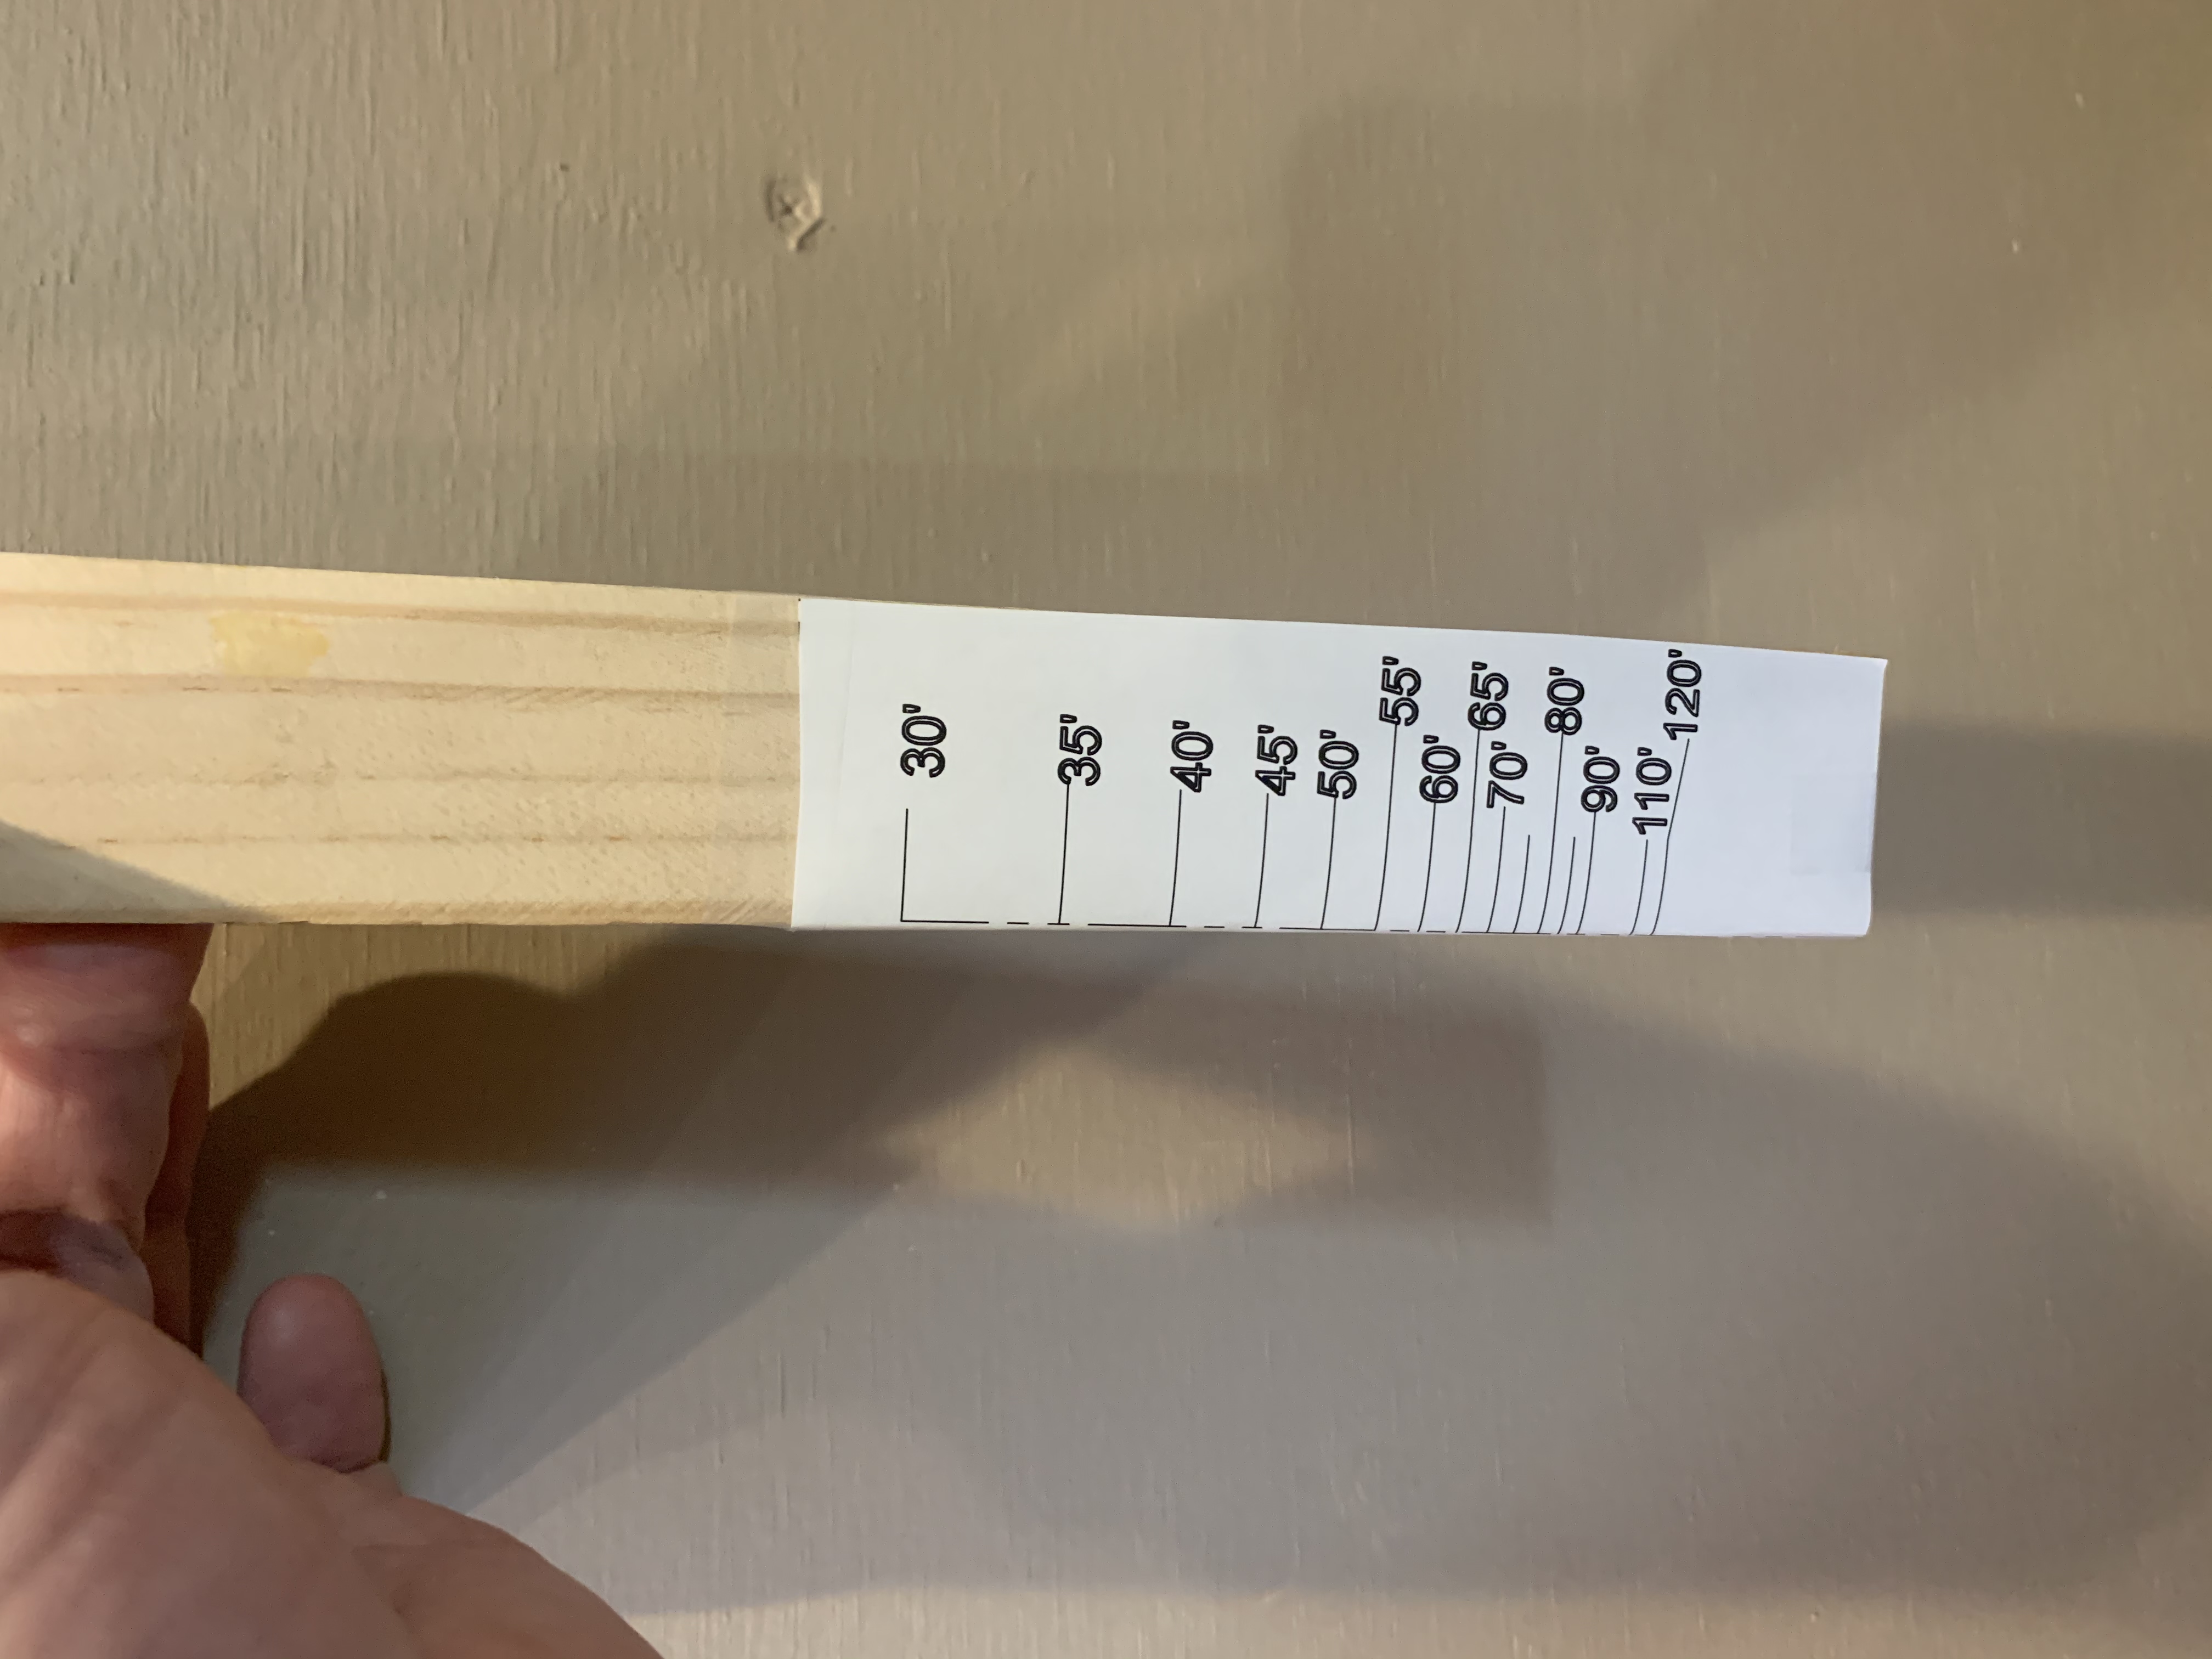
2.76 MB | Dnevil | A sagitta rule for directly measuring the radius of 10 foot sections of rail. Photo by Daris A Nevil, December 2020. | 1 |
| 17:10, 3 December 2020 | 2020-12-03 10.42.26.jpg (file) |  |
5.35 MB | Dnevil | Using a Sagitta Rule, Step 1: Place the ends of the rail against a wall or other straight edge. Place the Sagitta Rule at the midpoint of the rail, where the distance from the wall is greatest. Photo by Daris A Nevil, December 2020. | 1 |